Post options allow you to override the global settings on a specific page. This gives you the ability to have unique changes on one post, while all the other posts have the default style and settings.
To see the Kate option for the post, edit one post and scroll down to the bottom of the page:
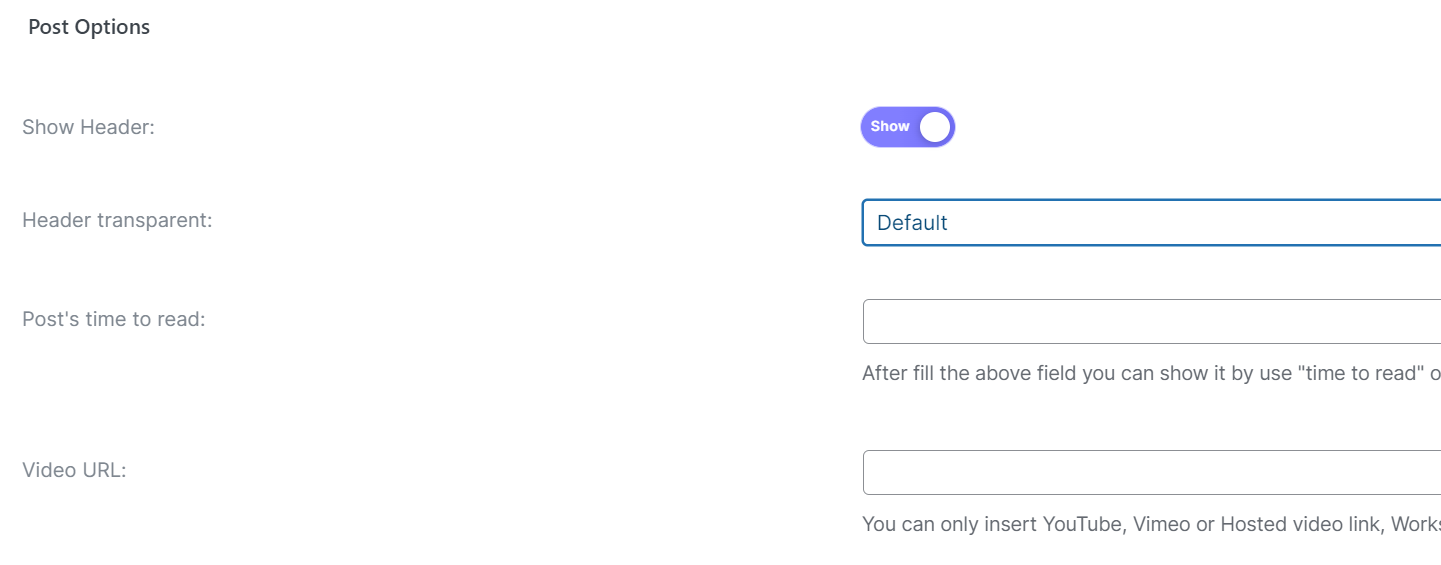
Show Header:
This allows you to hide the site header area.
Header transparent:
You can set, Dark transparent will set a dark background to the header and light color for the text
Light transparent will set a Light background to the header and dark color for the text
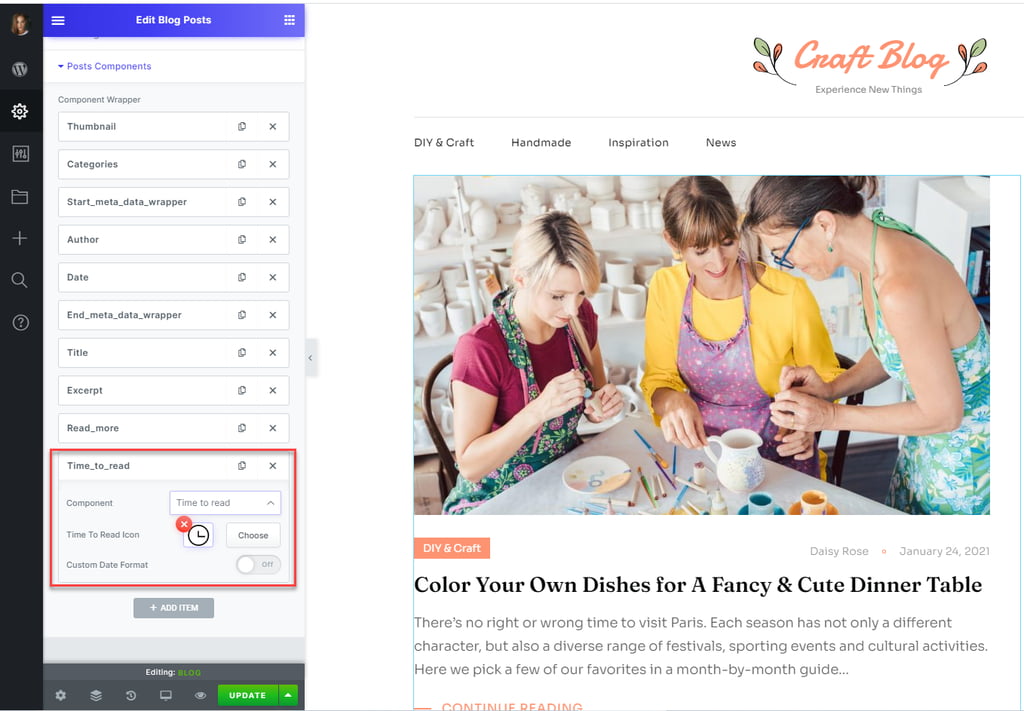
Post’s time to read:
After filling the above field you can show it by using the “time to read” option in blog, single, archive, author, search, related posts, post metadata Elementor widgets
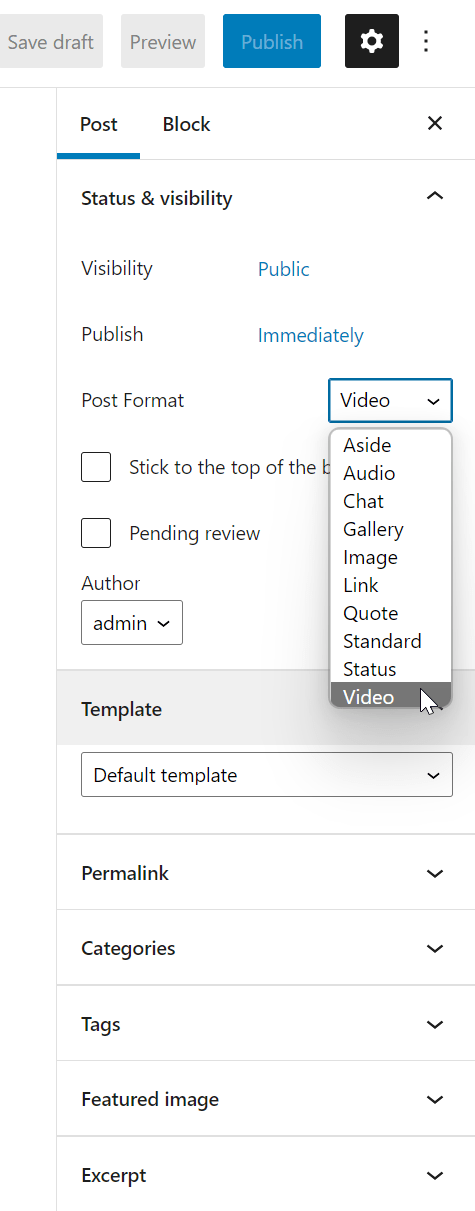
Video URL:
You can only insert YouTube, Vimeo, or Hosted video link, Works when the post format is video
Please note that these options are not available on the post page, but blog and archive pages have this option as Metadata. So make sure Metadata is turned on in these pages.