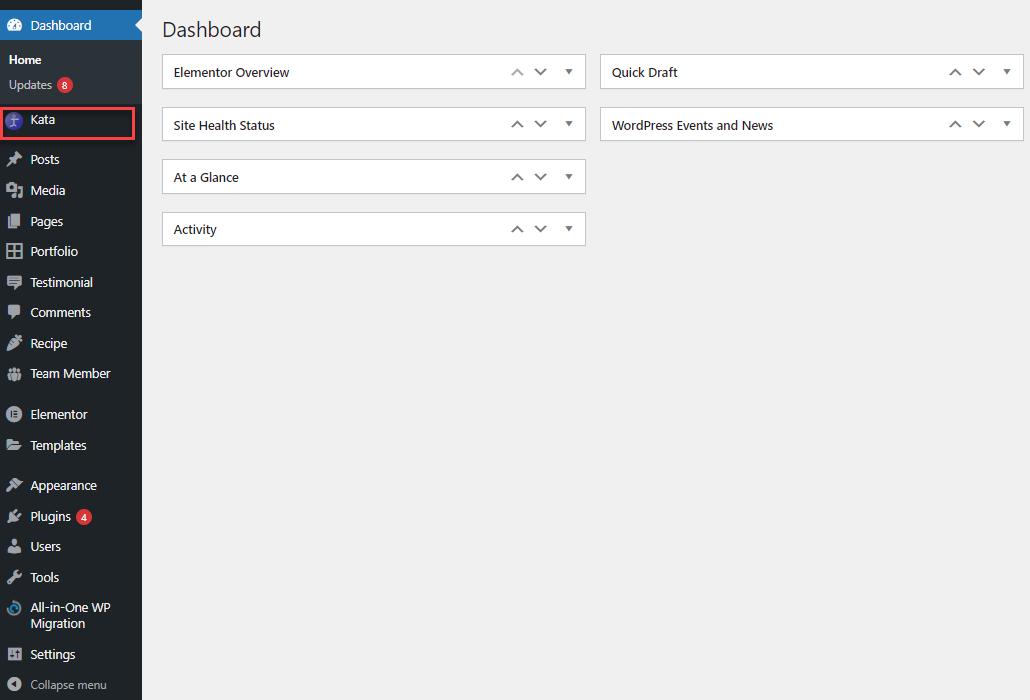
Once Kata Plus is activated, the Kata control panel is added to the menus in your WordPress dashboard. By clicking on Kata in the menu, you’ll be redirected to Kata’s dashboard.
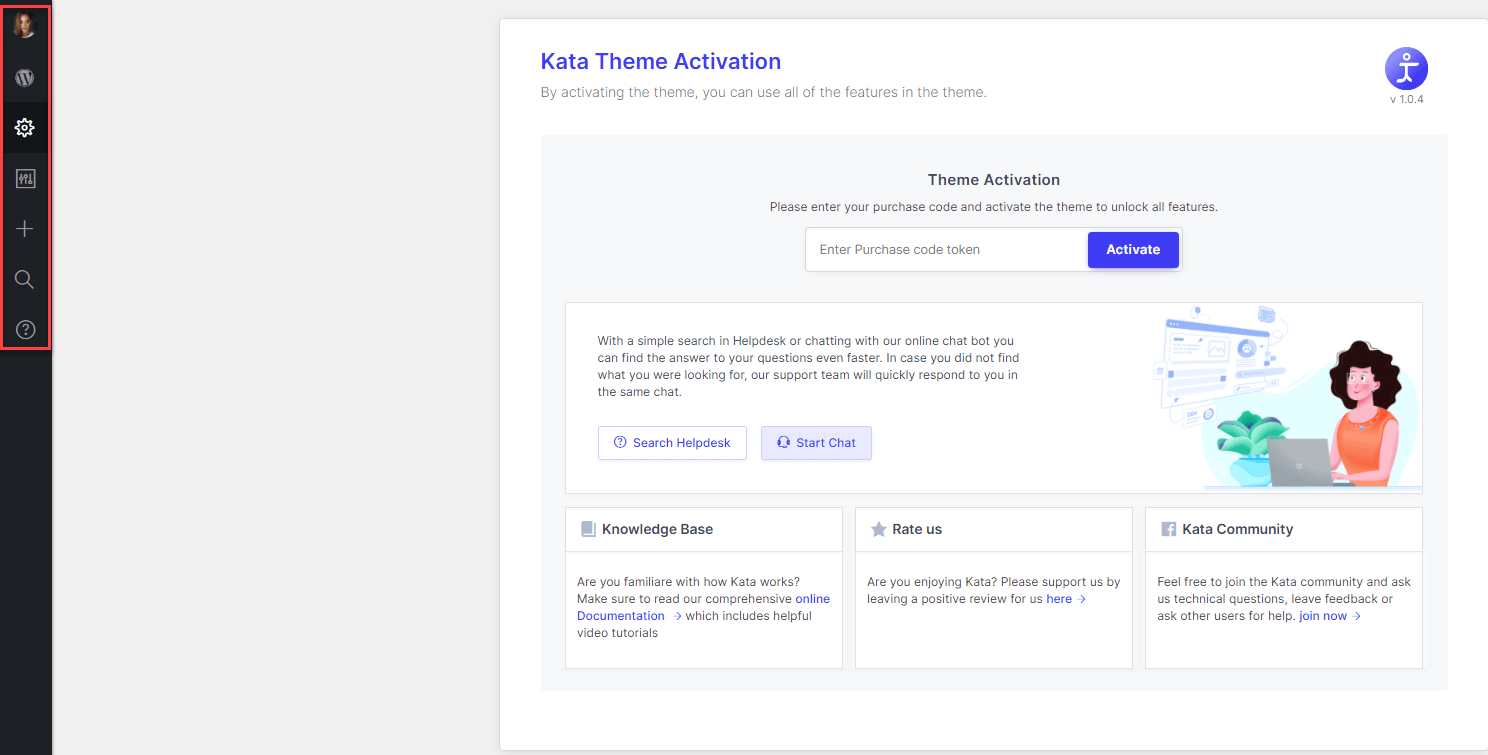
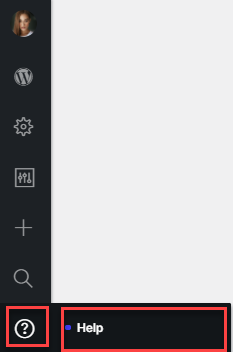
In your backend and all pages related to Kata, Elementor, and Customizer, the highlighted menu can be seen on the left side of the screen whose function is to provide easy and quick access to all sections of the WordPress dashboard and also Kata. It includes a total of 7 sections:
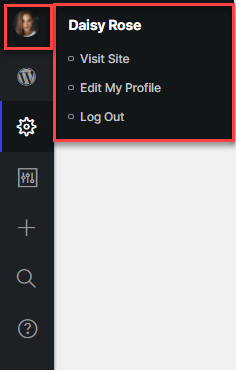
1. Profile: By hovering on the admin’s avatar, the name of the admin and options like Edit My Profile and Log Out will be revealed. Clicking on Edit My Profile will redirect you to the admin user edit page where you can change admin information.
The “Log Out” option logs you off the specific account instance.
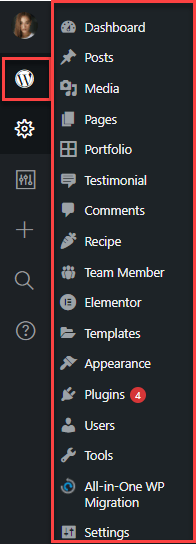
2. WordPress Default Menu: Click on the WordPress icon to reveal the default WordPress menu that has been implemented in Kata’s control panel.
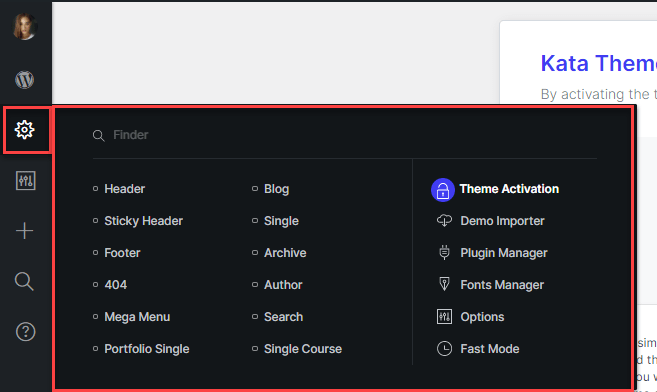
3. Admin Panel: By hovering over the cogwheel, you’ll reveal certain options such as Field Finder and reference links to page builders and other pages inside Kata. These include:
- Header Builder
- Sticky Header Builder
- Footer Builder
- Page Builder 404
- Mega Menu Builder
- Blog Builder
- Single Page Builder
- Archive Page Builder
- Author Page Builder
- Search Page Builder
- Theme Activation Page
- Demo Importer
- Plugin Manager
- Fonts Manager
- Options
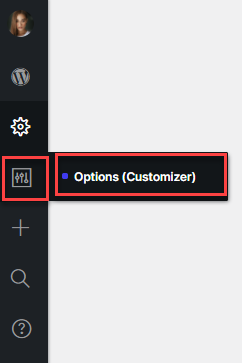
4. Theme Options: By hovering over the next icon, you’ll reveal the Customizer or theme option.
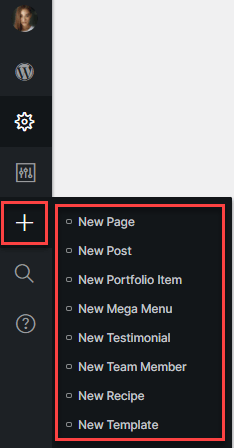
5. Add New: By hovering over the Plus icon, you’ll reveal links for creating new posts in different post types. You’re able to create the following:
- New page
- New post
- New grid item
- New mega menu
- New testimonial
- New team member
- New recipe
- New template
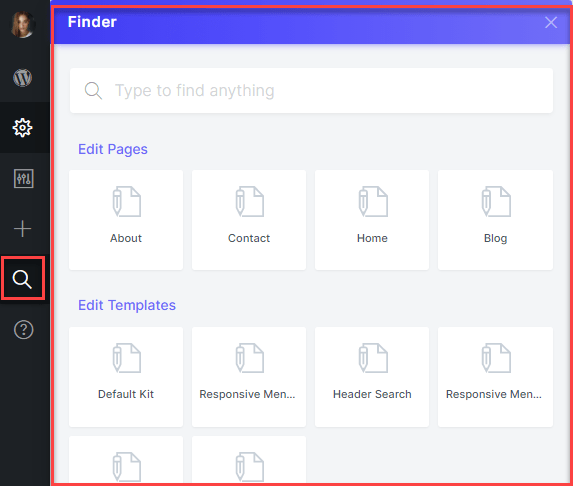
6. Finder: Clicking on the next icon would reveal Kata’s exclusive Finder module. You can also access the Finder by pressing Ctrl+Shift+F hotkey.
7. Help: Hovering over the next icon reveals Kata’s Help Page.

