
The Kata theme has been developed with users in mind who have no prior background knowledge in web development and also want to have their website up and running in the shortest amount of time. We have created the opportunity for you to set up a new website from scratch with a few simple clicks in a matter of seconds. It is worth noting that the features discussed here are Pro version capabilities.
This article will help you figure out how to use Fast Mode in the Kata theme.
Install your WordPress and then the Kata theme, make sure all its prerequisite plugins are also activated.
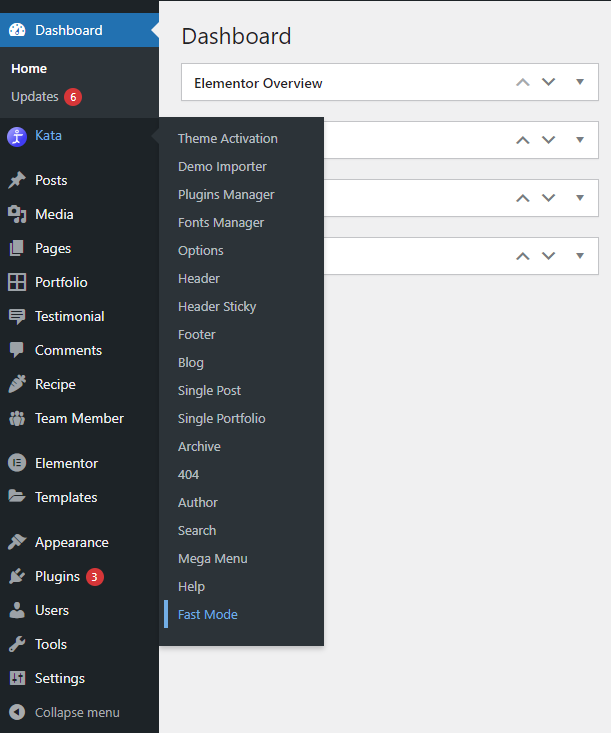
- Hover over the Kata menu and select Fast Mode from the option.
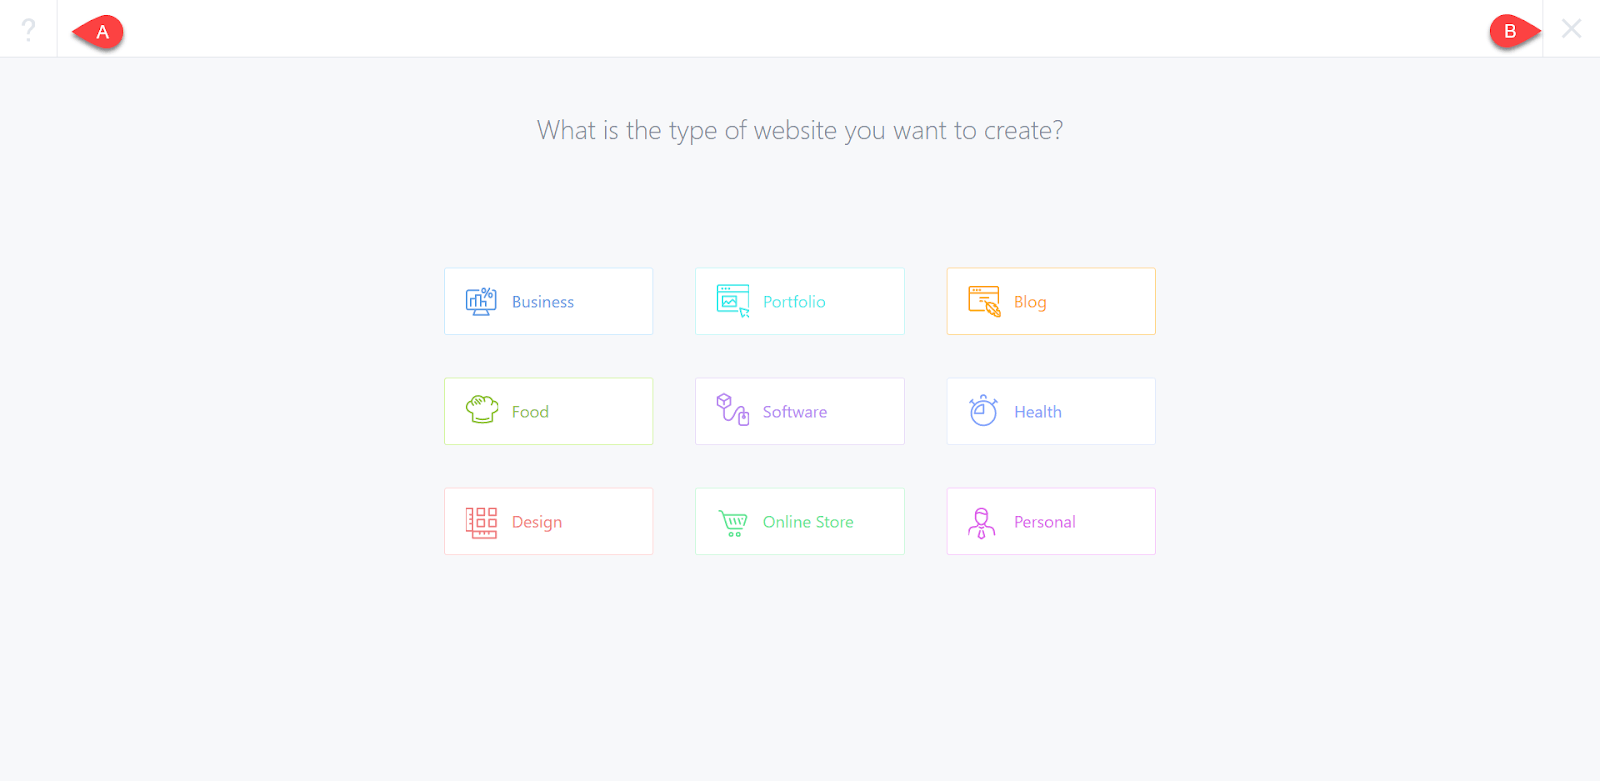
2. You can choose what type of website you wish to design from here.
Please note that A) if you click on the question mark icon, you will be presented with a brief description of what each step entails, and B) you can exit Fast Mode at any point by clicking on the exit icon.
For the purposes of this guide, we will choose Business.
3. Next up, fill in the requested information in each of the fields:
A. Site Title
B. Site Tagline
C. Site Address (Cannot be changed later on)
D. Language
E. Admin’s Email
F. Timezone
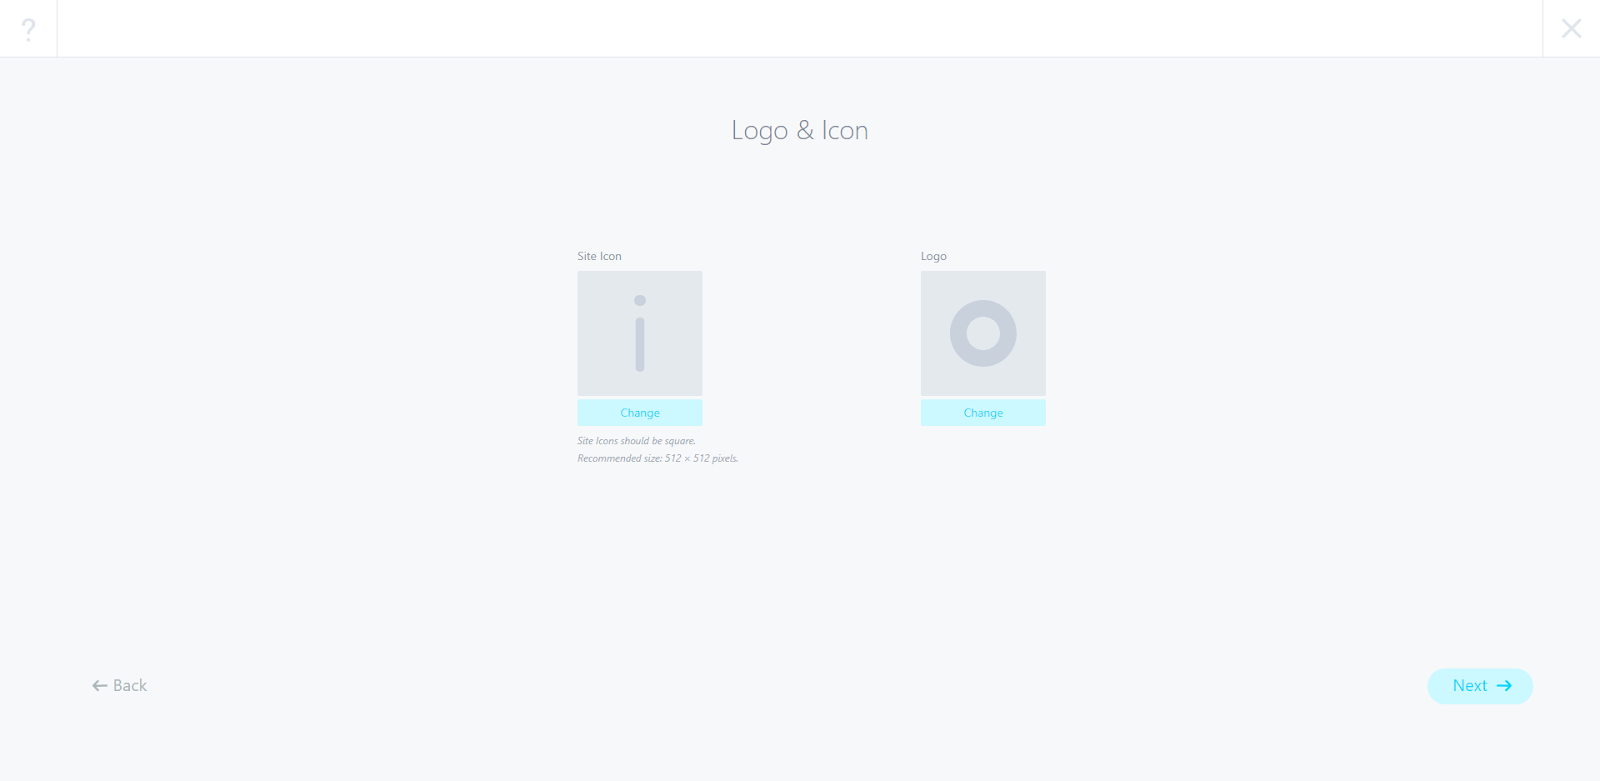
4. Here you can upload your Logo and Favicon. (Please make sure that the images you upload are 512×512 pixels)
5- Now, you get to select from a wide range of pre-built demos by the Kata team. You can click on Preview to see how each one looks and then press Import to begin preparing the demo for your WordPress.
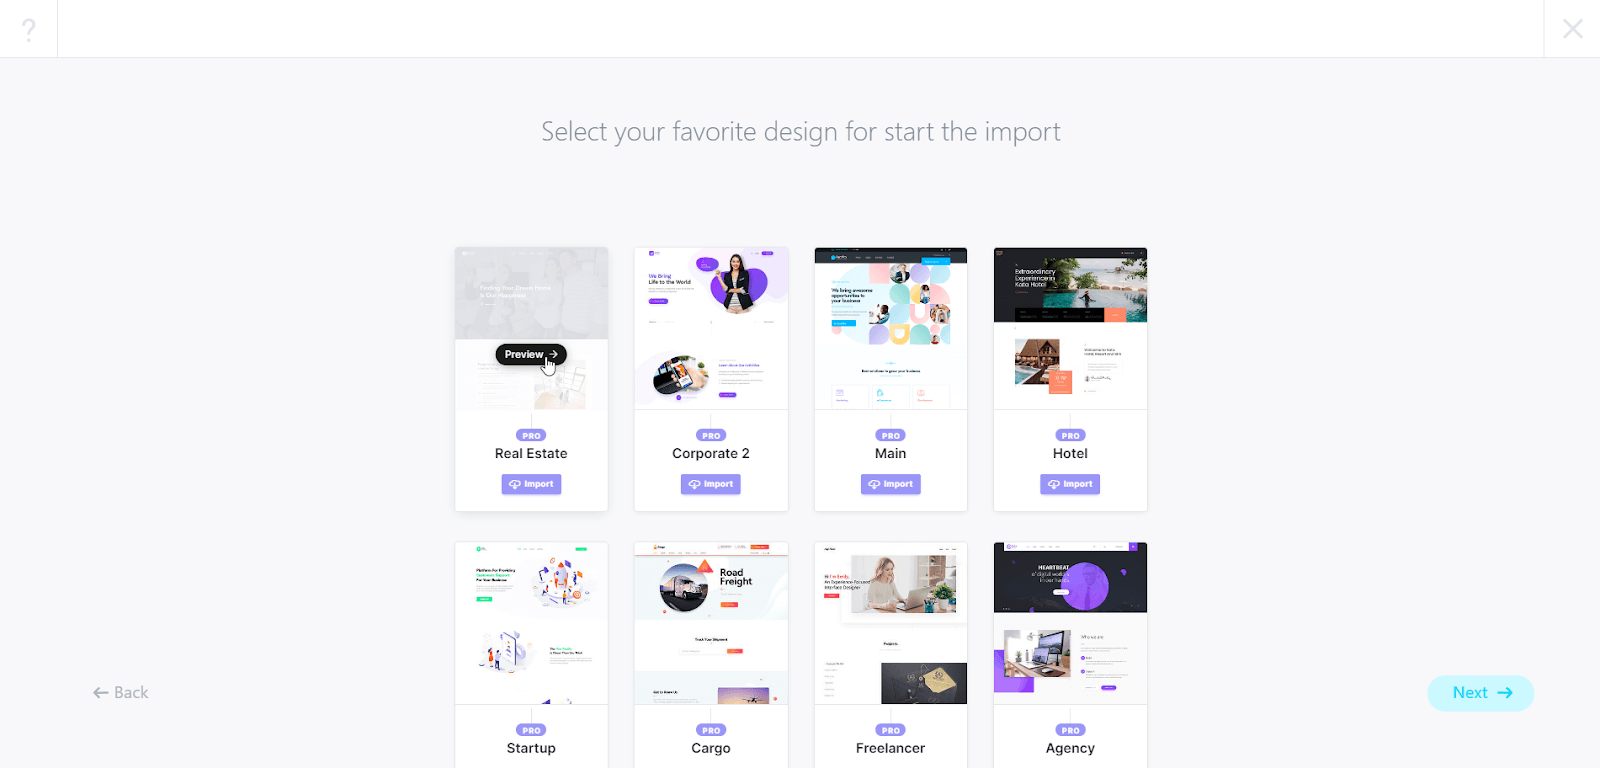
Hold on a few minutes until the import process is completed.
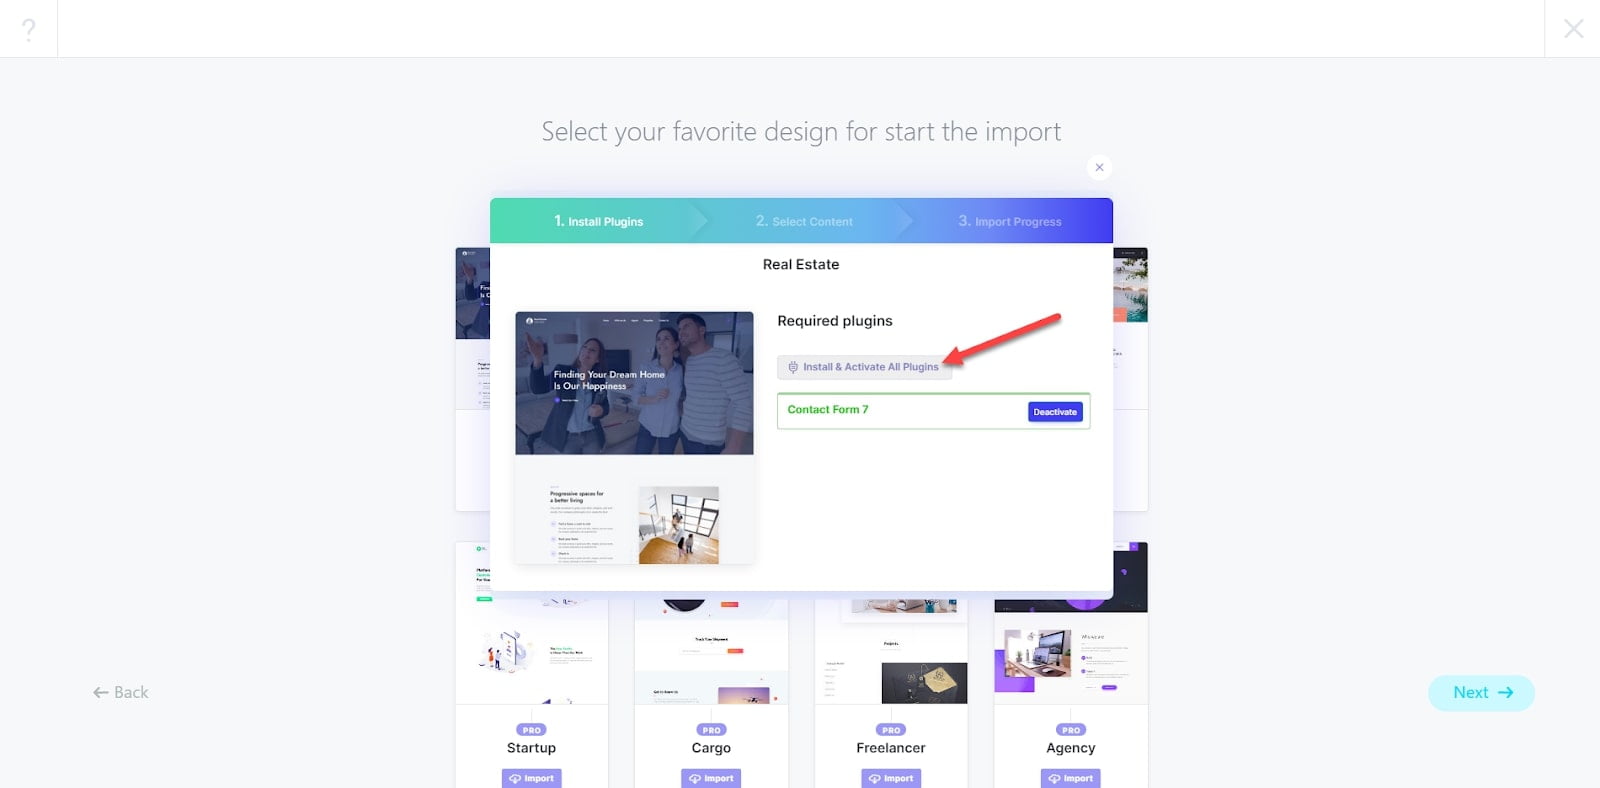
6. In this step, make sure to click on “Install & Activate All Plugins” so that the plugins necessary for the demo to function are all installed and activated. (For more info, check out the Working with the Importer tutorial)
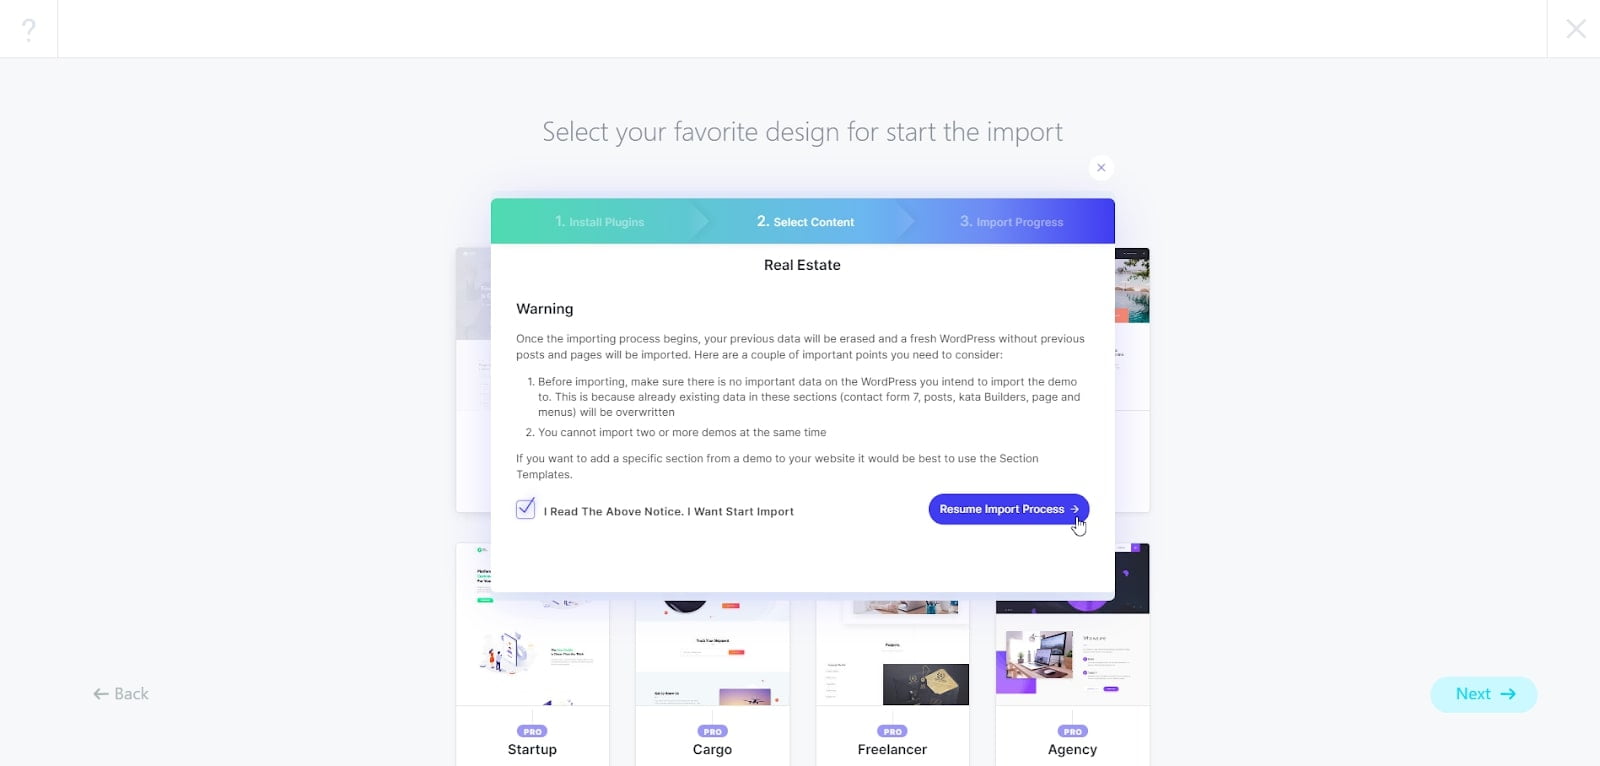
7. Please make sure to read the instructions on screen in this step of the import process. Once you’ve done so, click on the agreement check mark and click on “Resume Import Process” to move on to the next step.
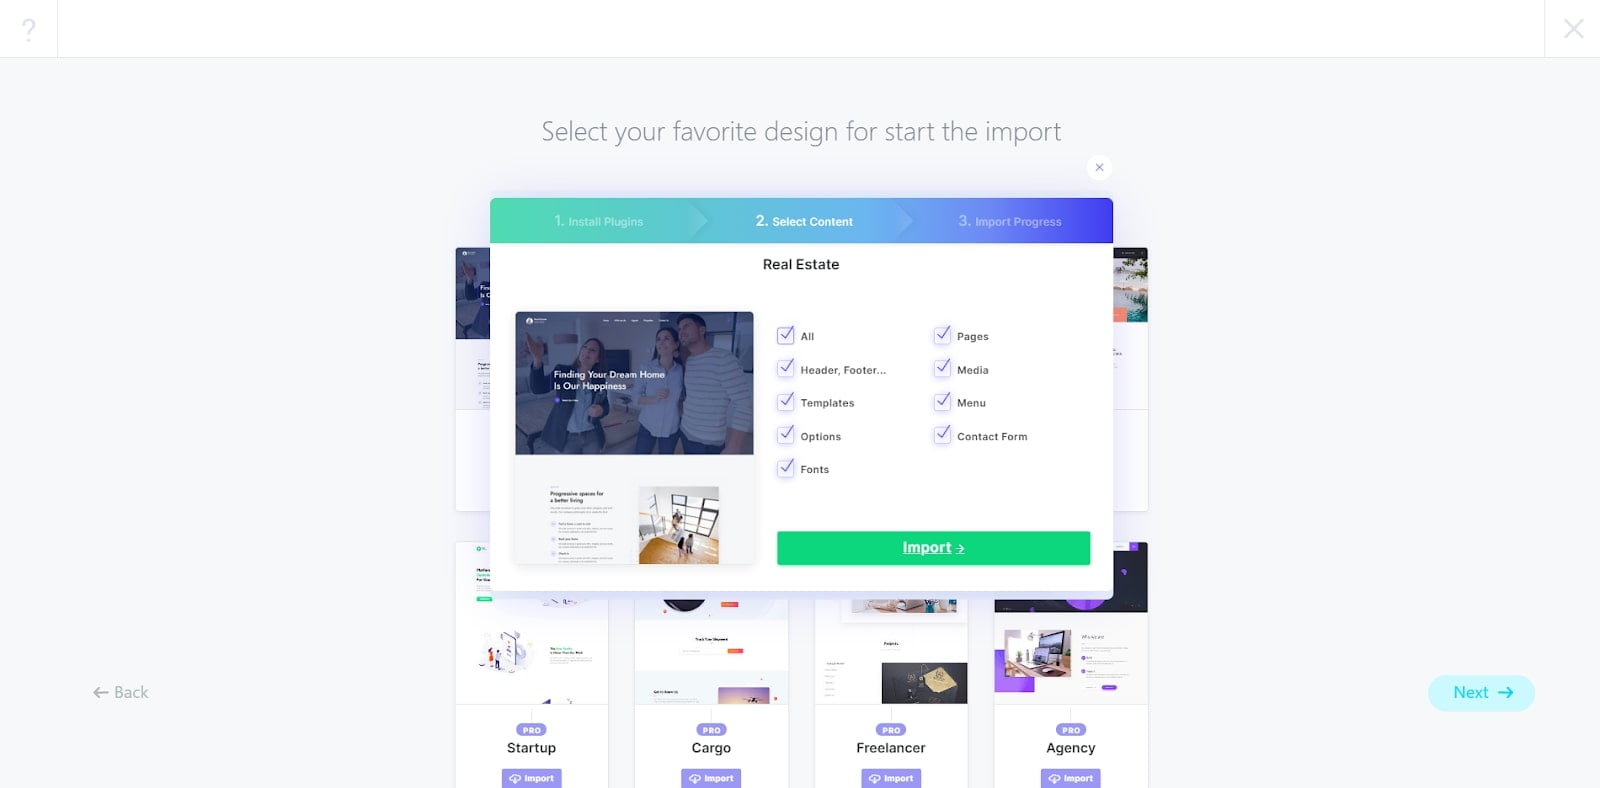
8. Choose your desired content from this window and then click on Import.
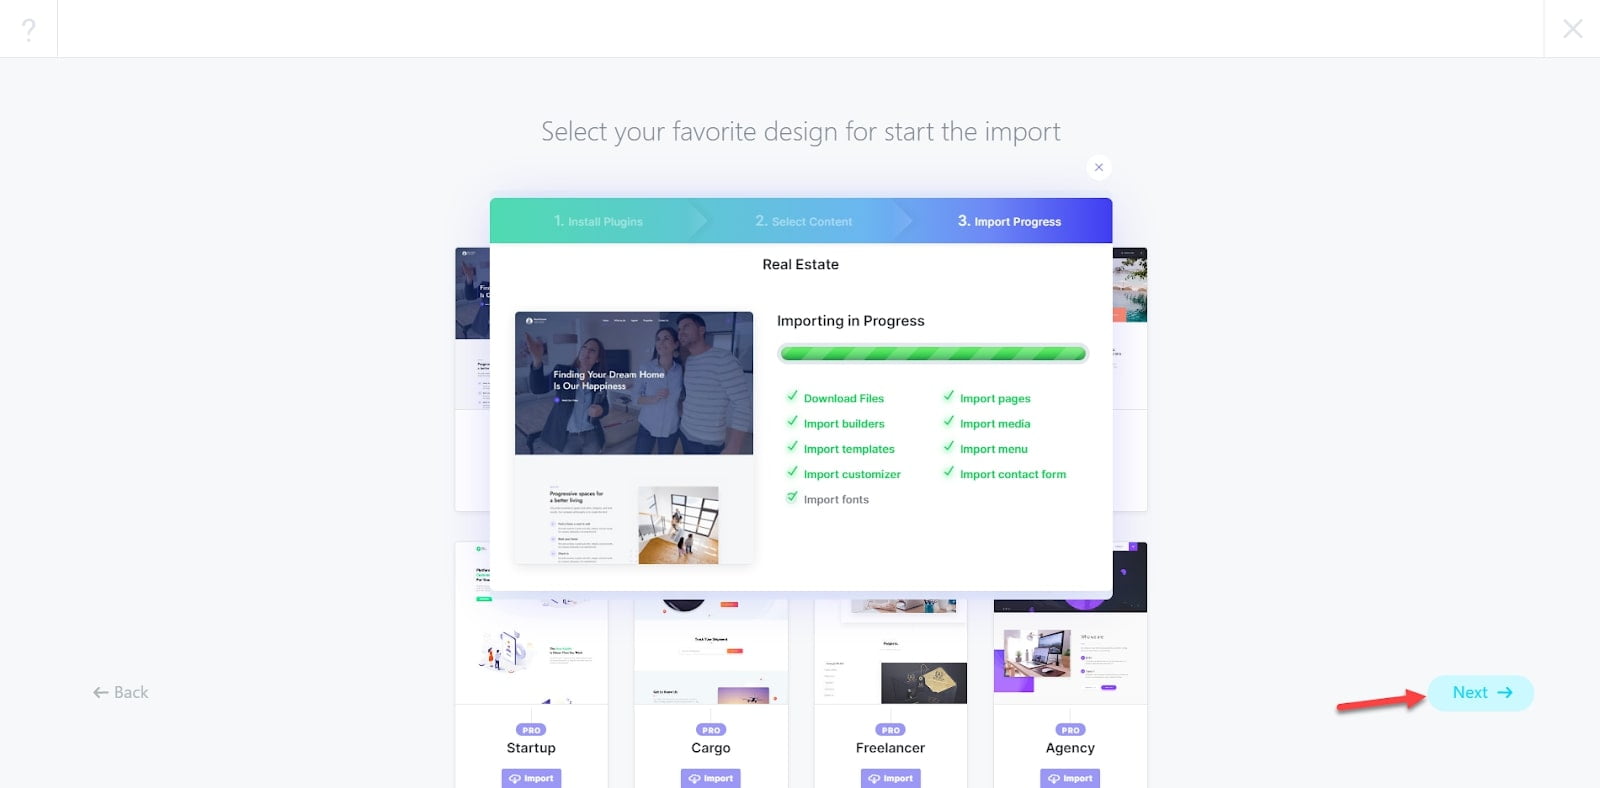
9. Once the import has completed successfully, click on Next.
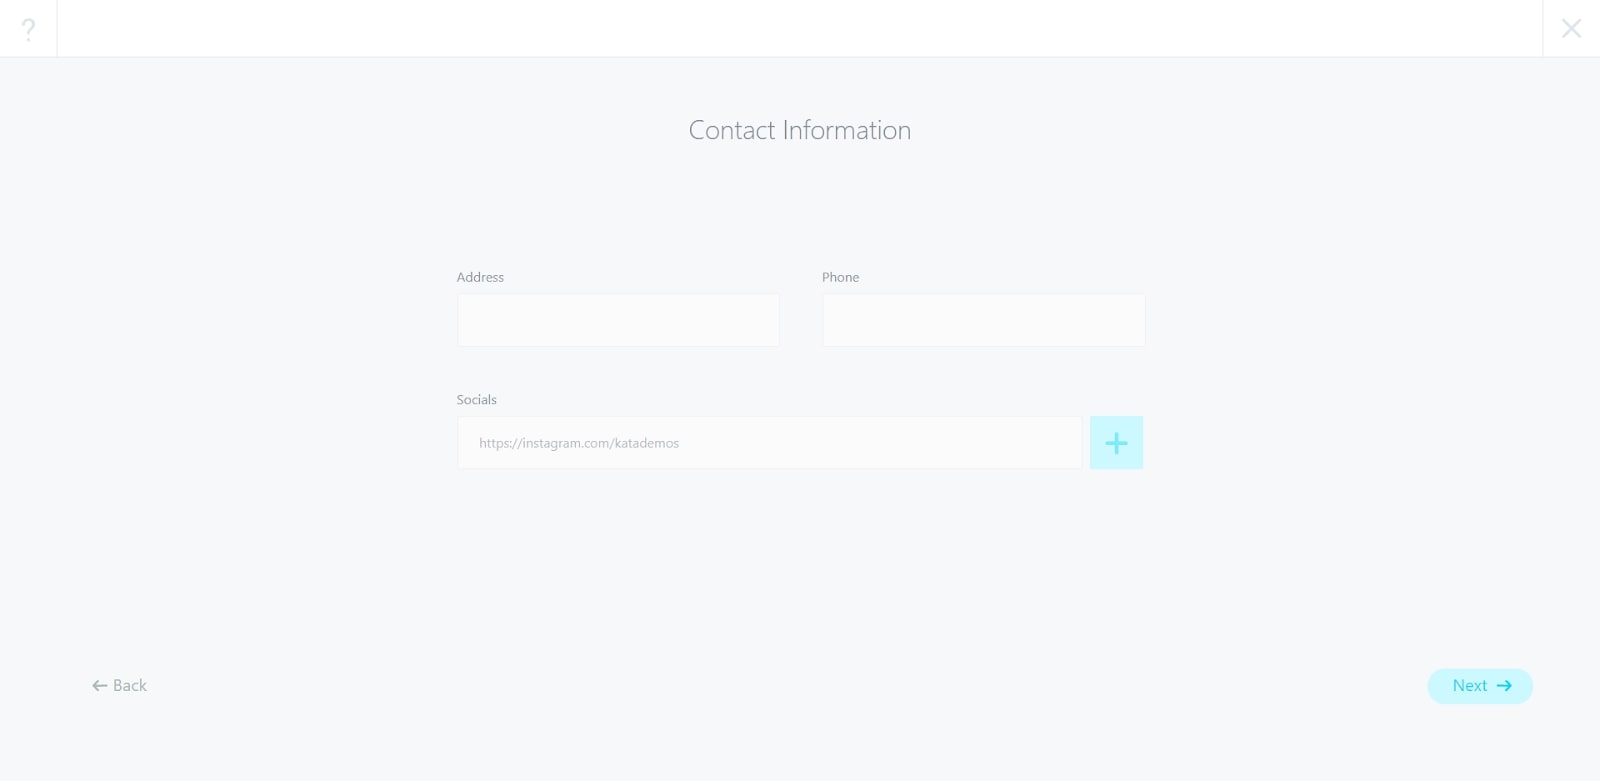
10. Almost done! Make sure to add your social media, address and phone number to be displayed on your website.
11. And we’re done. Your website is ready for use!
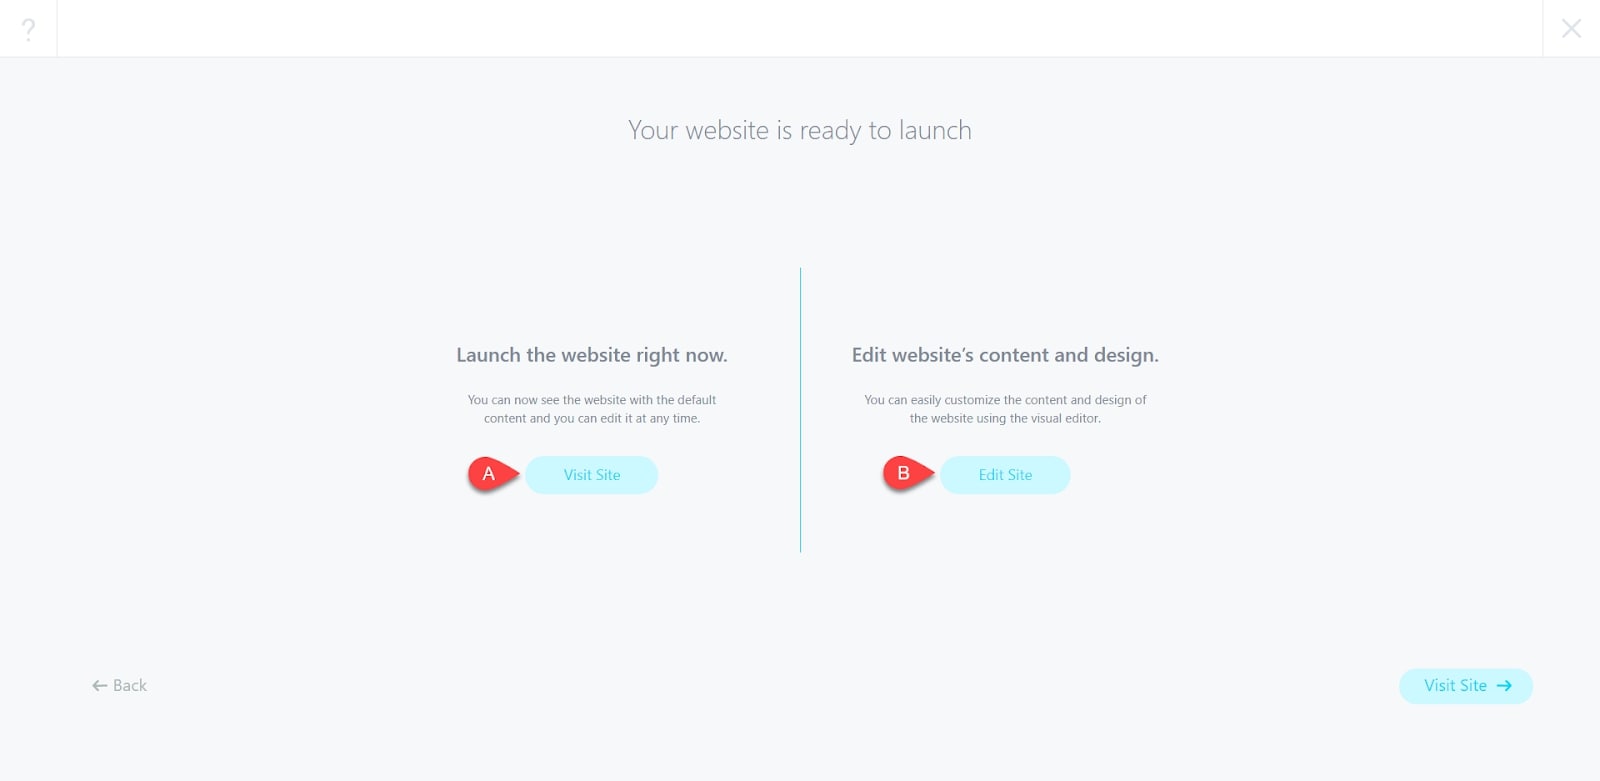
A- If click on this button, you’ll be directed toward your website and can checkout how it looks
B- If you click on this button, you’ll be able to start modifying your imported website Your website is complete and ready for use but let’s say we want to change a few things. This is how the customization menu looks like, if you click on any of the options you’ll be able to edit that specific section.
12. Your website is complete and ready for use but let’s say we want to change a few things. This is how the customization menu looks like, if you click on any of the options you’ll be able to edit that specific section.
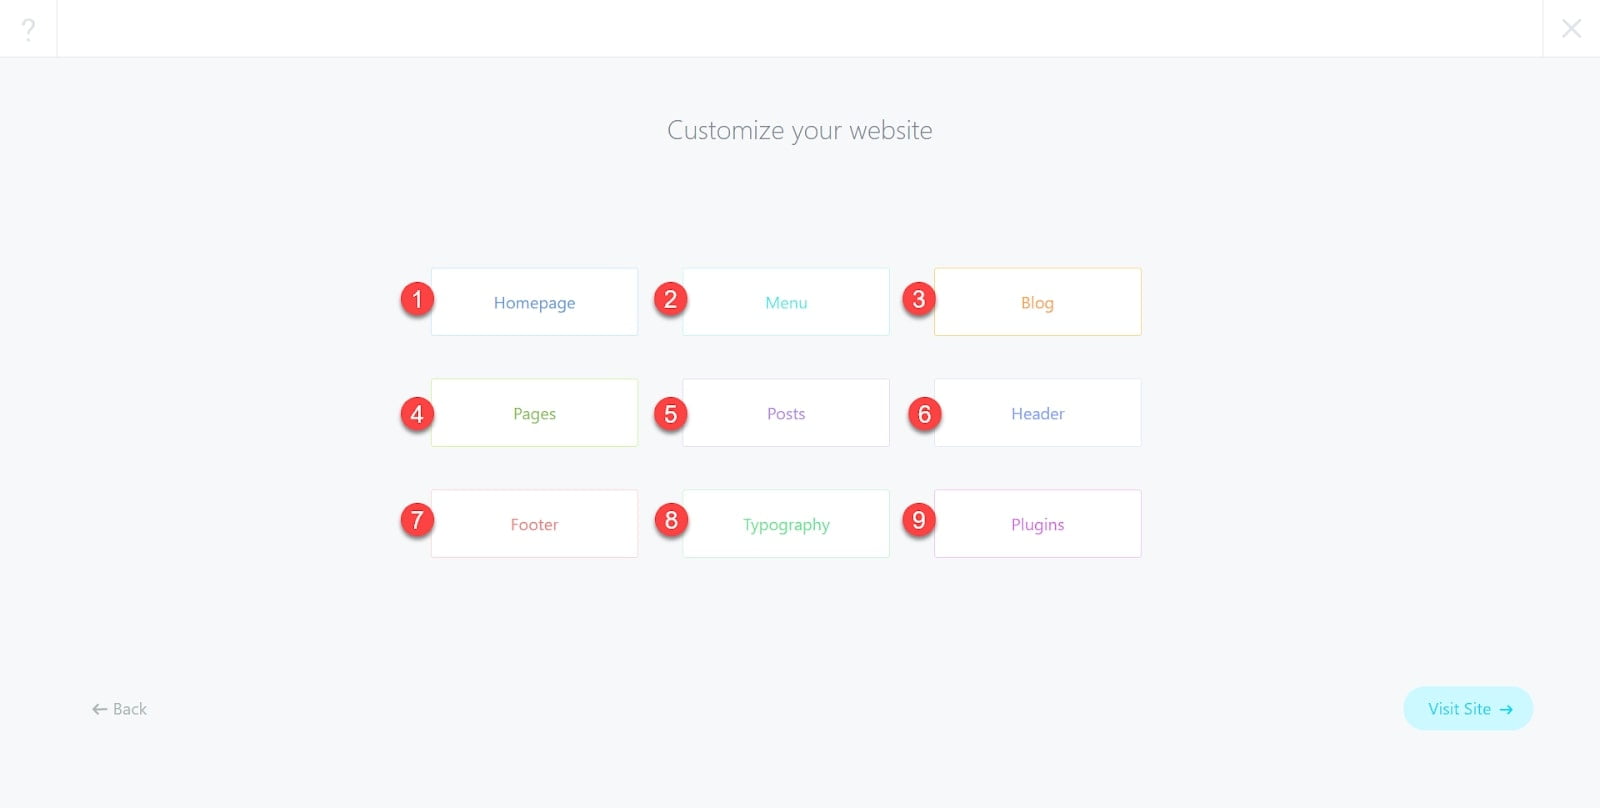
- Homepage: You’ll be redirected to the homepage.
- Menu: You’ll be able to customize the menus on your website.
- Blog: You’ll be able to design a unique template for your blog posts.
- Pages: You’ll be redirected to this section.
- Posts: You’ll be redirected to this section.
- Header: You’ll be able to customize your website’s header.
- Footer: You’ll be able to customize your website’s footer.
- Typography: You’ll be able to change the font type and size of your text from this menu.
- Plugins: You’ll be able to manage your installed plugin from this section.
