In this article, you will learn How to Create a WooCommerce Wishlist with Elementor.
The WooCommerce Wishlist page has a predefined structure that displays the user wishlist. However, many users prefer to design their own templates. The ShopPress plugin allows you to easily customize your wishlist page with existing widgets just by dragging and dropping widgets on the Elementor editing page.
How to Create a WooCommerce Wishlist
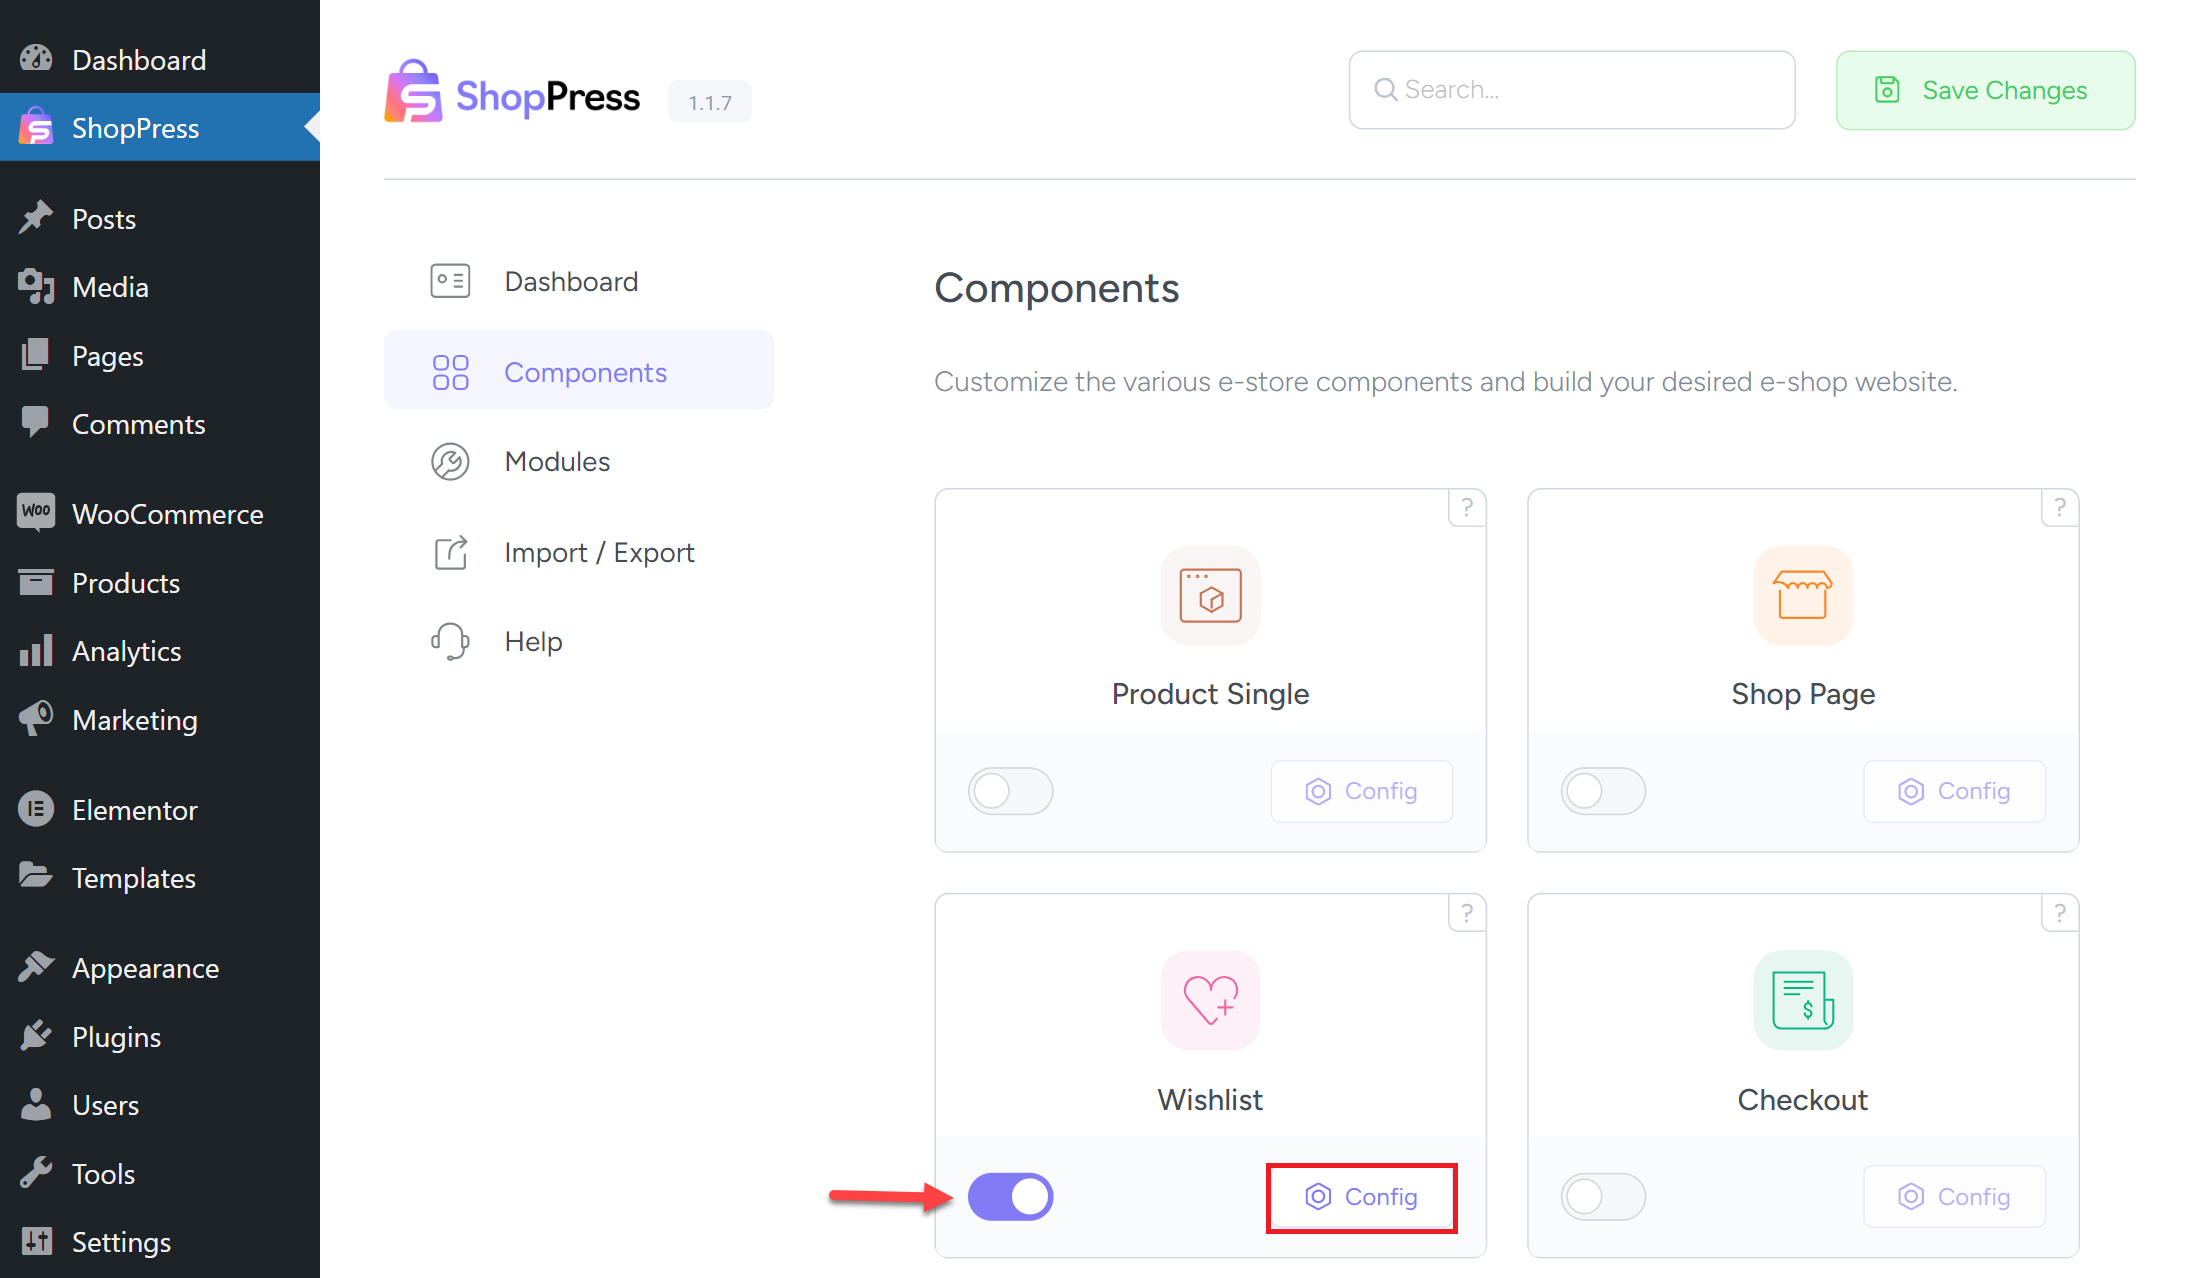
To enable the wishlist edit page, follow these steps: First, go to the WordPress dashboard menu and select ShopPress > Components. Then, enable the Wishlist component. Once you do that, you’ll see the config button is activated, which you can click on to enter the wishlist component settings. With these settings, you can customize your wishlist page according to your preferences.
Wishlist General Settings
The general settings of the wishlist include settings with the help of which you can more easily access the wishlist page through other pages.
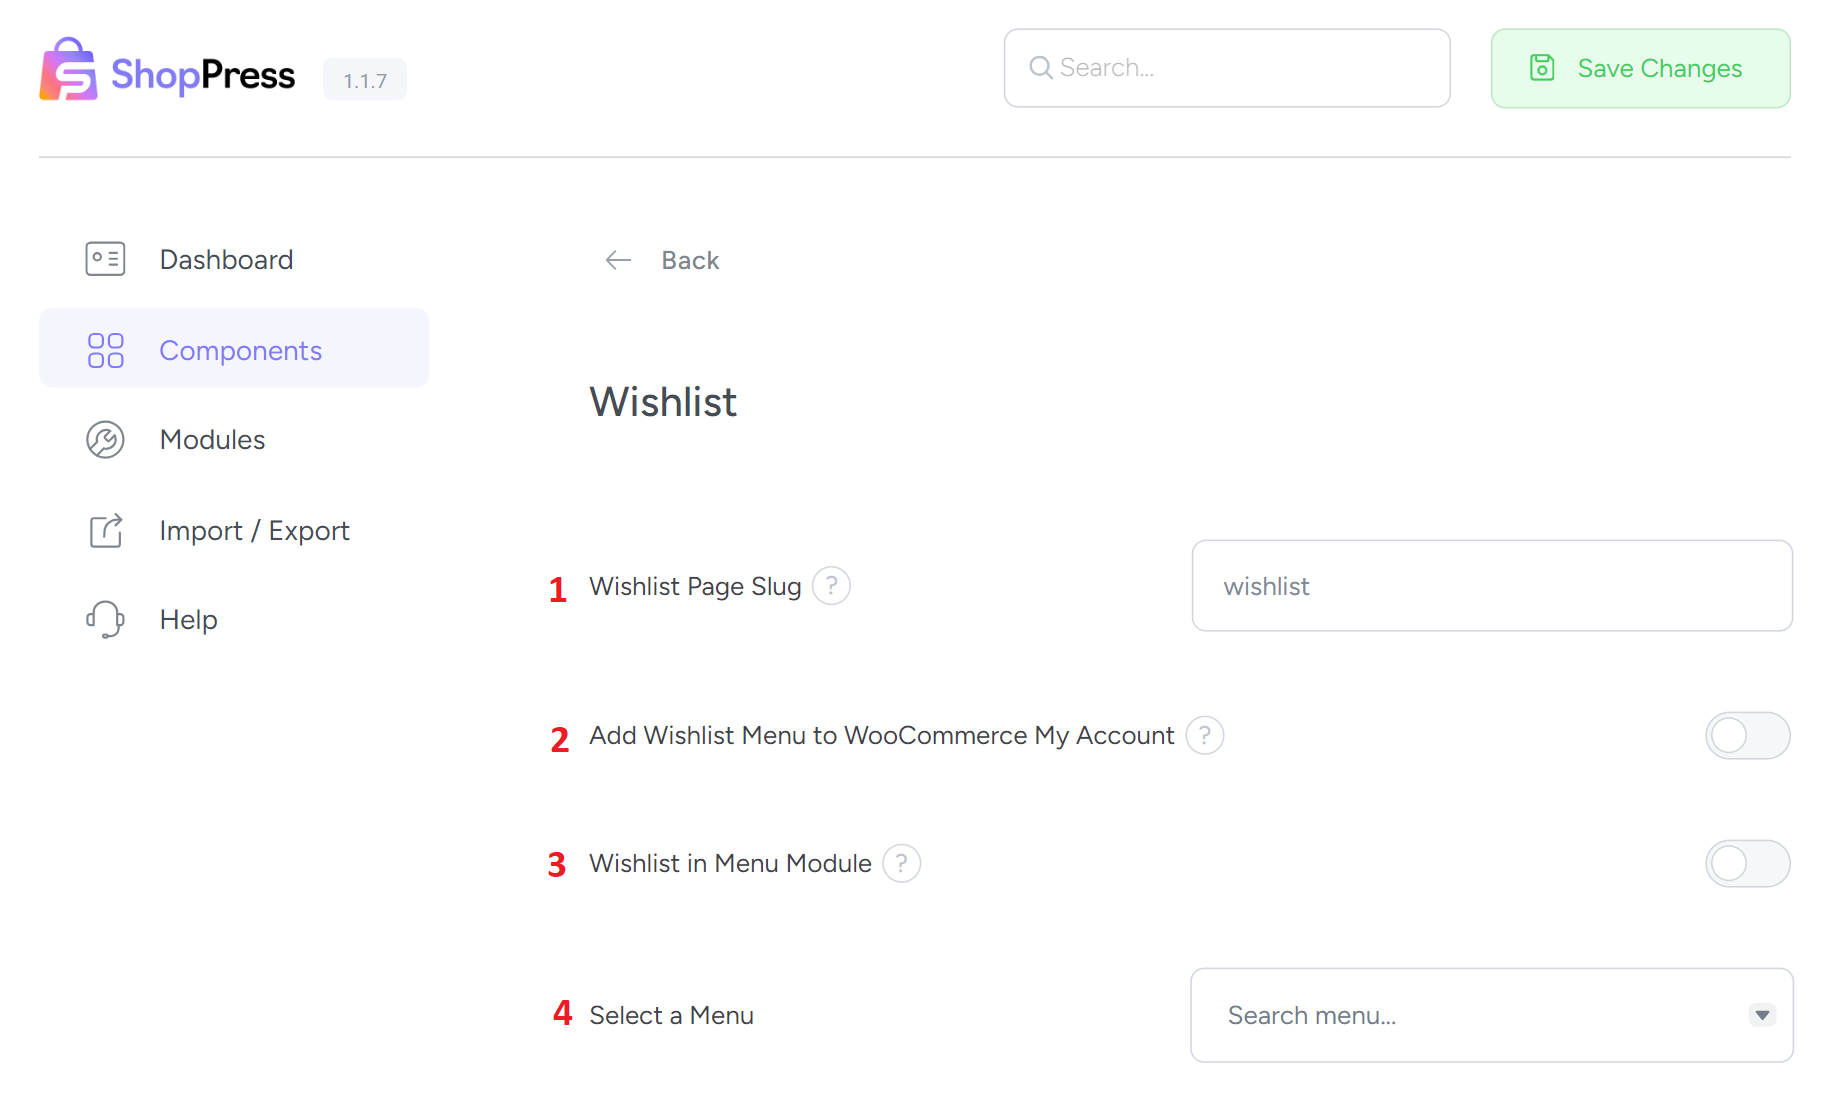
1- Wishlist Page Slug
Here, you can choose a slug for your favorite list page. There is no limit to choosing the name you want for this page.
2- Add Wishlist Menu to WooCommerce My Account
By activating/deactivating this option, Wishlist will be added to the WooCommerce menu on the My Account page. Activating this option will help you access the Wishlist more easily from the My Account page.
3- Wishlist in Menu Module
By activating/deactivating this option, Wishlist will be added to your selected menu. Enabling this option will help you access the Wishlist more easily.
4- Select a Menu
Select the list in which you want the Wishlist to be displayed. You can select any list you want regardless of its location in your theme.
Static Wishlist Page
Using these settings, you can personalize your wishlist page as much as possible. These settings include options such as menu module, button title, locations in the loop and in the single page, and much more.
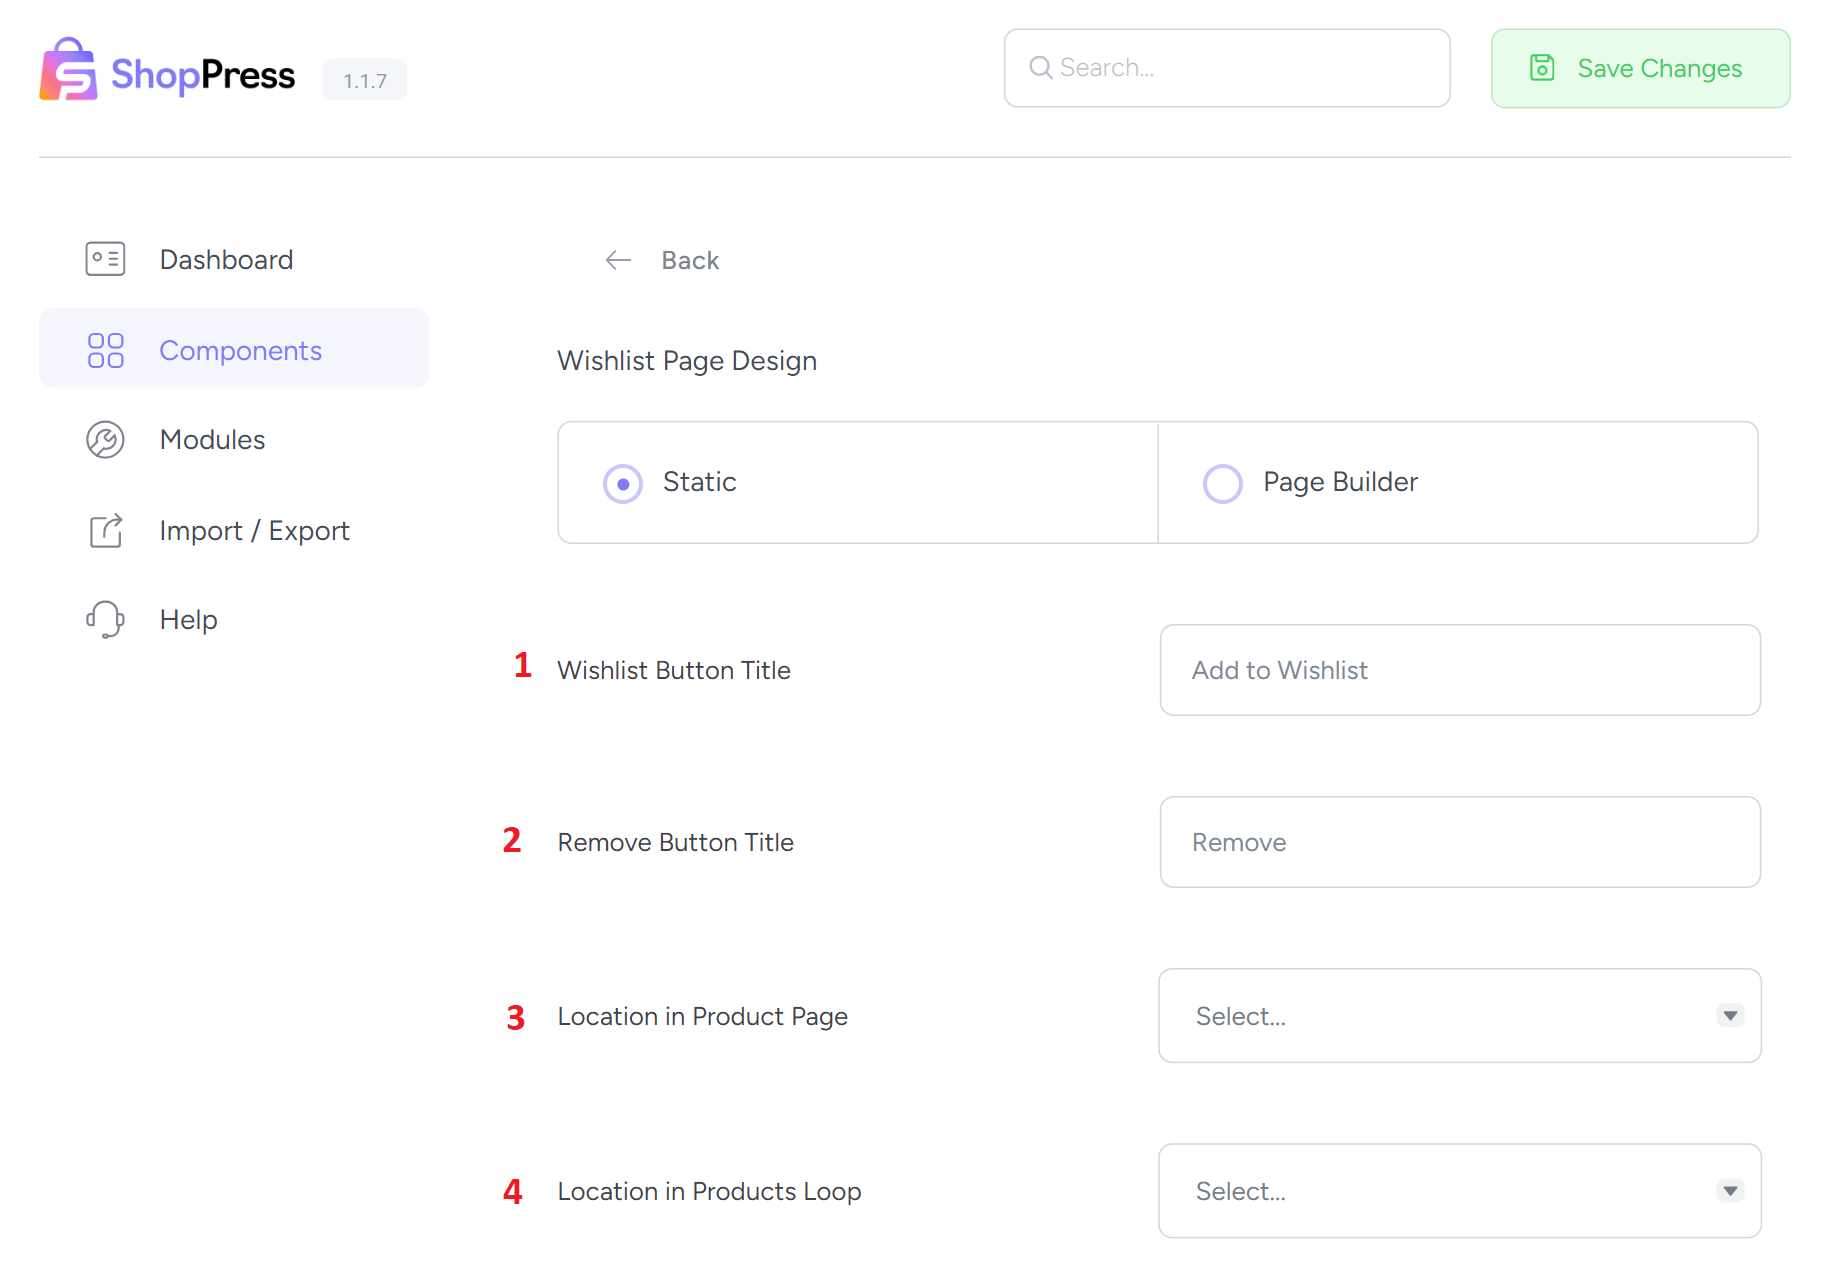
1- Wishlist Button Title
This option customizes the title of the wishlist button. You can choose any name you like.
2- Remove Button Title
This option customizes the title of the Remove button. You can choose any name you like.
3- Location in Product Page
This option allows you to specify the position of the wishlist button on the Product Page.
4- Location in Products Loop
This option allows you to specify the position of the wishlist button on the Product Loop.
Custom Wishlist page
You can design a custom look for your wishlist page using this option. ShopPress offers a list of valuable tools that you can use to give your wishlist page a new look and feel.
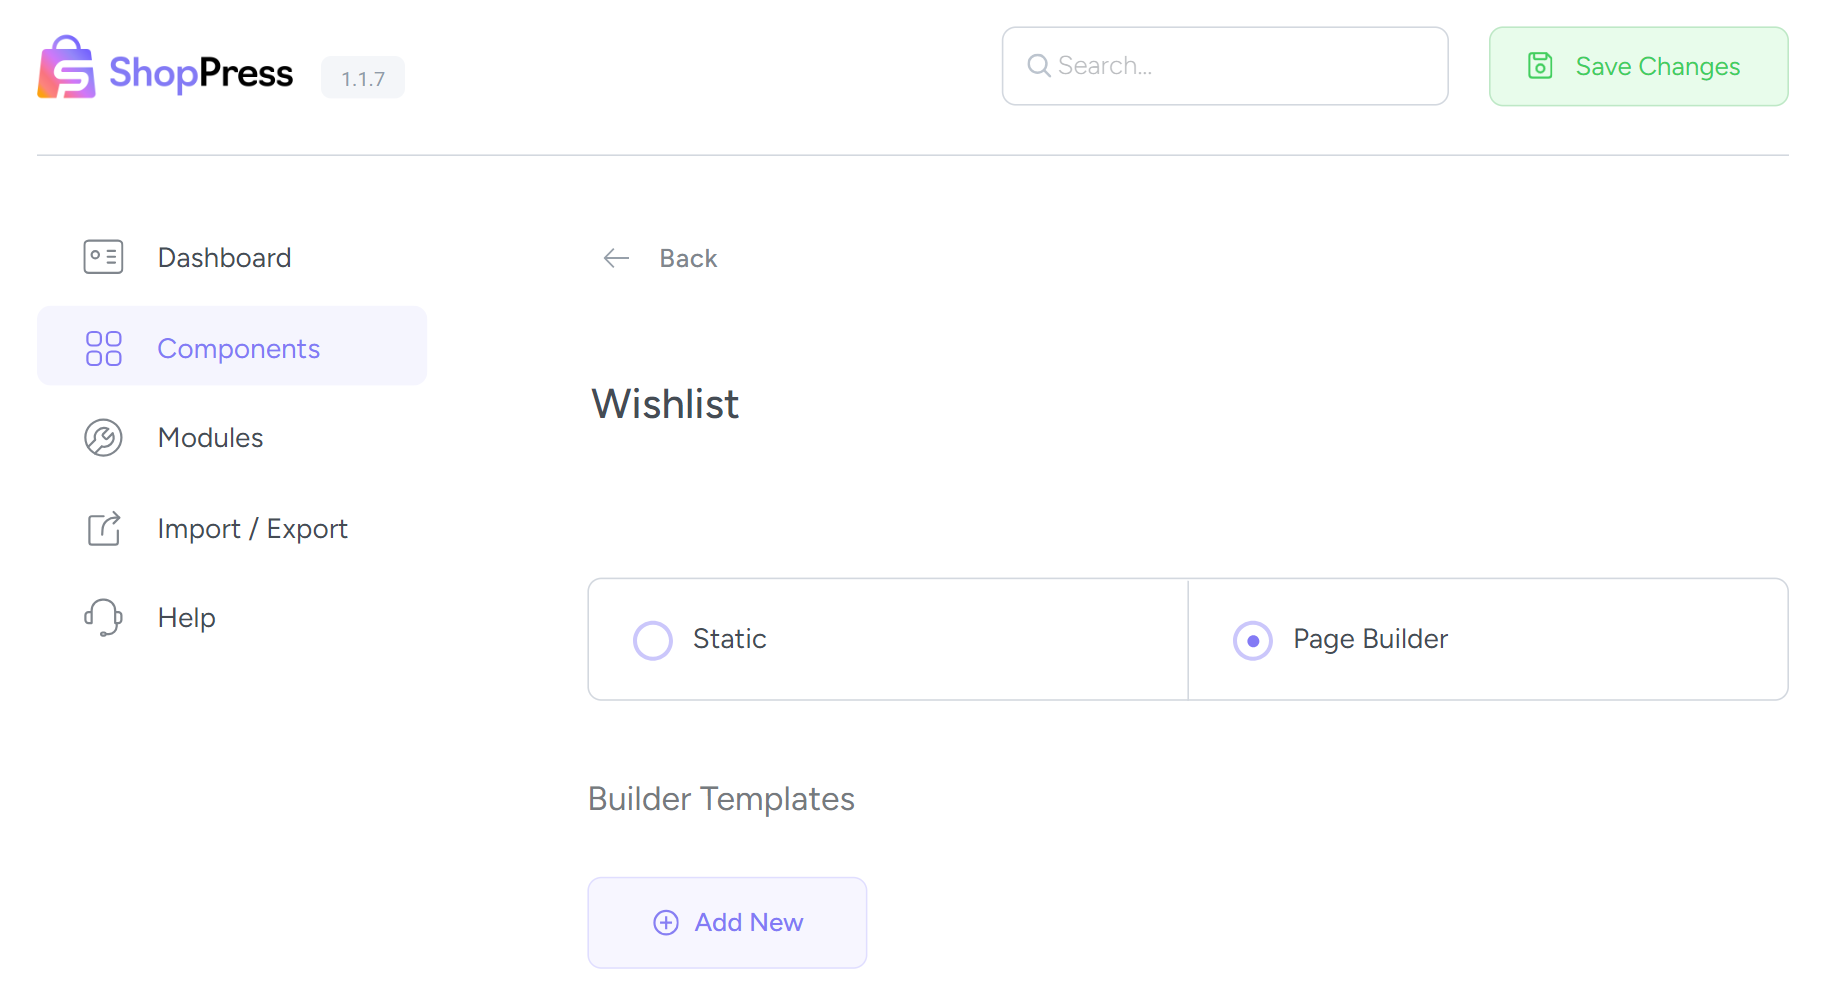
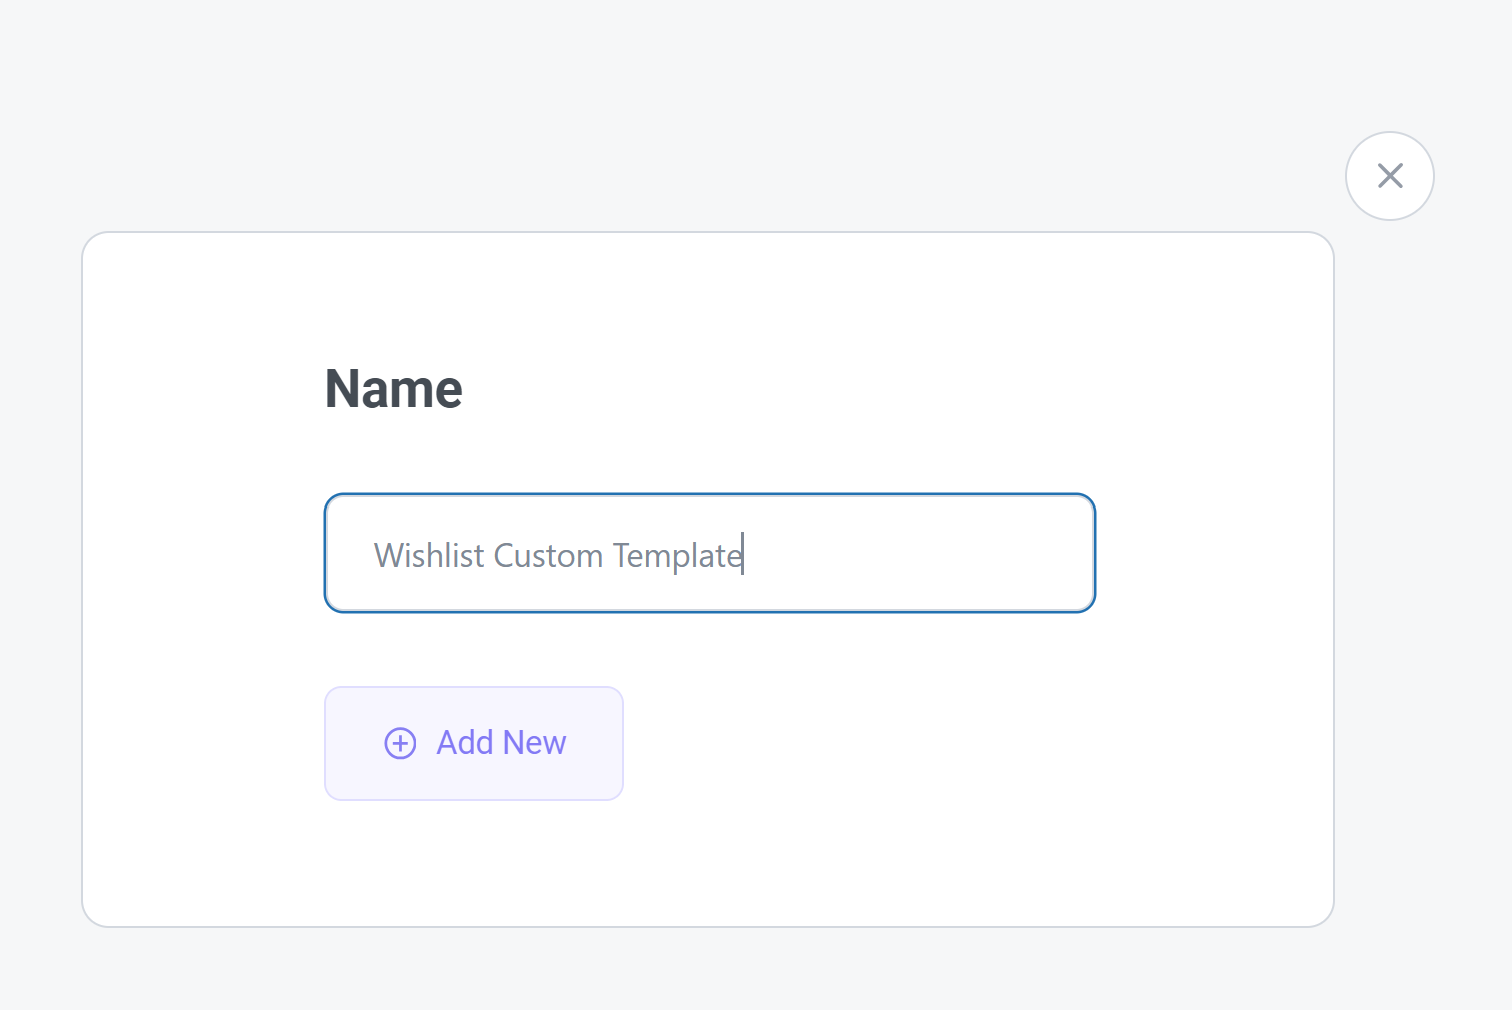
To do this, click the “Add New” button, enter the name of the desired template in the field that appears, and then simply click the “Add New” button.
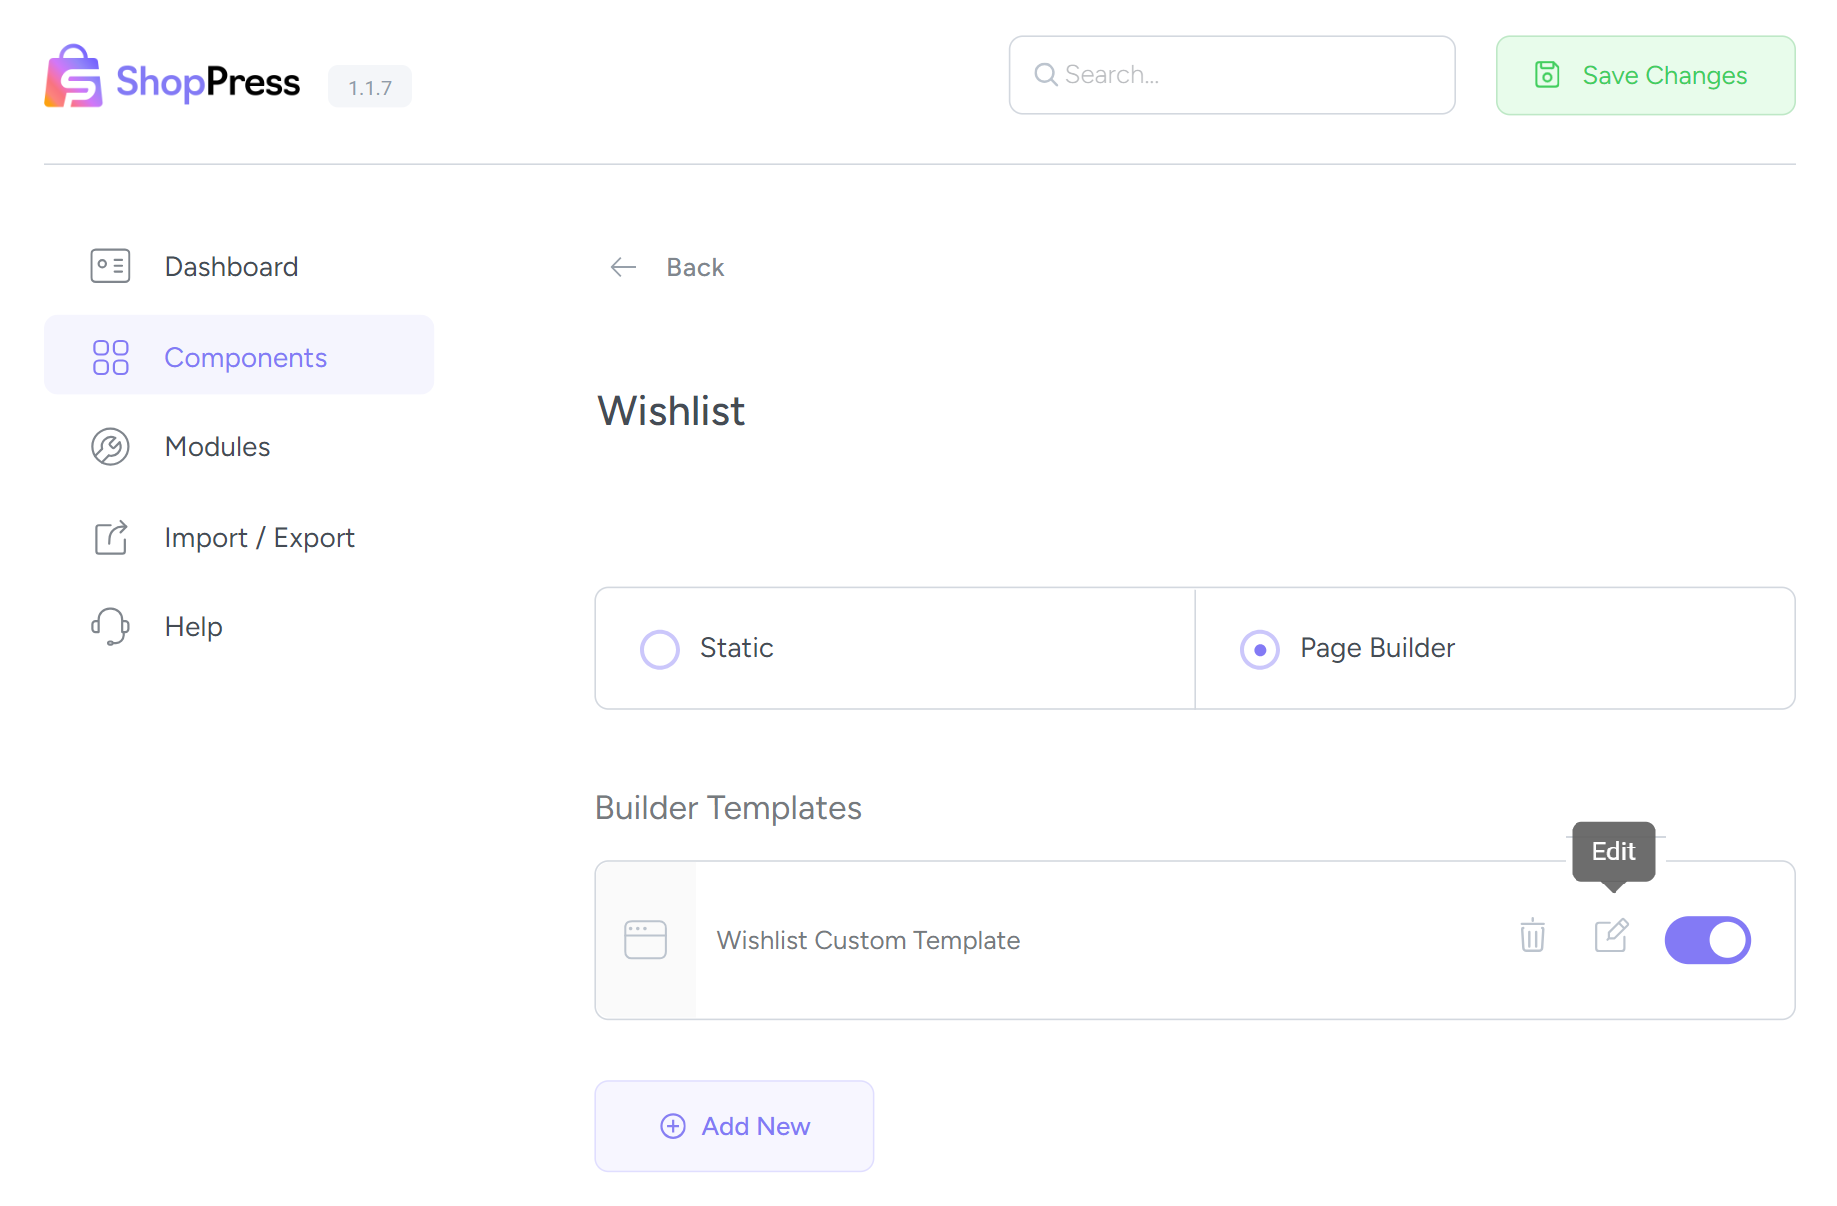
After adding the template, click on the toggle to make the template ready for editing. Save the page once to save the settings, and then click the “Edit” button to be redirected to the Elementor page builder, and the process of customizing your wishlist page begins.
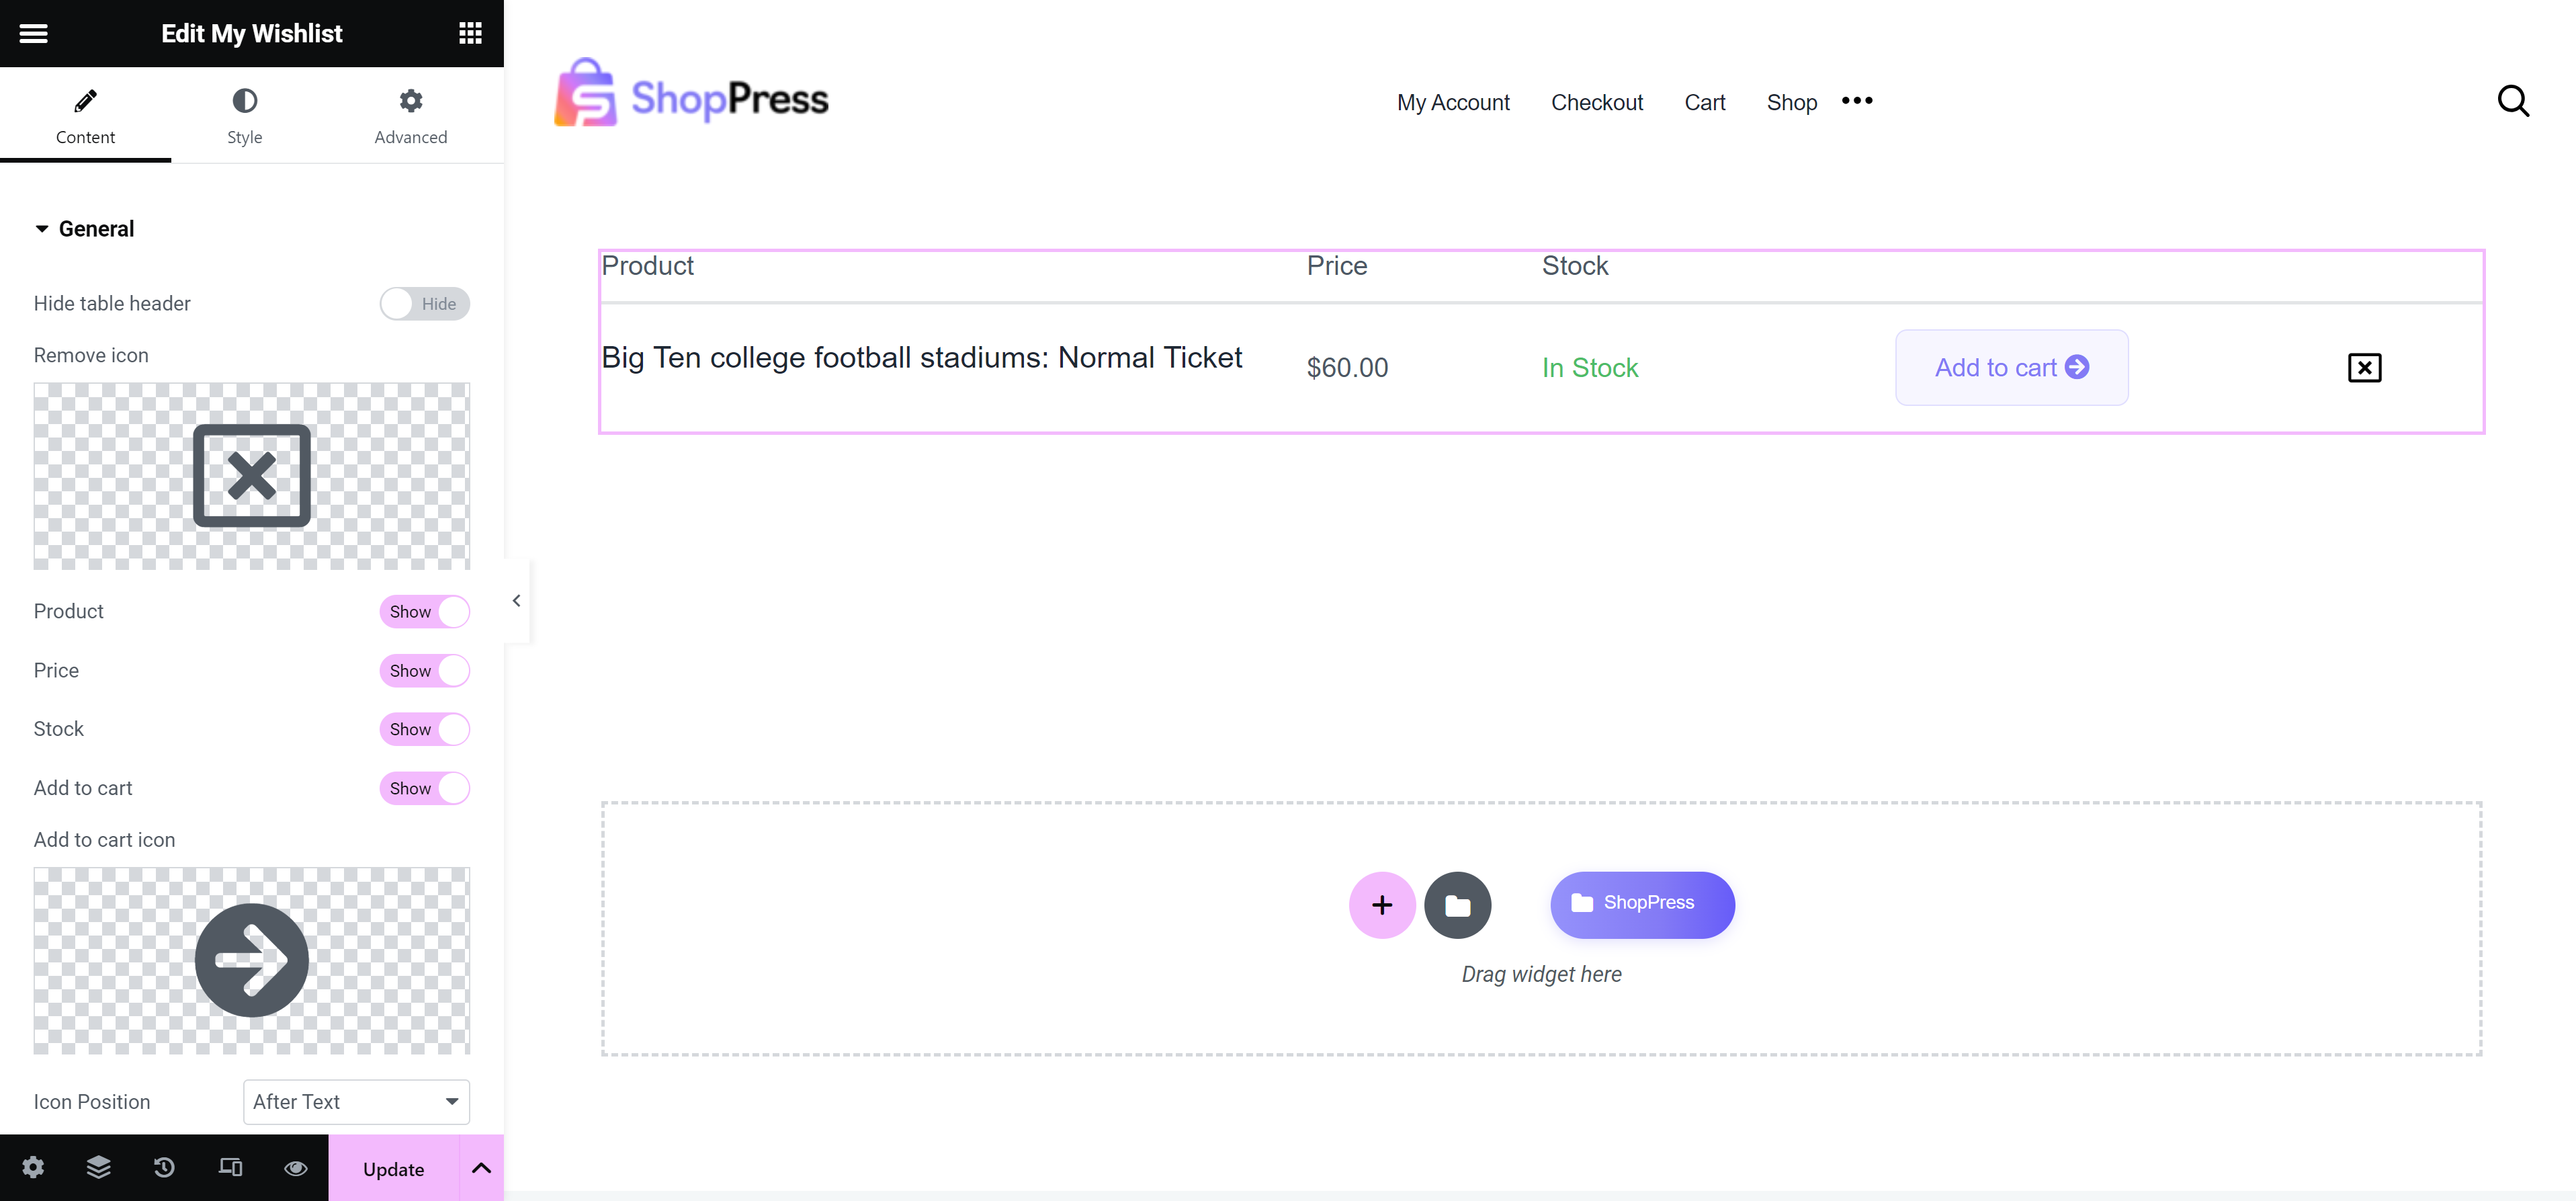
Wishlist Template Widgets
Now, let’s explain the tools available to customize the Wishlist page. You can easily create your Wishlist page with just a few clicks.
My Wishlist
With this widget, you can customize the Wishlist items such as thumbnail title, add to cart button, price, etc.