Table of Contents
ToggleIn this article, you will learn How to Create a WooCommerce Thank You Page with Elementor.
Interacting with customers is a fundamental aspect of any online retail platform. Consequently, it is imperative to devise a strategy that provides customers with a unique and seamless experience during all phases of their shopping journey.
That’s why It is highly advantageous for e-commerce websites to incorporate a thank you page, where users are automatically redirected after completing their orders. This simple addition can add significant benefits in terms of customer satisfaction and user experience. With this component, you will be able to create a beautifully designed Thank you page using the powerful Elementor Page Builder.
Create a WooCommerce Thank You Page with Elementor
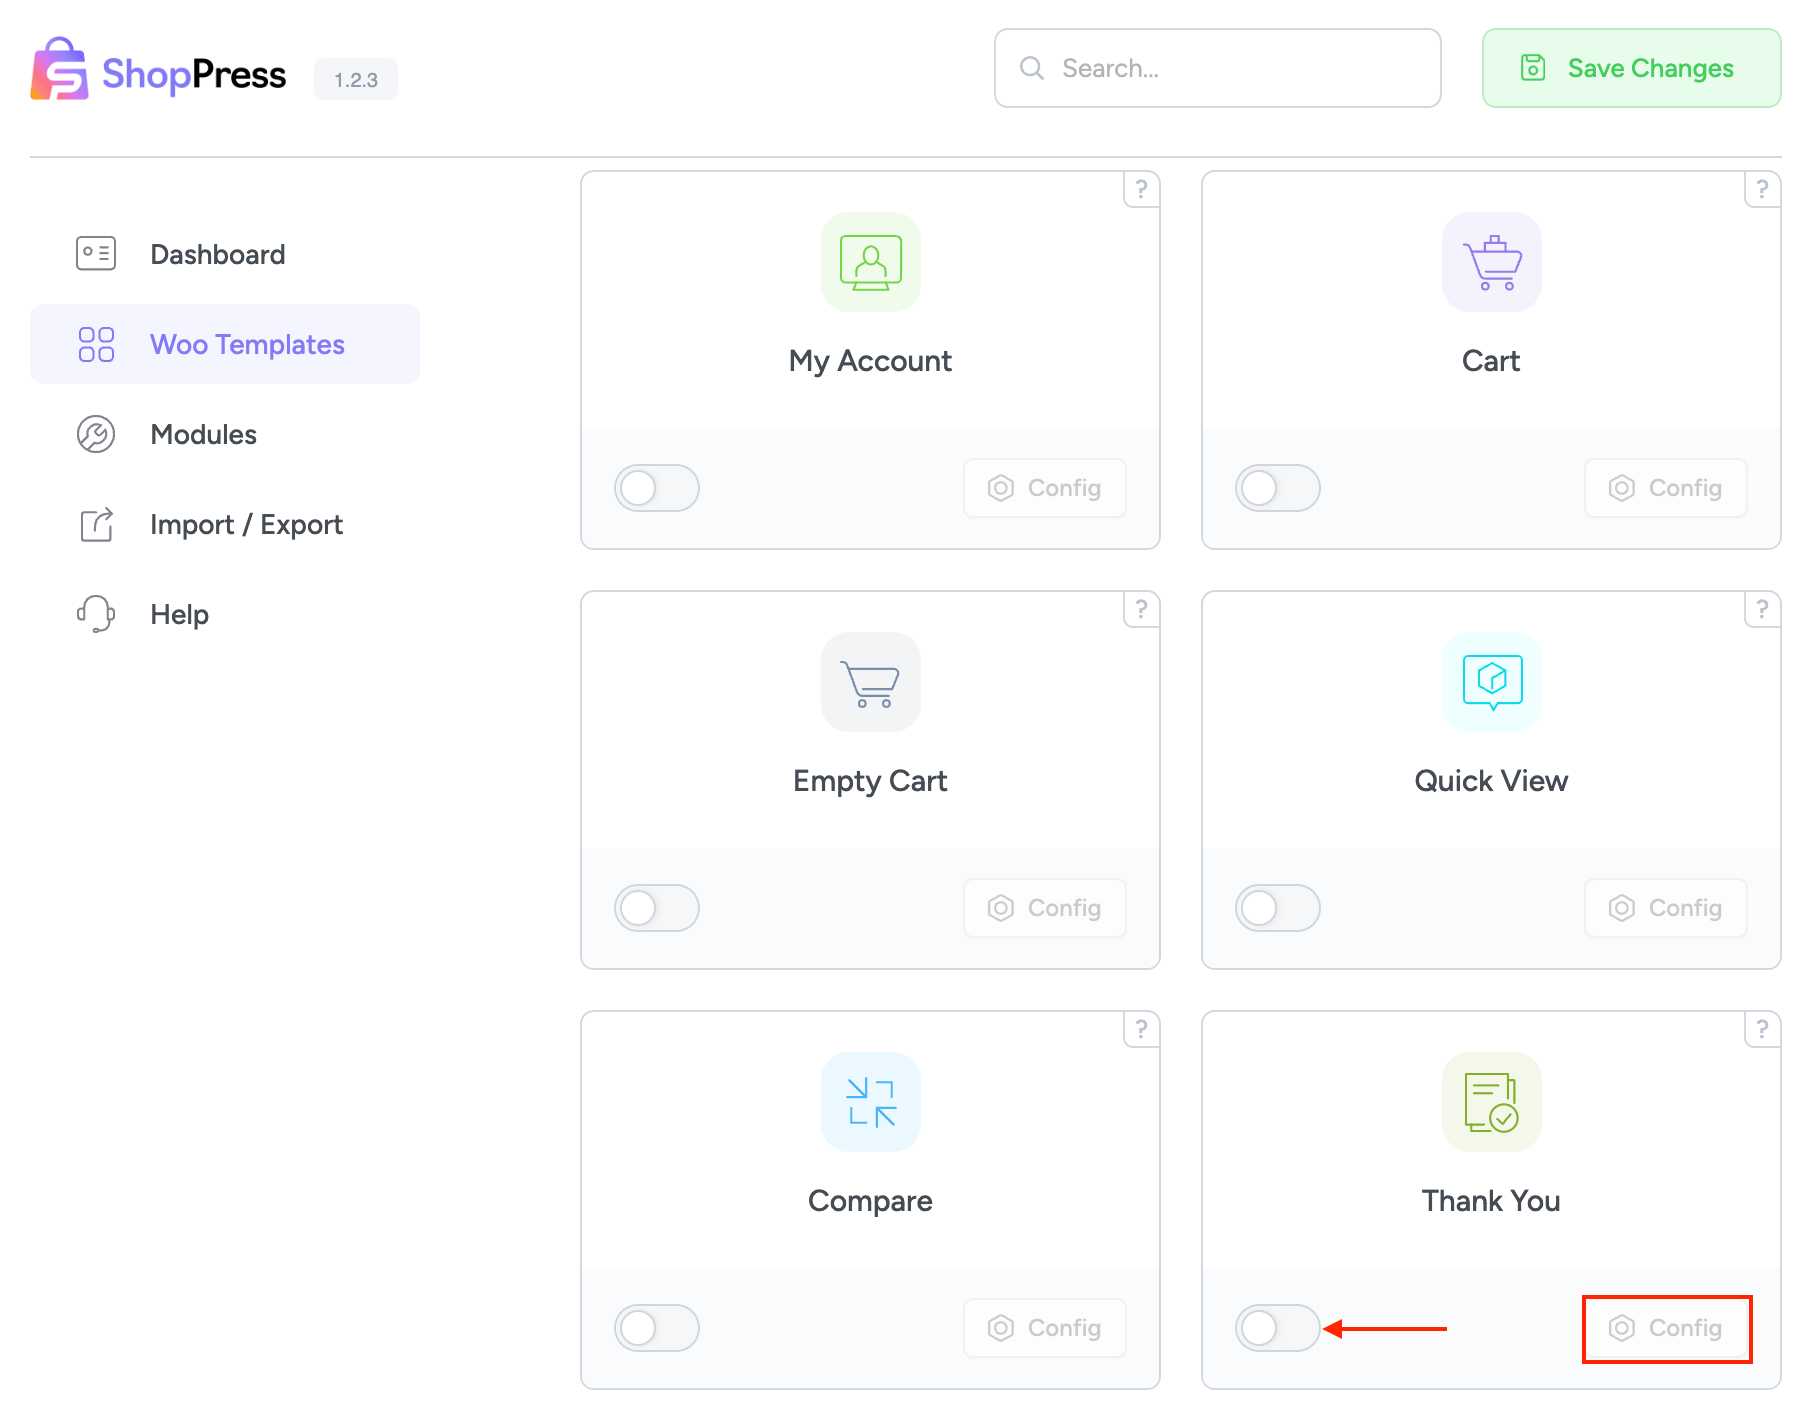
To enable the Thank You Page edit tool, you need to follow these steps: First, go to the WordPress dashboard menu and select ShopPress > Components. Then, enable the Thank You Page component. Once you do that, you’ll see the config button, which you can click on to enter the Thank You Page component settings. With these settings, you’ll be able to customize your Thank You page however you like.

Creating Templates for the Thank You page
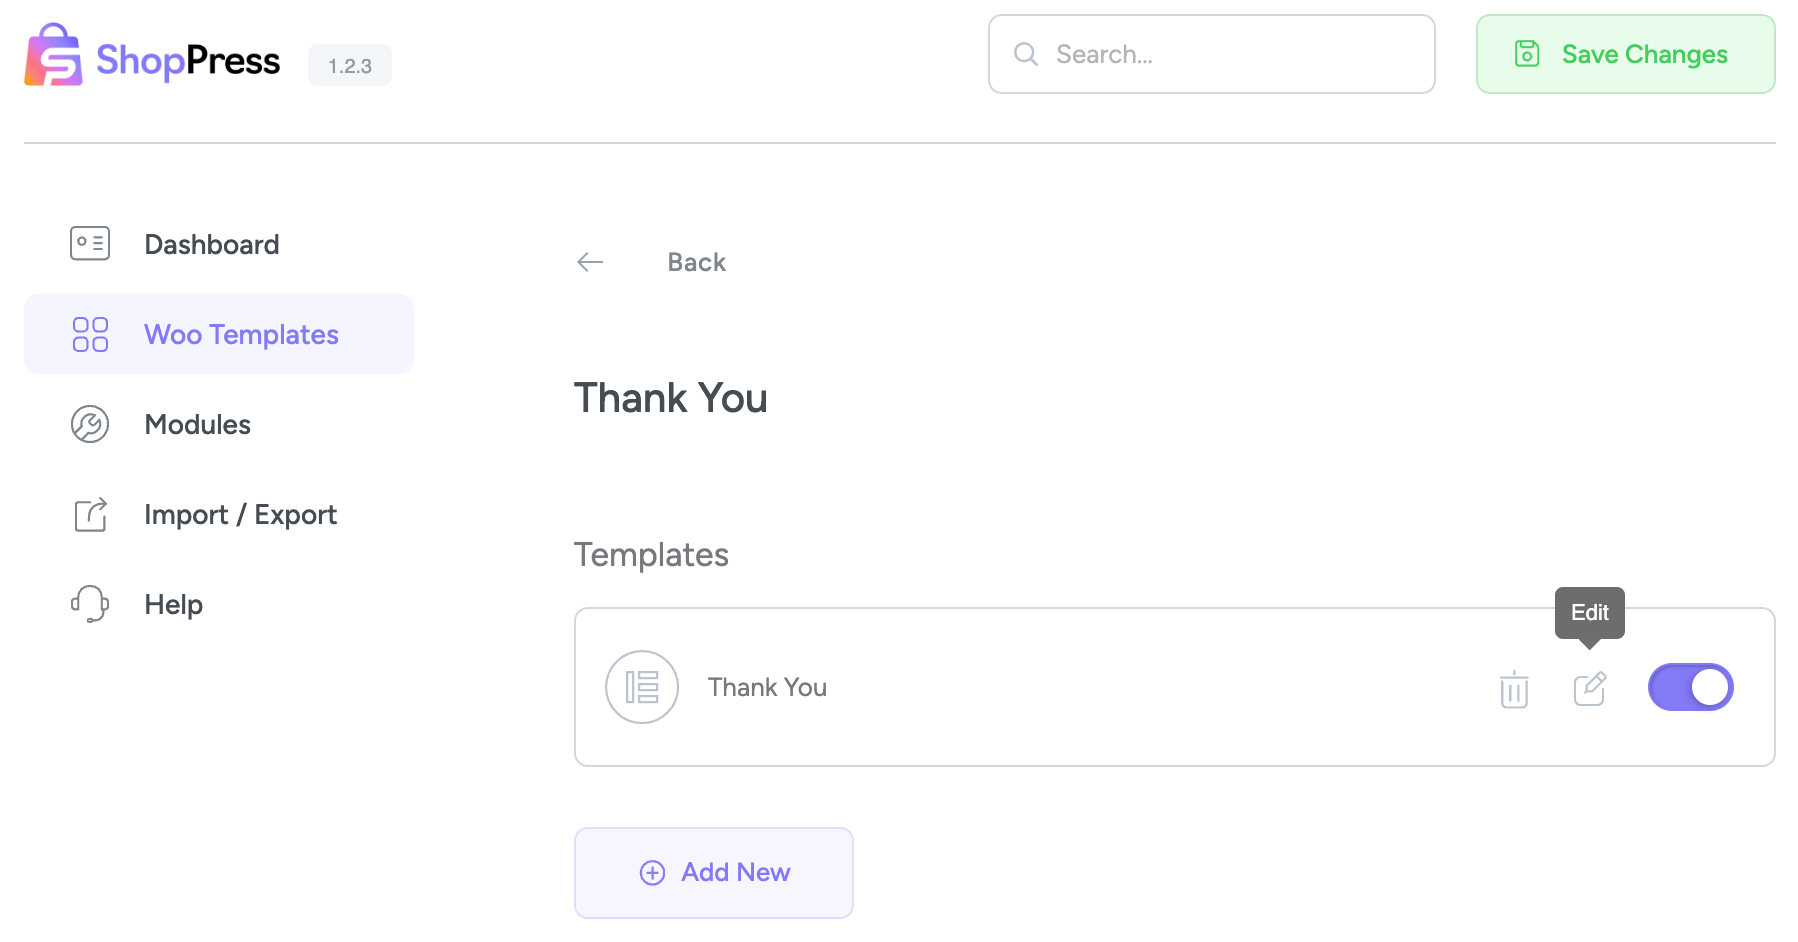
To create a new template for your Thank You page, click on the “Add New” button. Afterward, you can access the Elementor Thank You edit page by clicking on the edit icon. This will allow you to customize the page with a wide range of widgets specifically prepared for this purpose.

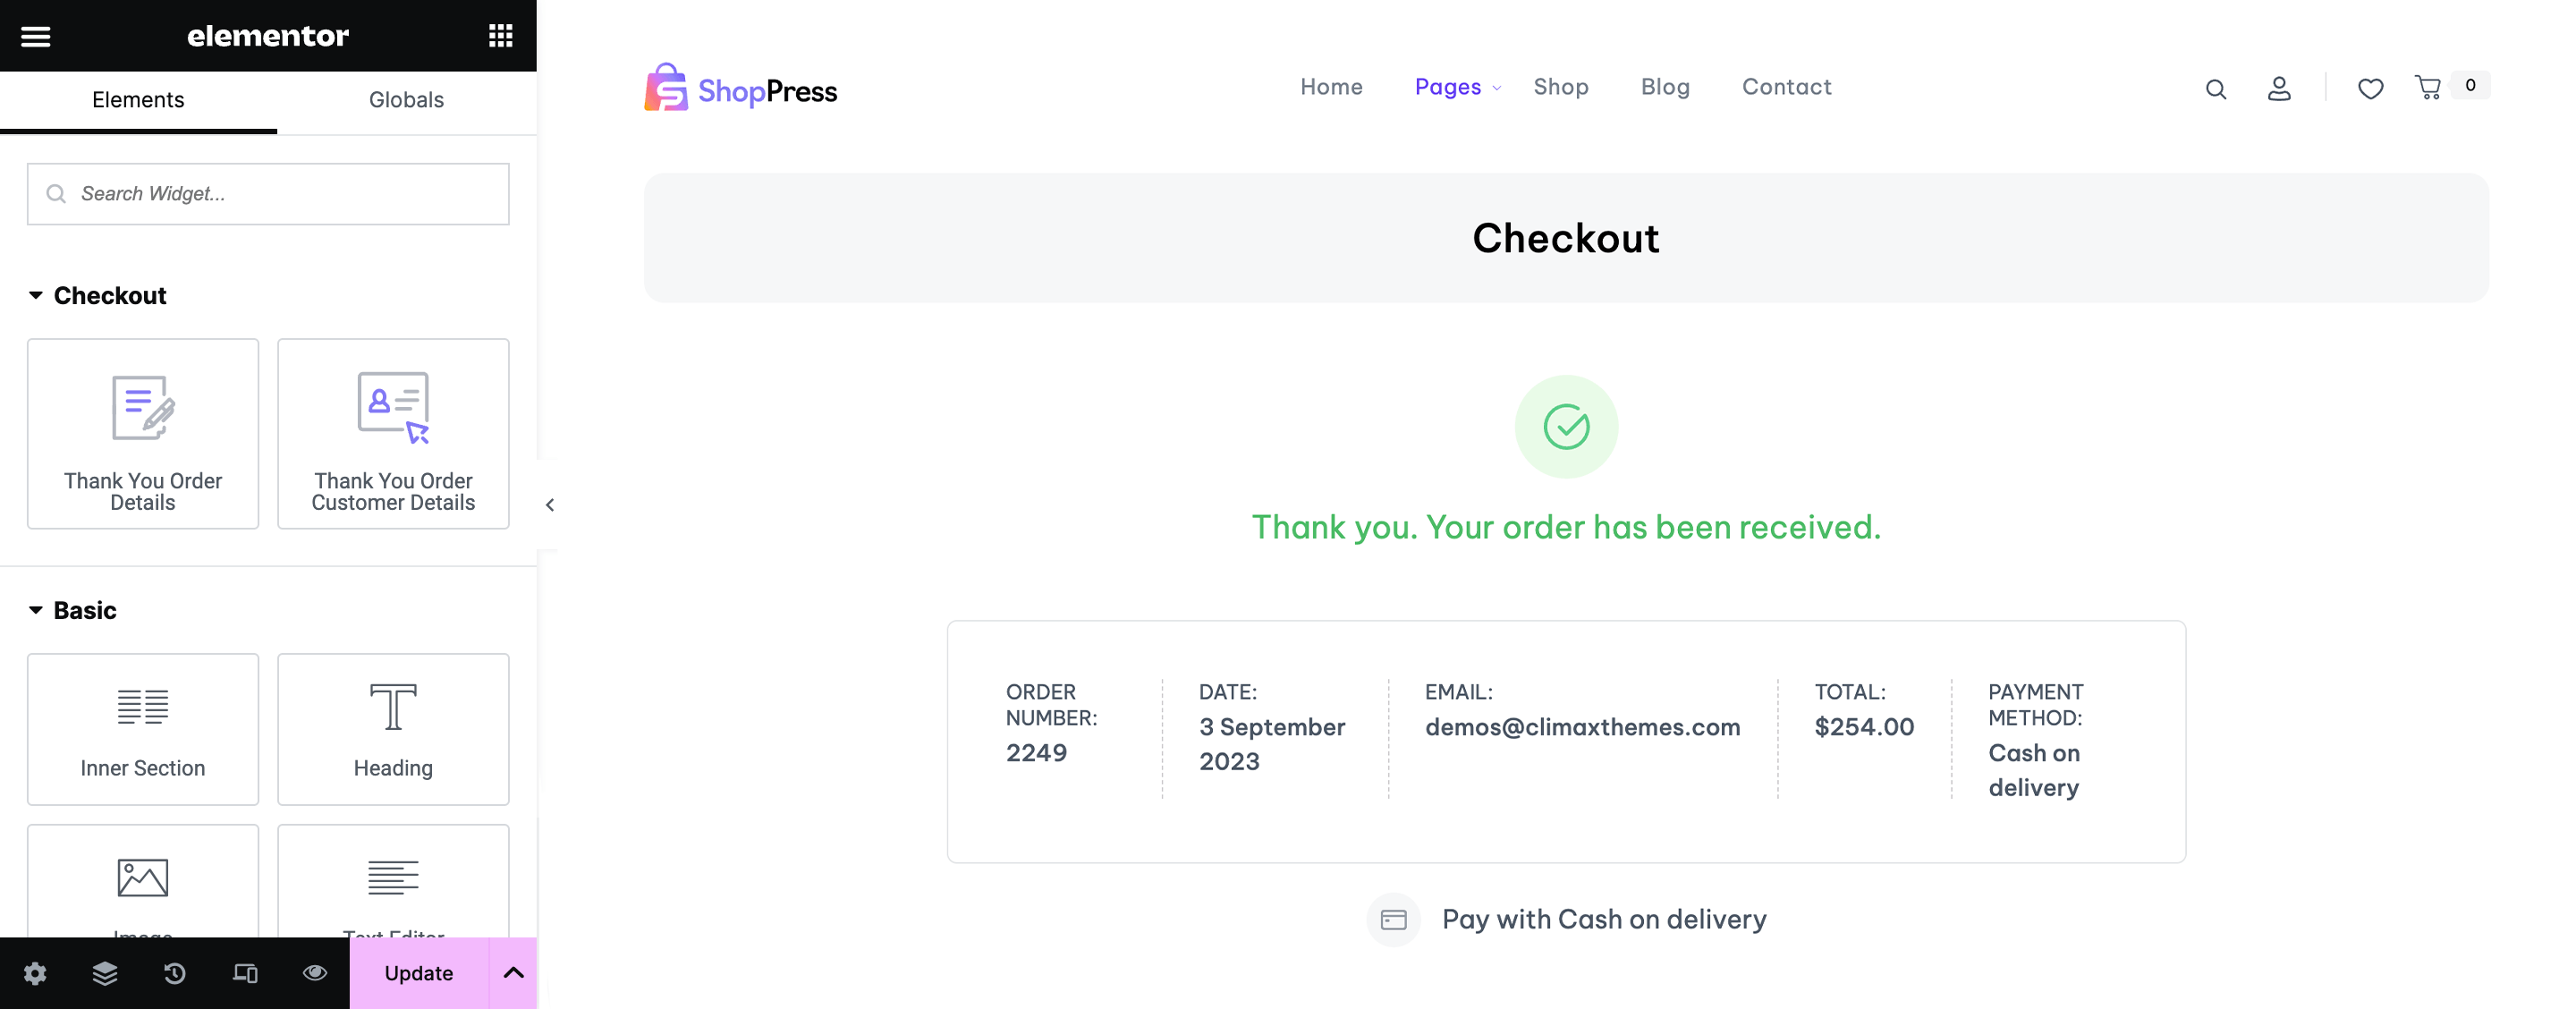
On the Elementor Page, you can use widgets such as “Thank You Page Order Details” and “Thank You Order Customer Details” to customize your Thank You page based on your preferences.

After making changes to Elementor and ShopPress settings, customers will be redirected to this page upon successful checkout.

