Table of Contents
ToggleIn this article, we will guide you through the activation process of the WooCommerce Backorder feature and provide you with a clear and concise overview of this process. Backorder is a functionality that allows customers to purchase products that are not available yet but will be released soon.
Activating and Using WooCommerce Backorder
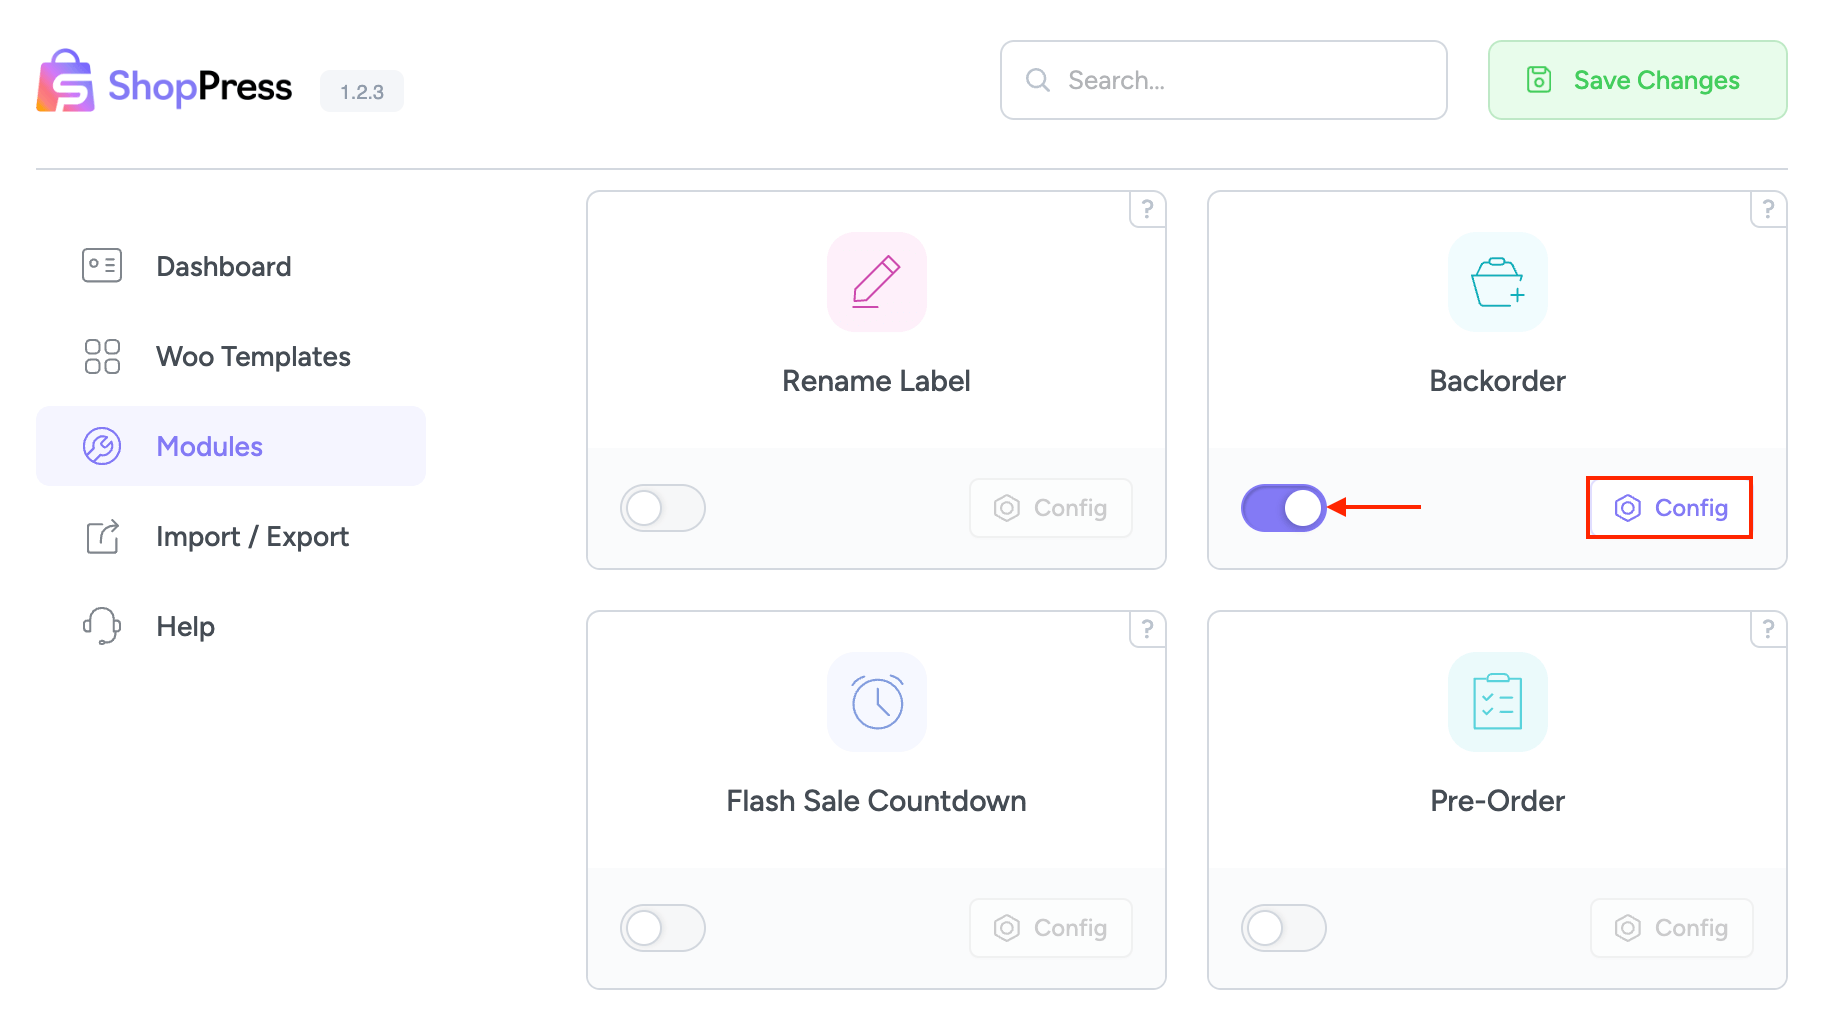
Navigate to ShopPress > Modules > Backorder. Once on the Backorder module page, click on the Config button to begin the setup.

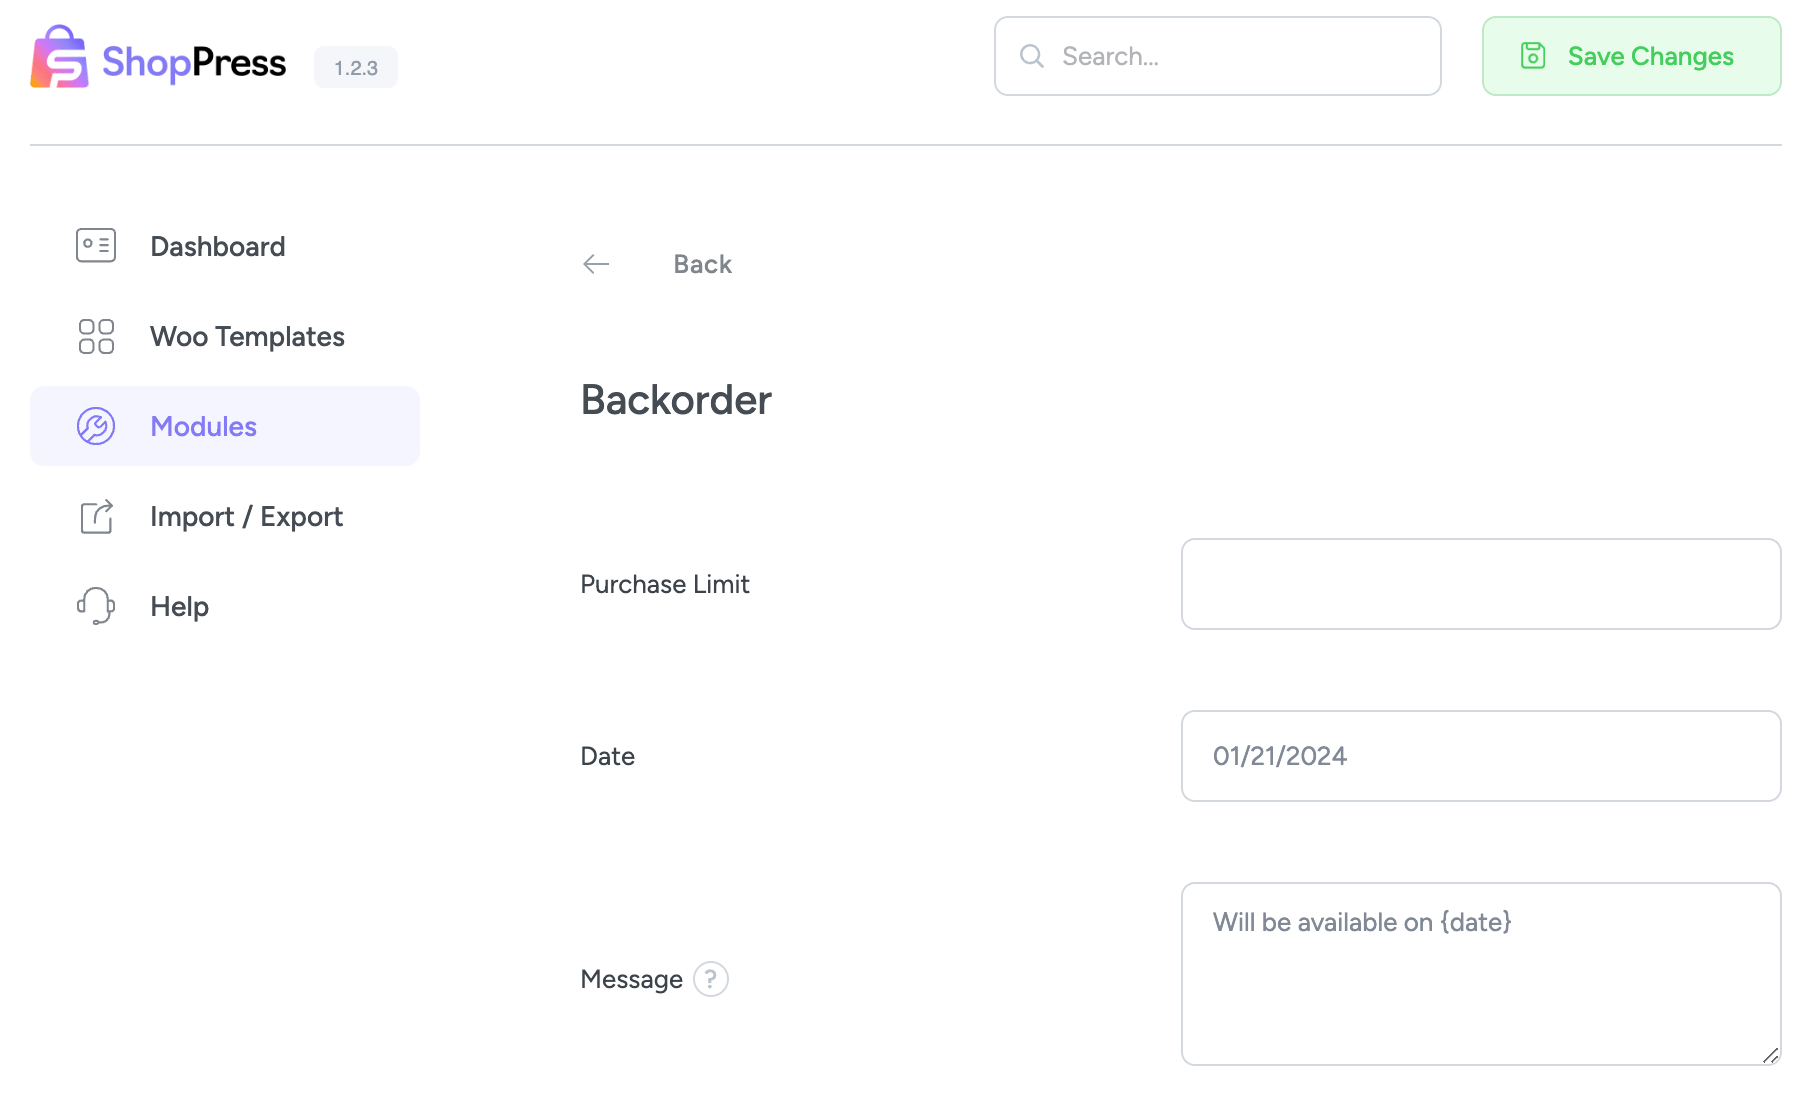
On the configuration page, you will find the following settings:

Purchase Limit: This setting determines the maximum quantity of products that can be ordered using the Backorder feature.
Date: Specify the date when the product will become available and be dispatched to customers.
Message: This is the message that will be displayed on the product page for Backorder orders.
Configuring Individual Products for Backorder
After configuring the general settings, you need to enable the Backorder feature for specific products.
Go to the product you wish to make available for Backorder and navigate to the Inventory section.
Activate the “On backorder” option.

Note: If you want individual product settings to differ from the general configuration, you can customize the order quantity and availability date for each product using the options provided.
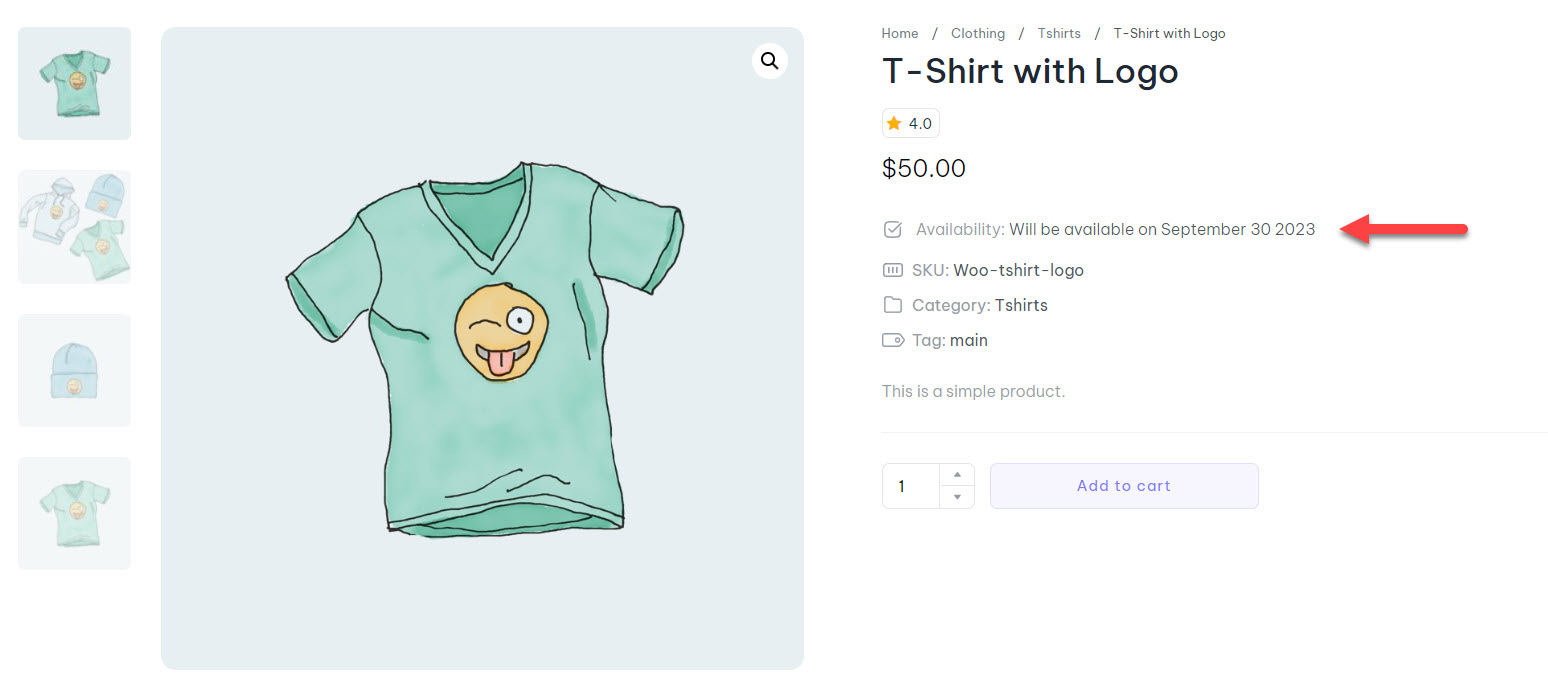
Once you’ve followed these steps, visit the product page, and you will see a message indicating that this product is available for Backorder.


