In this article, we will walk you through the Woocommerce Brands Module.
Most online shoppers consider brand recognition an essential factor before making a purchase. With ShopPress, you can easily implement an effective brand presence in your shop to attract customers to your store. By displaying well-known brands, customers are more likely to trust the products you sell, which ultimately motivates them to make a purchase.
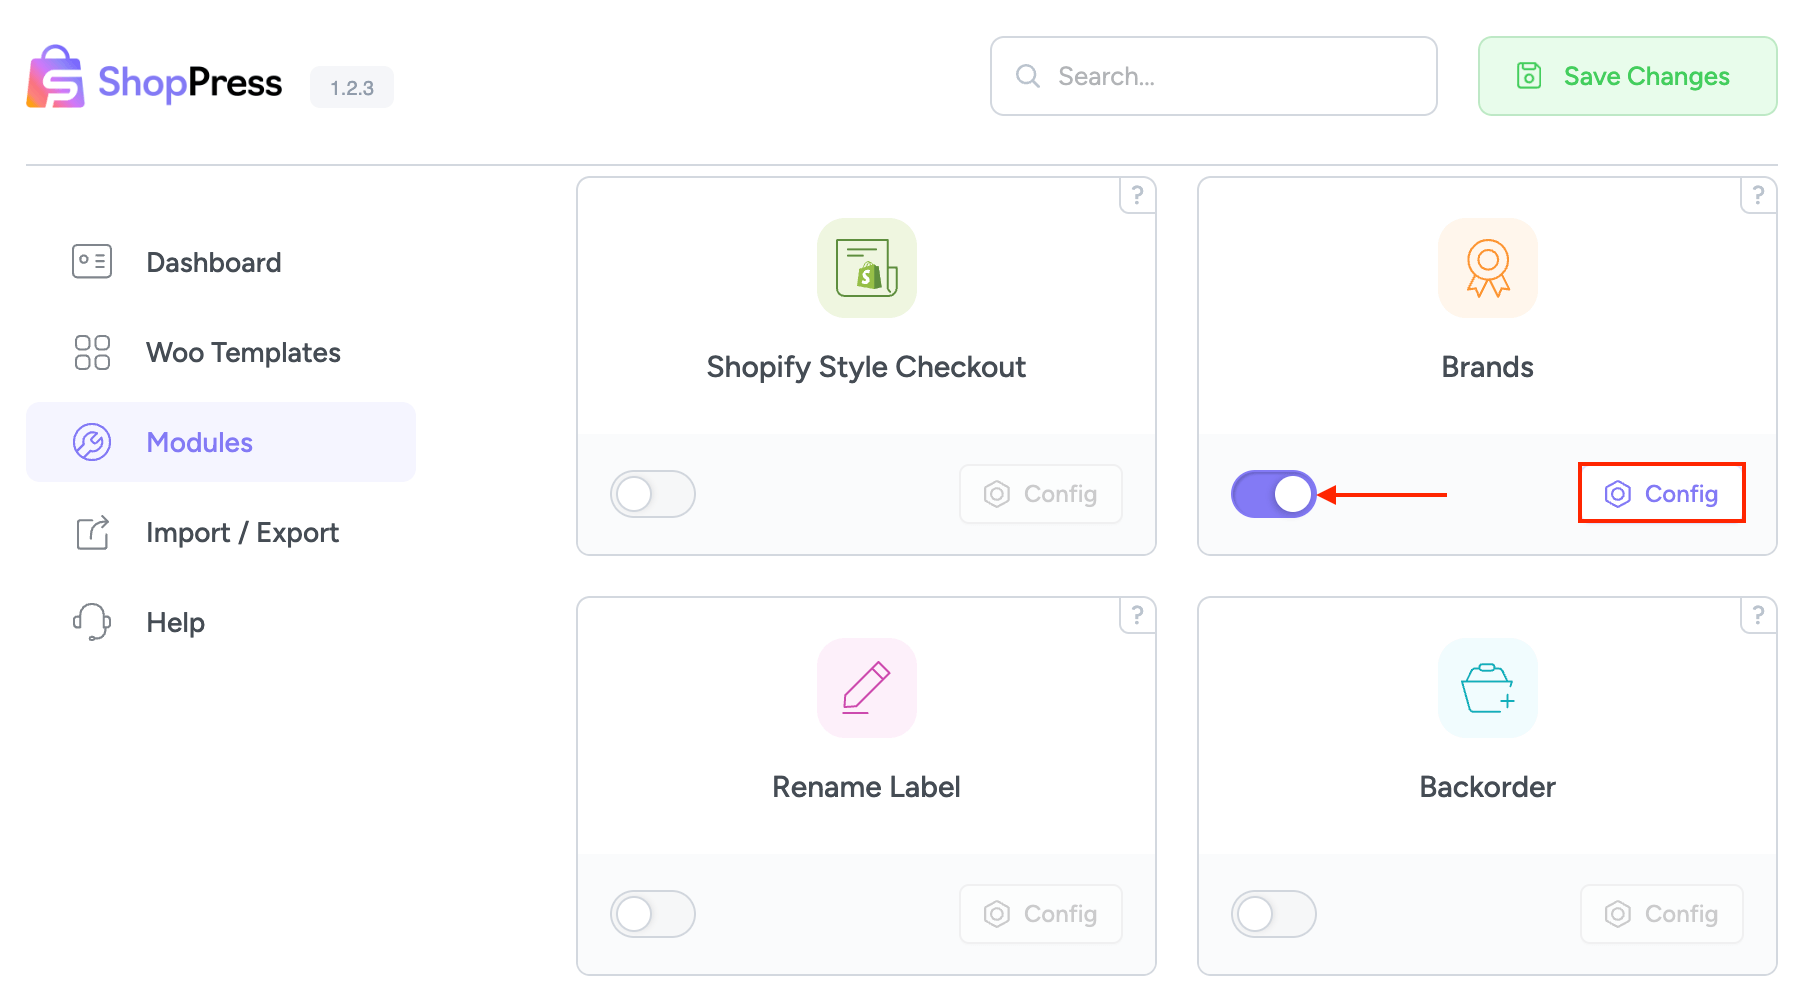
Activating the WooCommerce Brands Module
To activate the WooCommerce Brands module, kindly head over to the ShopPress menu, select “Modules,” and toggle the switch to enable it. Then, click on the Config button to enter the brand settings.
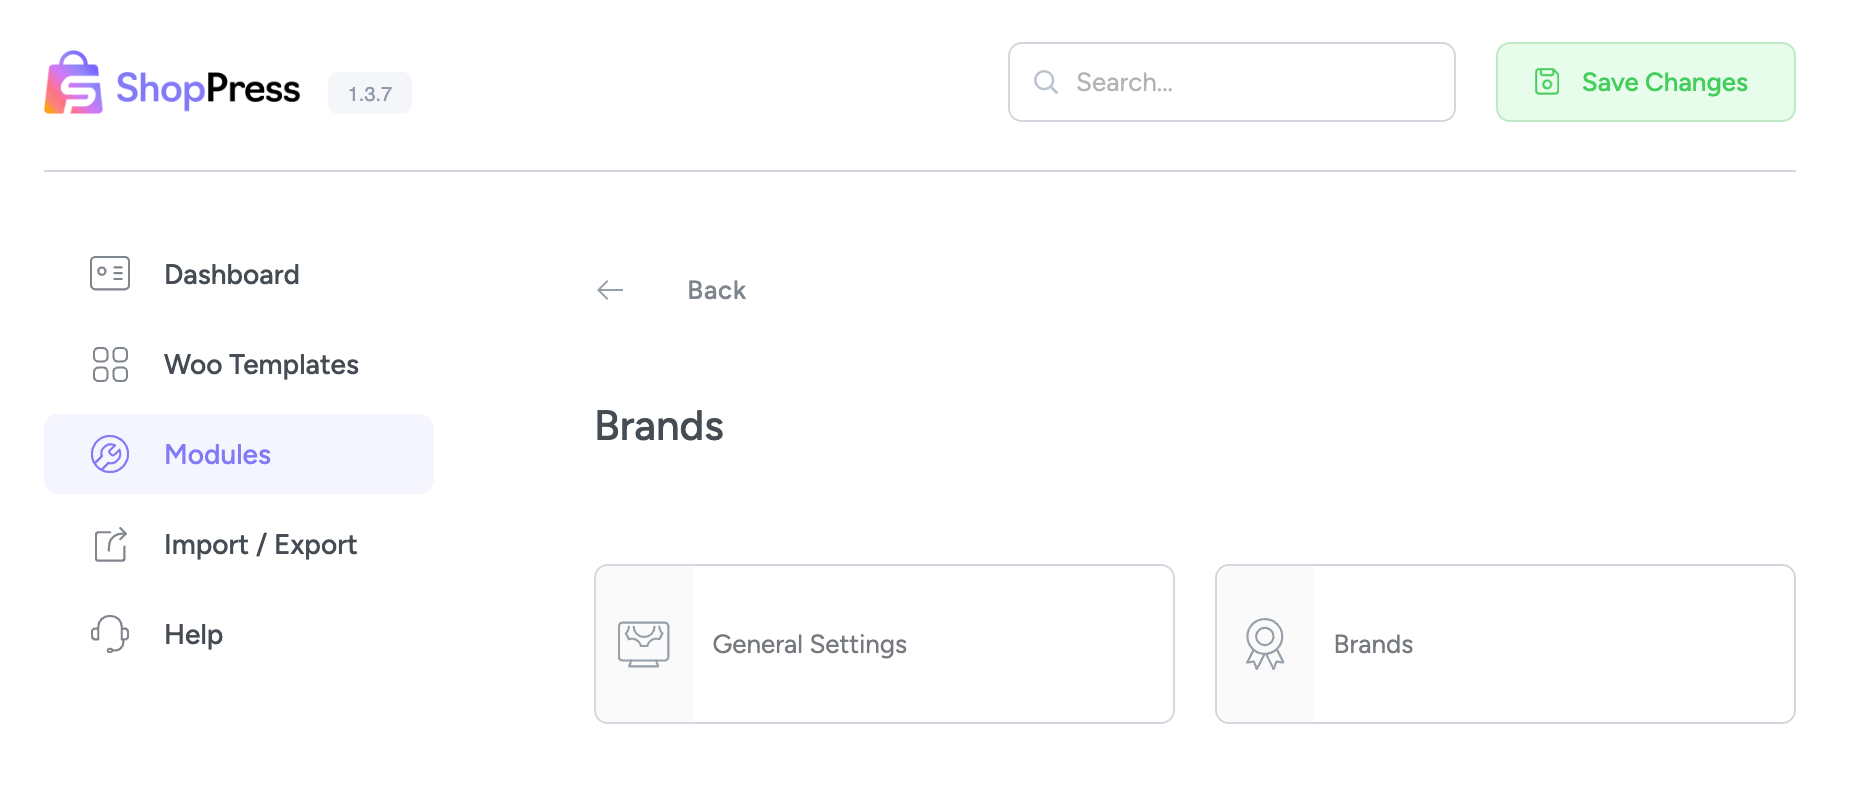
On the config page, you will have the ability to create WooCommerce Brands as a taxonomy or customize the brand’s settings.
General Settings
This page provides access to all brand-related settings, simplifying the management and customization of brand-specific options.
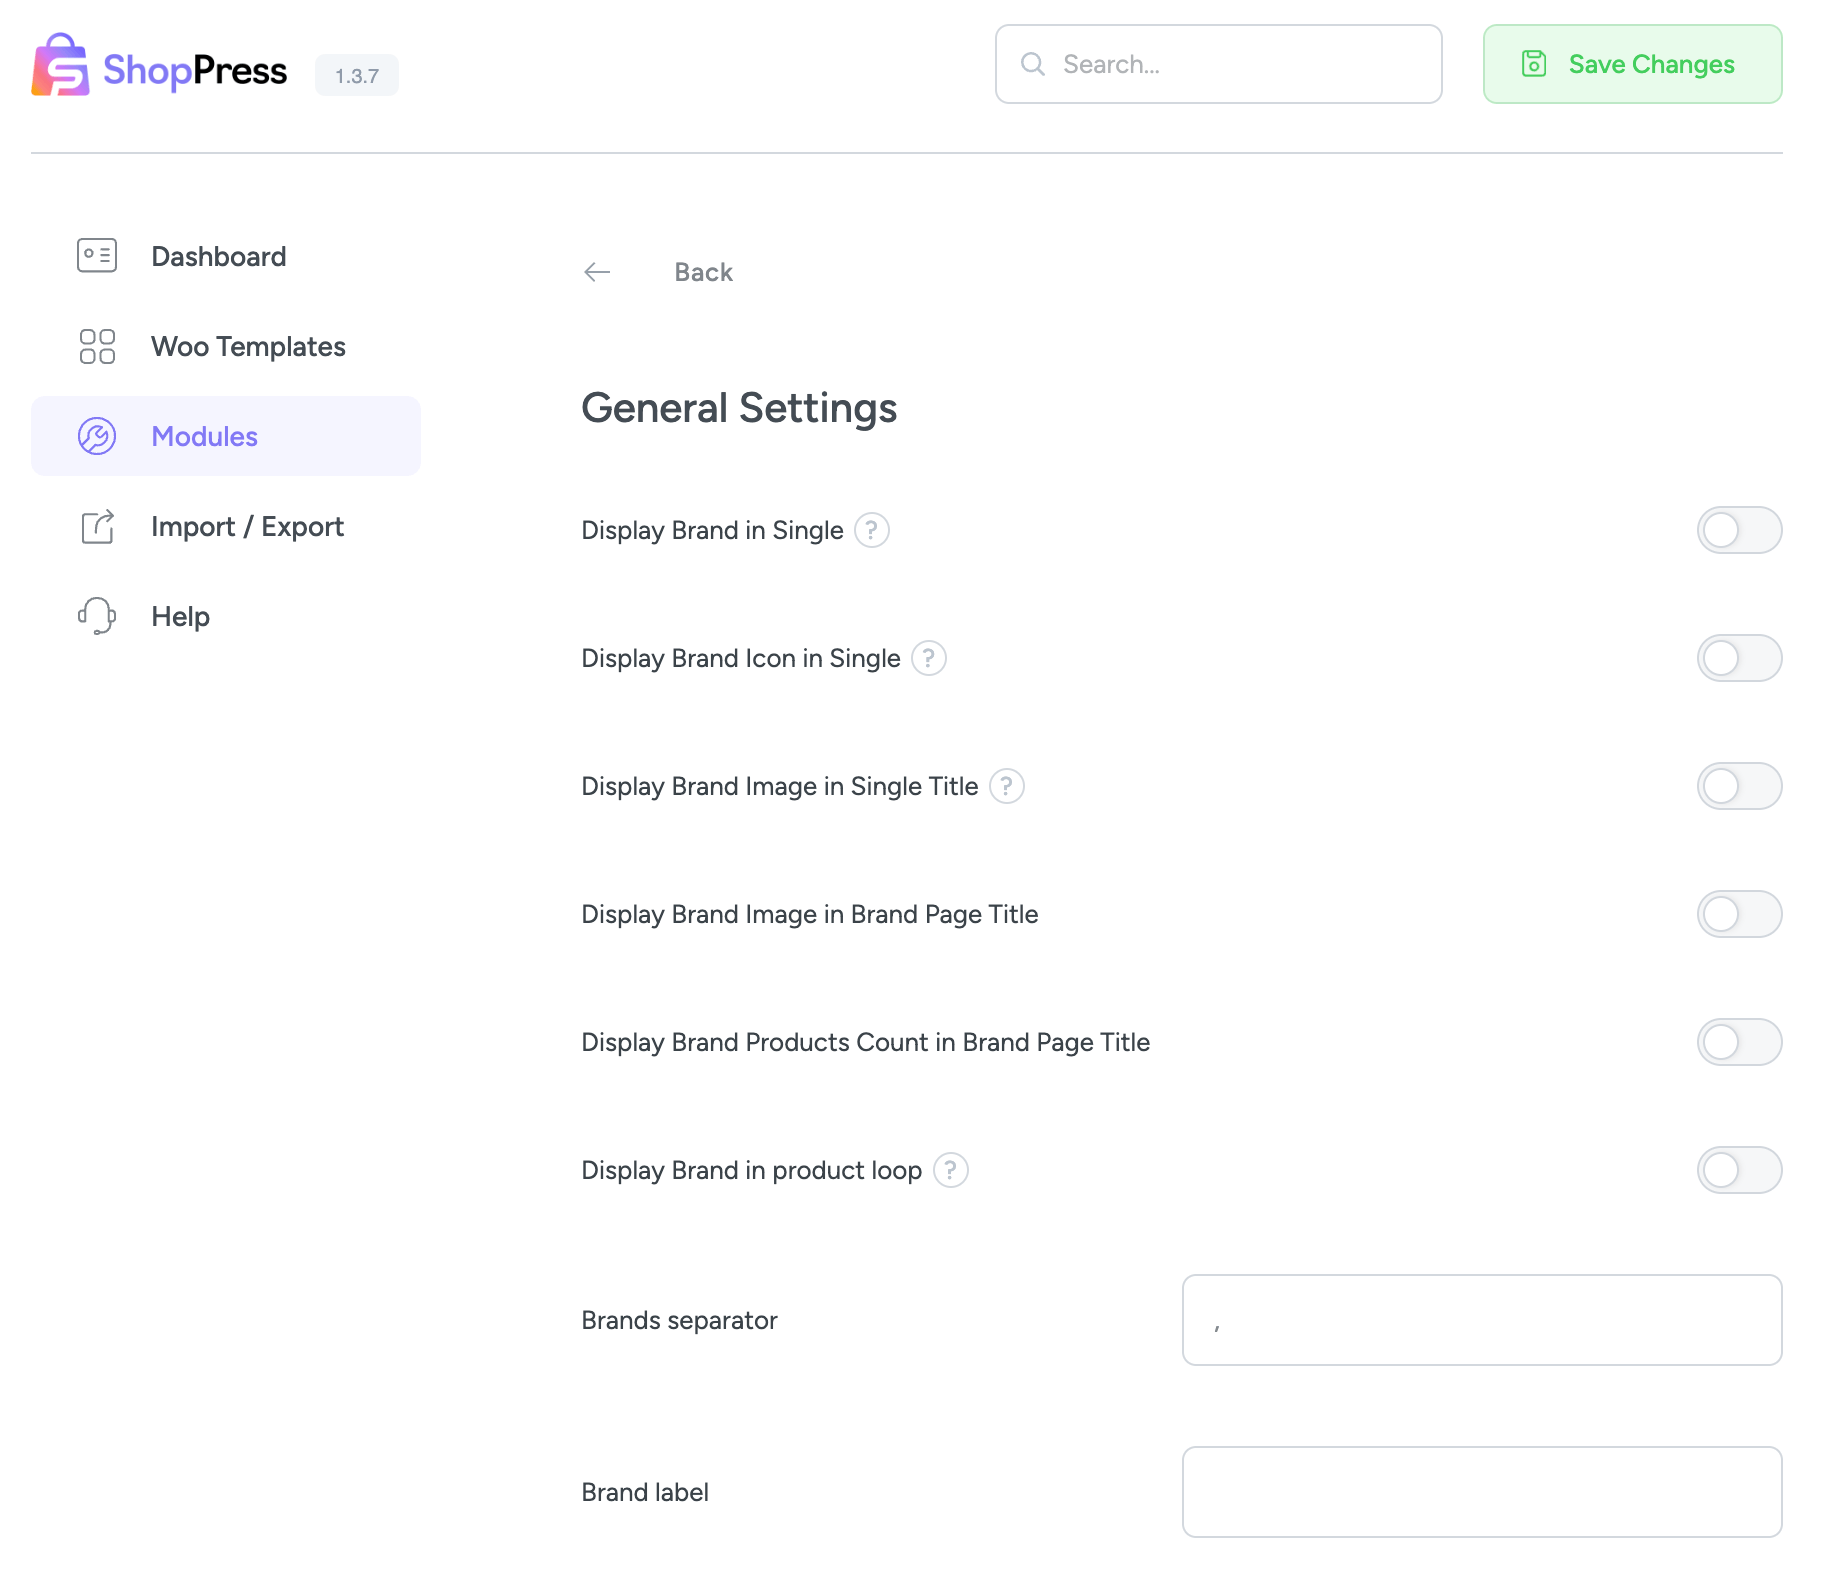
Display Brand in Single
Selecting this particular option will enable the display of the associated brand’s title on the single product page.
Display Brand Icon in Single
This option displays the brand’s logo on the single product page.
Display Brand Image in Single Title
This option displays the brand’s logo before the product title on the single product page.
Display Brand Image in Brand Page Title
By enabling this option, you can add the brand’s logo to the brand’s taxonomy page right before the brand’s title.
Display Brand Products Count in Single Brand Page Title
This option displays the product count on the brand’s taxonomy page.
Display Brand in product loop
This option showcases the brand name on the product loop page.
Brands separator
You can use the Brands Separator to separate multiple brands within a single product.
Brand Label
The brand label can be customized by altering the field designated for this purpose.
Assigning WooCommerce Brands to a product
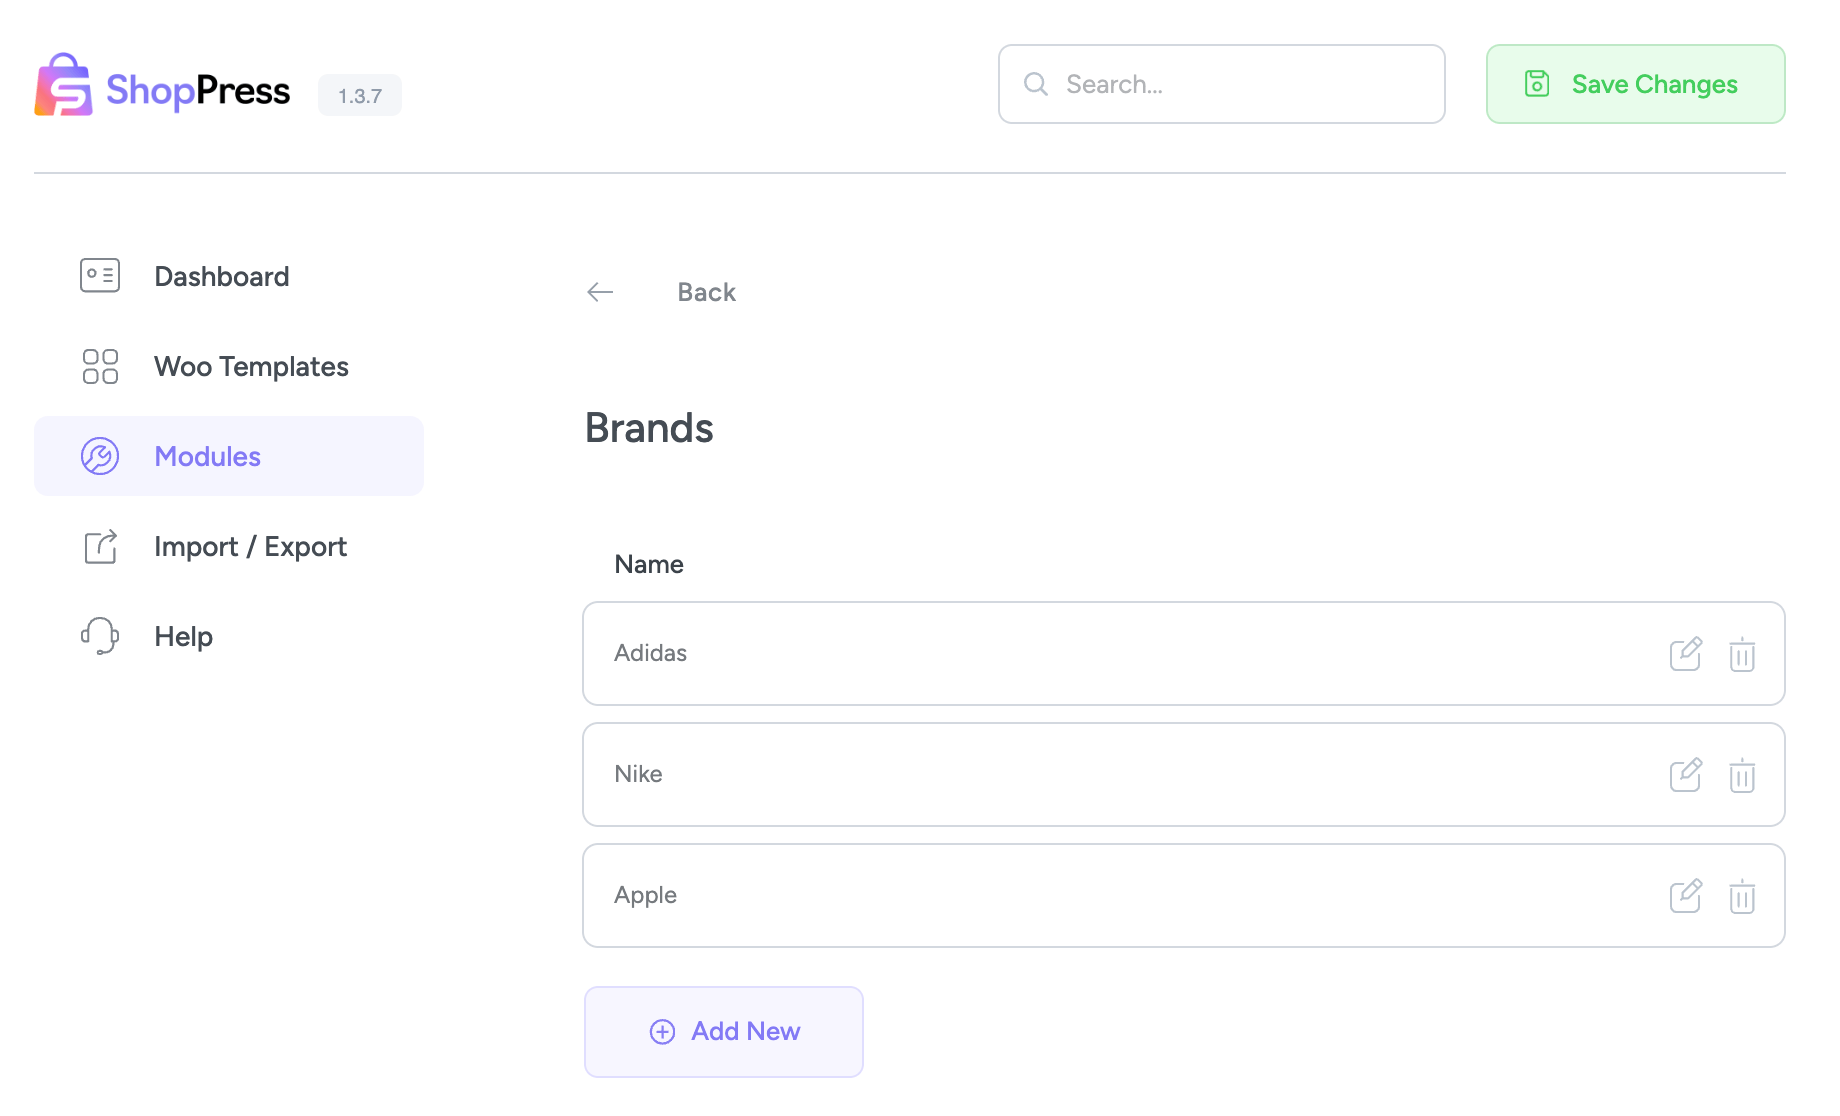
To associate WooCommerce Brands with a product, begin by going to the ShopPress menu, then navigate to “Modules” and select “Brands.” Next, click on the “Config” button within the “Brands” section and enter the brands menu. Here, you can enter the brand name into the designated field. By following these steps, you’ll be able to seamlessly add a new brand to your product.
Once you’ve chosen your desired brand, please click on the edit icon to make any necessary modifications to the brand you’ve added.
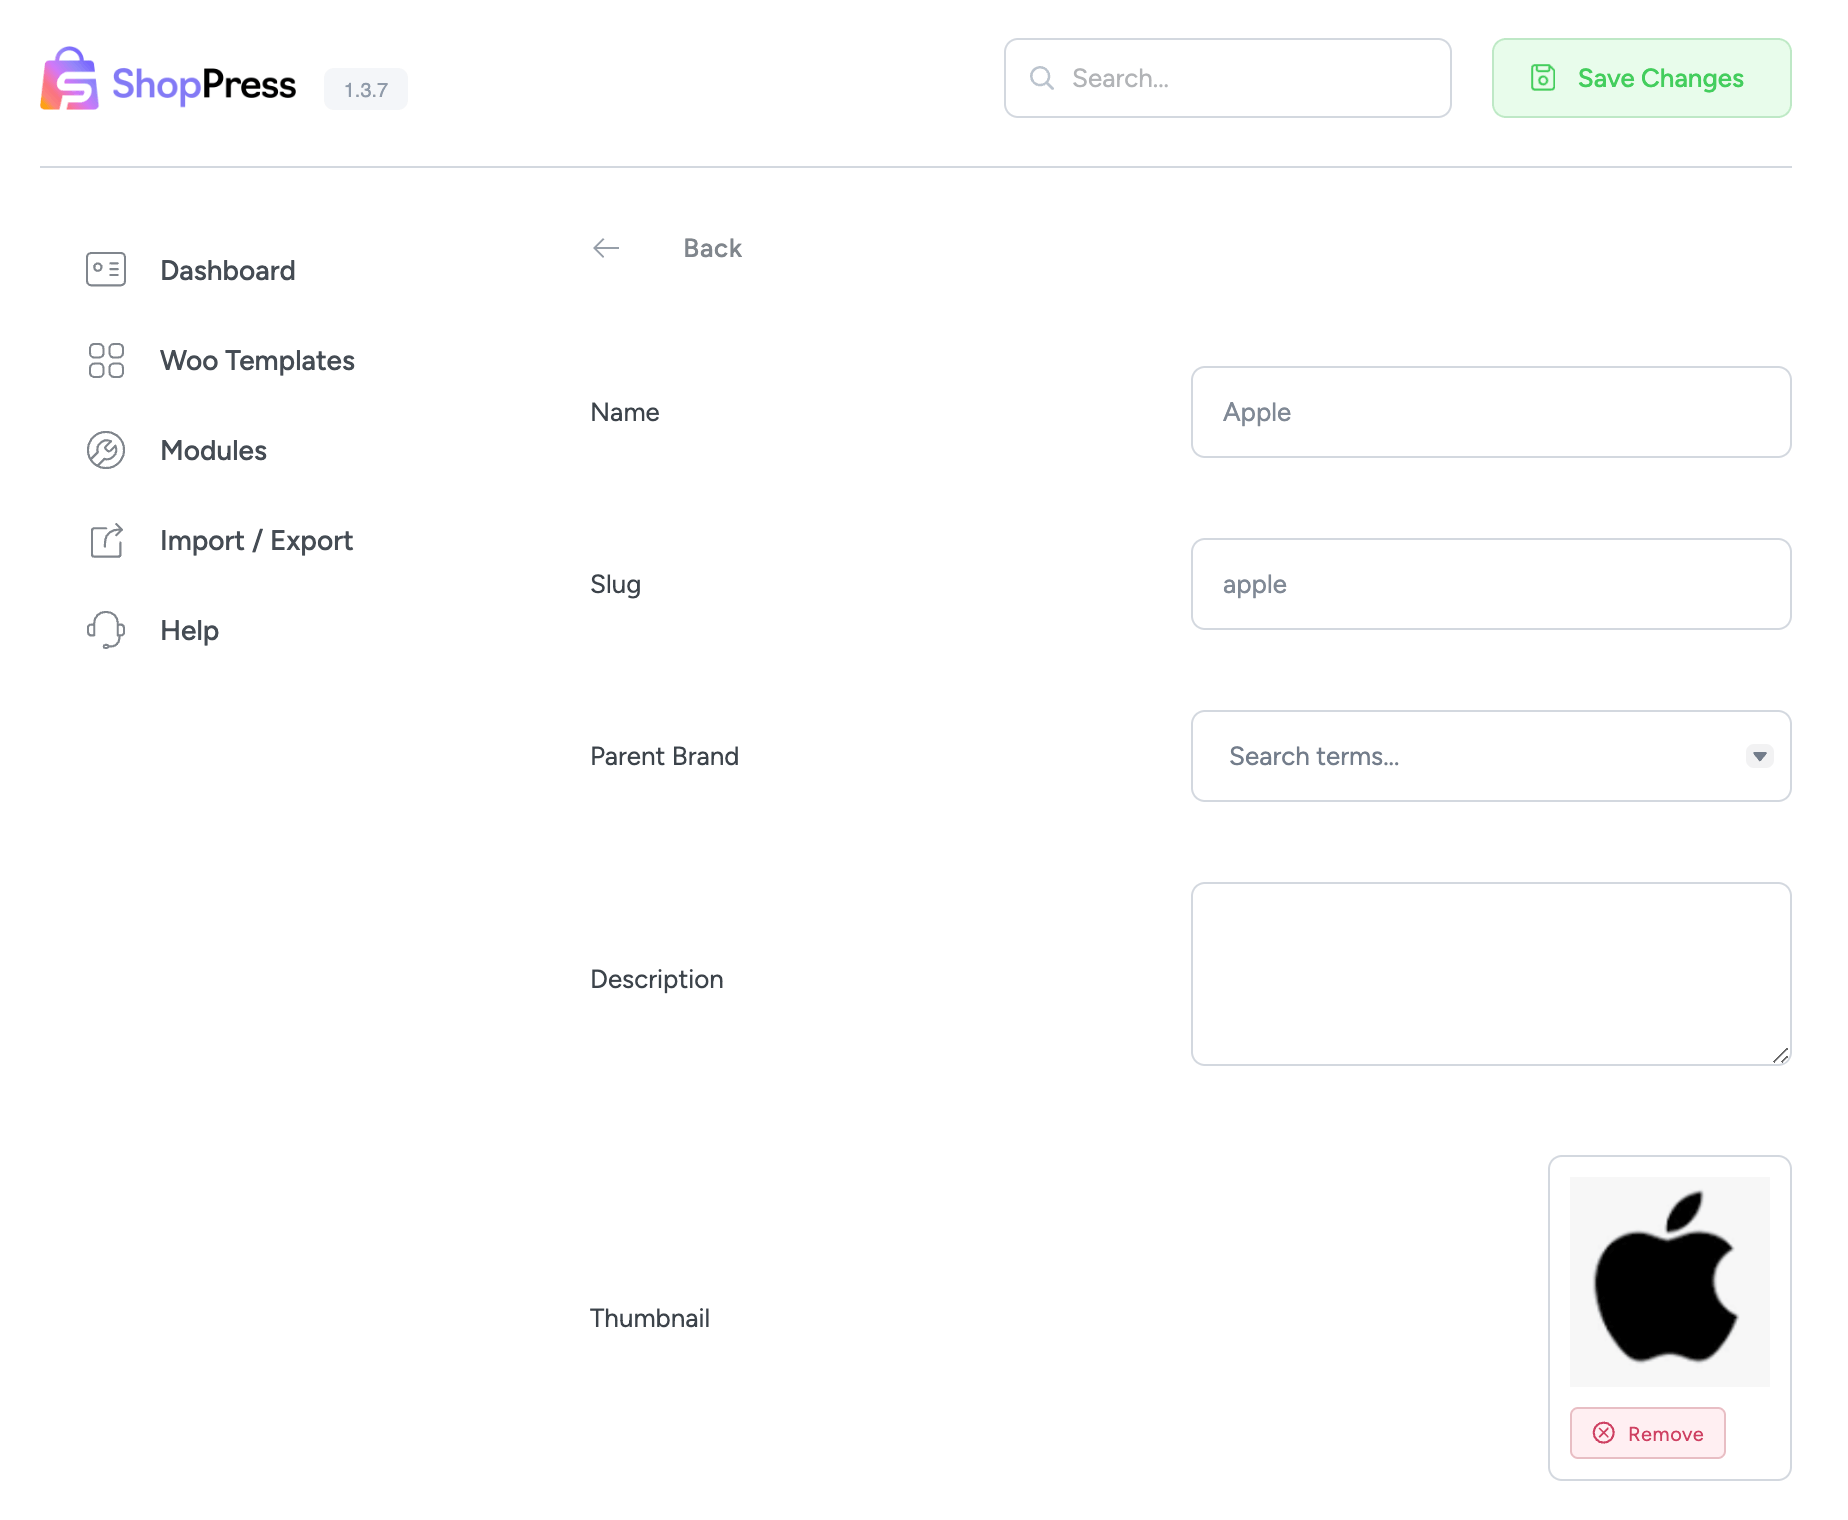
On the brand edit page, you can customize the brand name, slug, parent category, description, and thumbnail. Don’t forget to save your changes by clicking the “Save Changes” button.
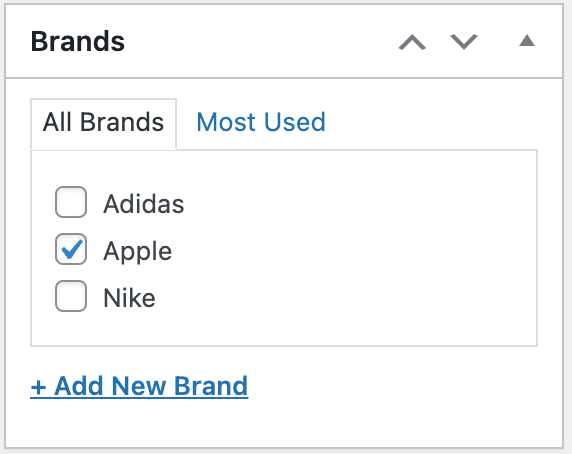
When you access the single product edit page, you will notice the brand box has been added to the sidebar. Here, you can conveniently choose your desired brand from the available options.
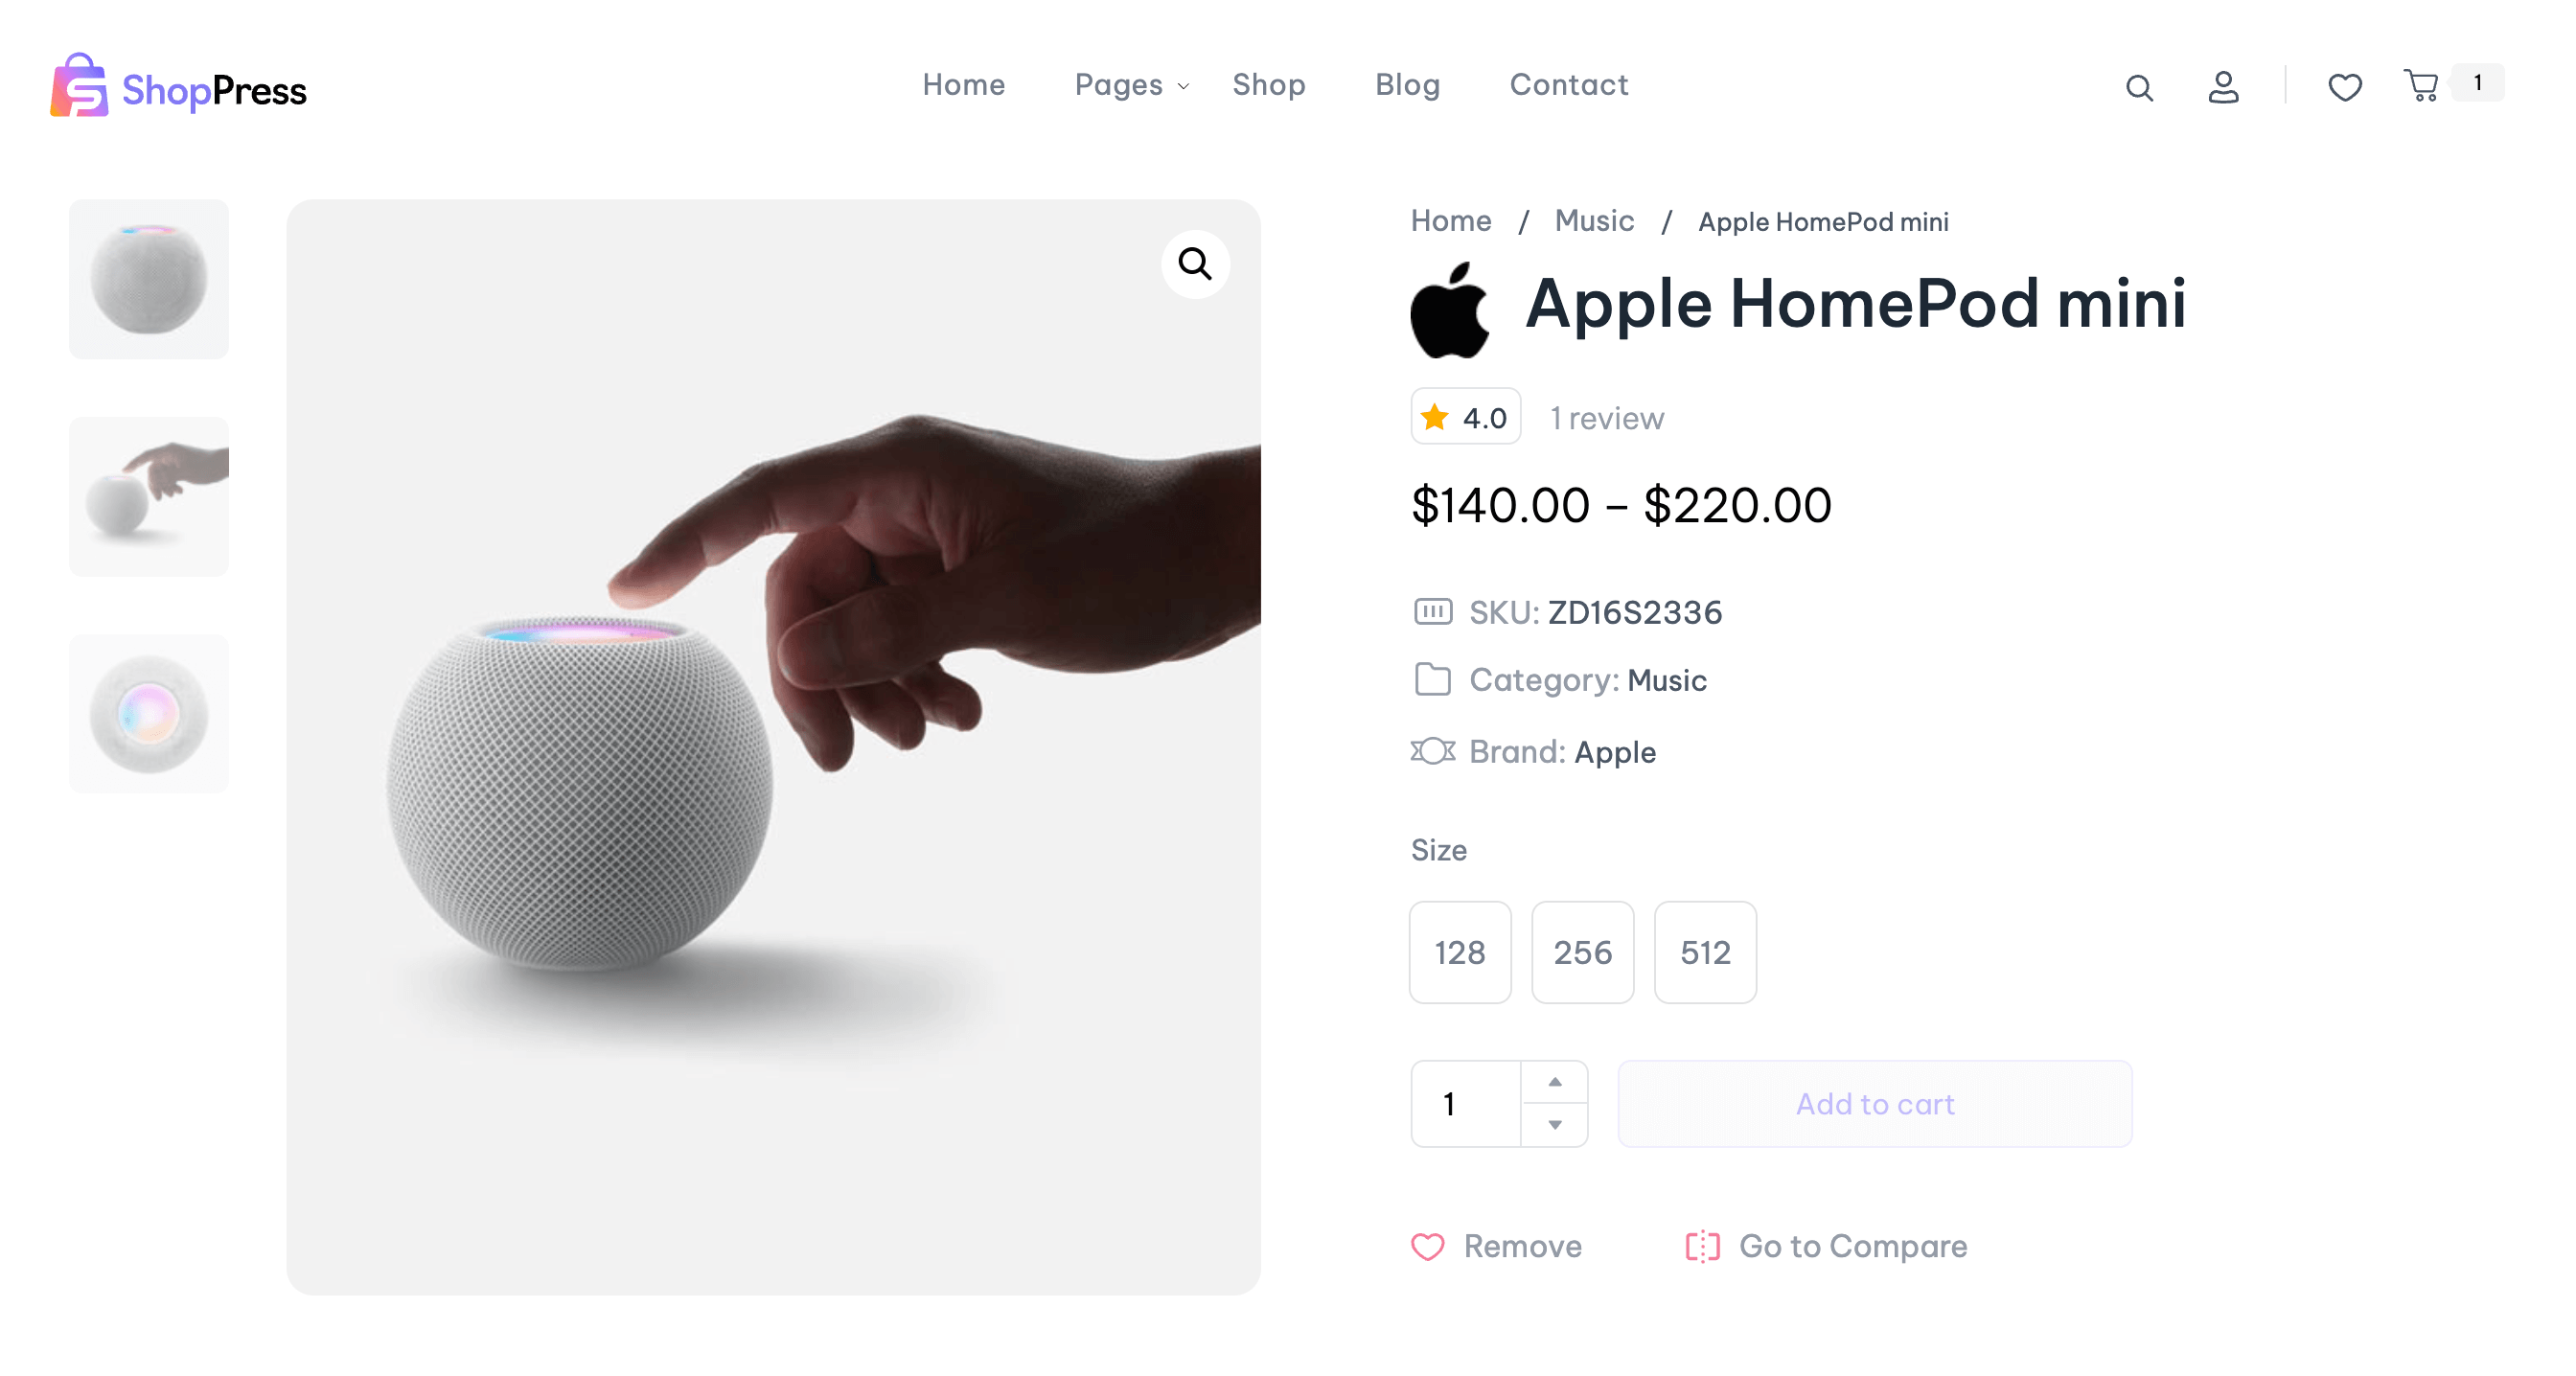
The proposed layout for the single product page featuring brands has been finalized to incorporate all the necessary elements and enhance the user experience by creating a visually appealing interface.