
In this article, we will provide you with a step-by-step guide on the process of installing ShopPress. ShopPress is a plugin that allows you to create and manage your online store with ease. By following the instructions below, you will be able to install ShopPress with no hassle. So, let’s dive in!
Installing ShopPress Free
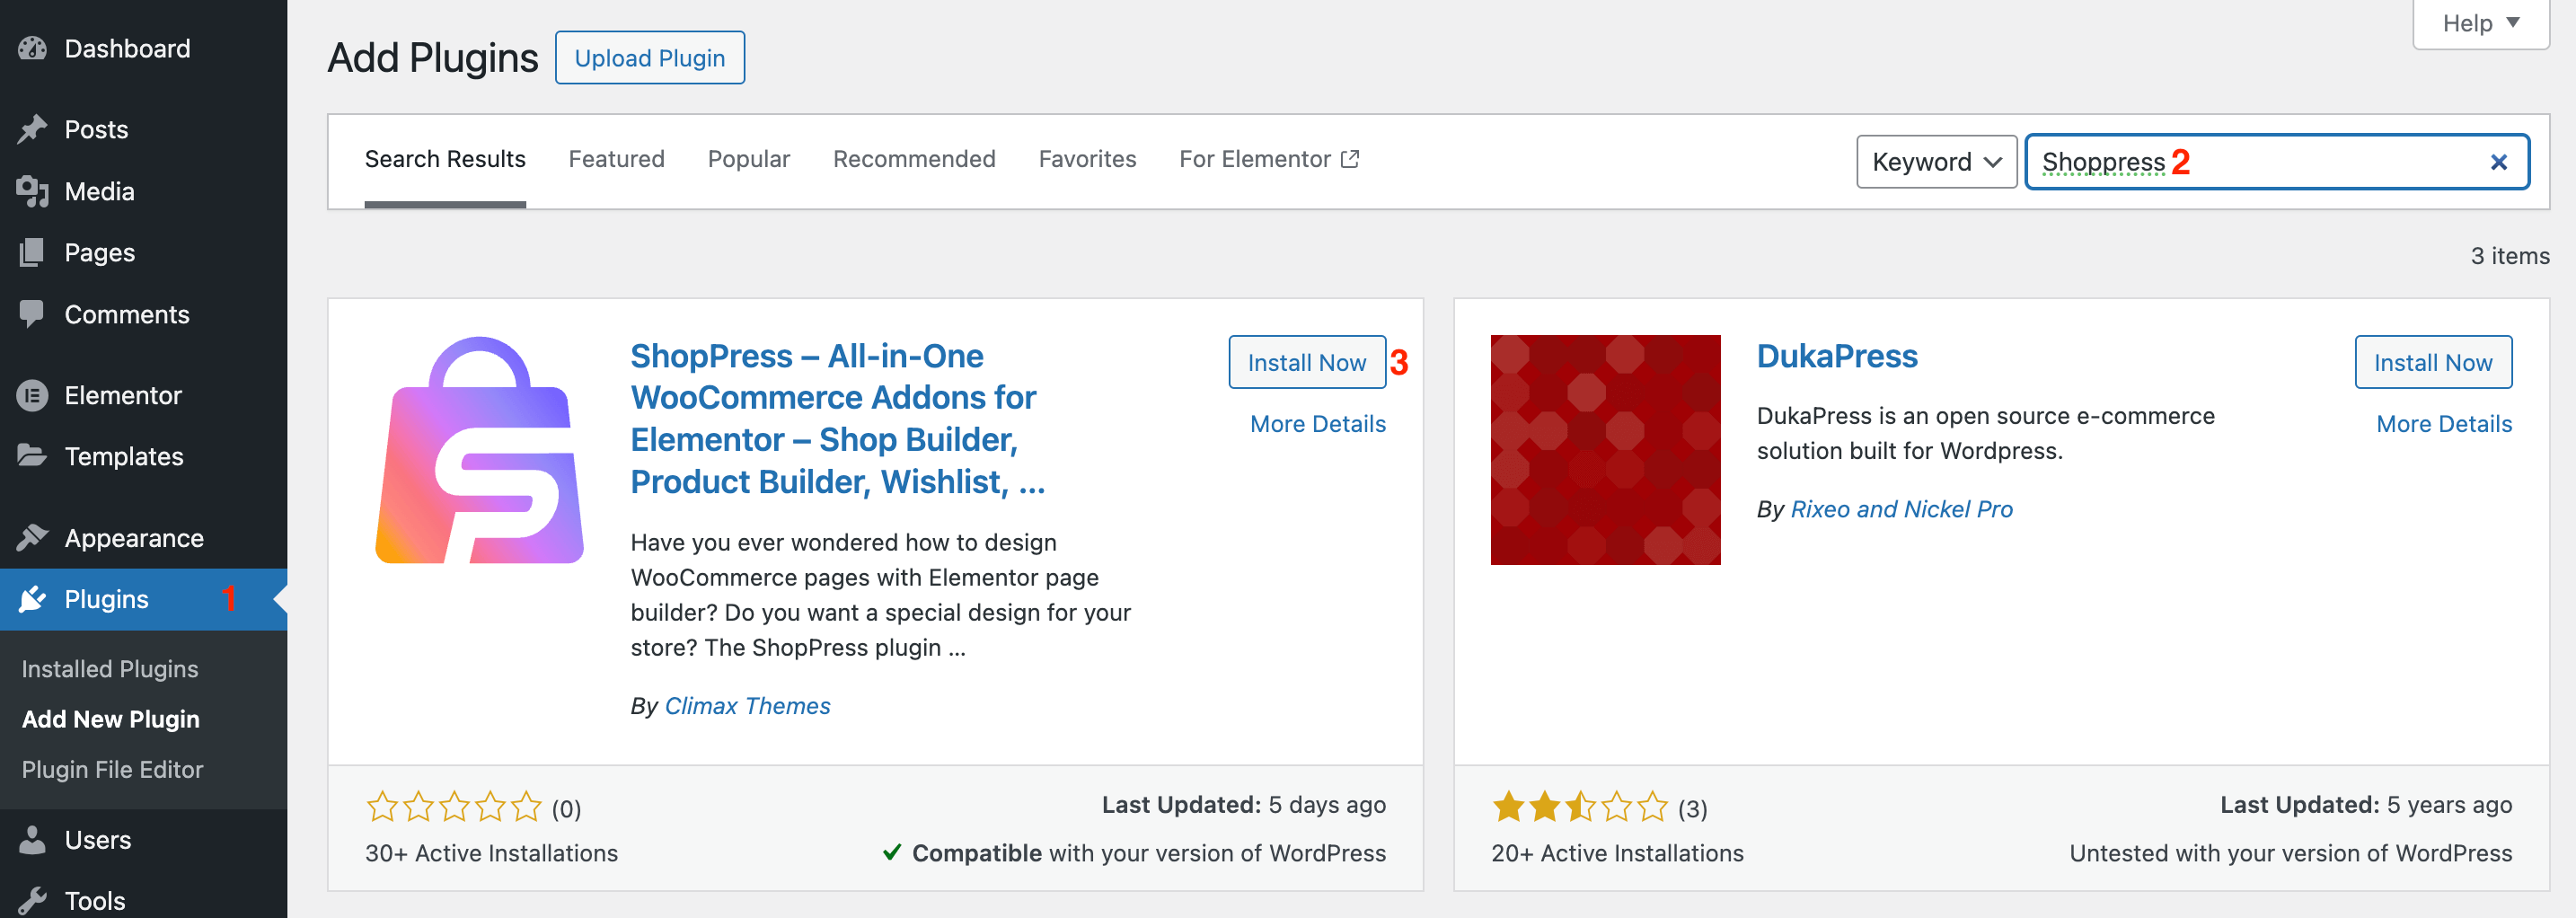
To install the ShopPress plugin, from your WordPress dashboard, navigate to Plugins > Add New. Then, In the Search Plugins field, type ShopPress and hit the Install Now button.
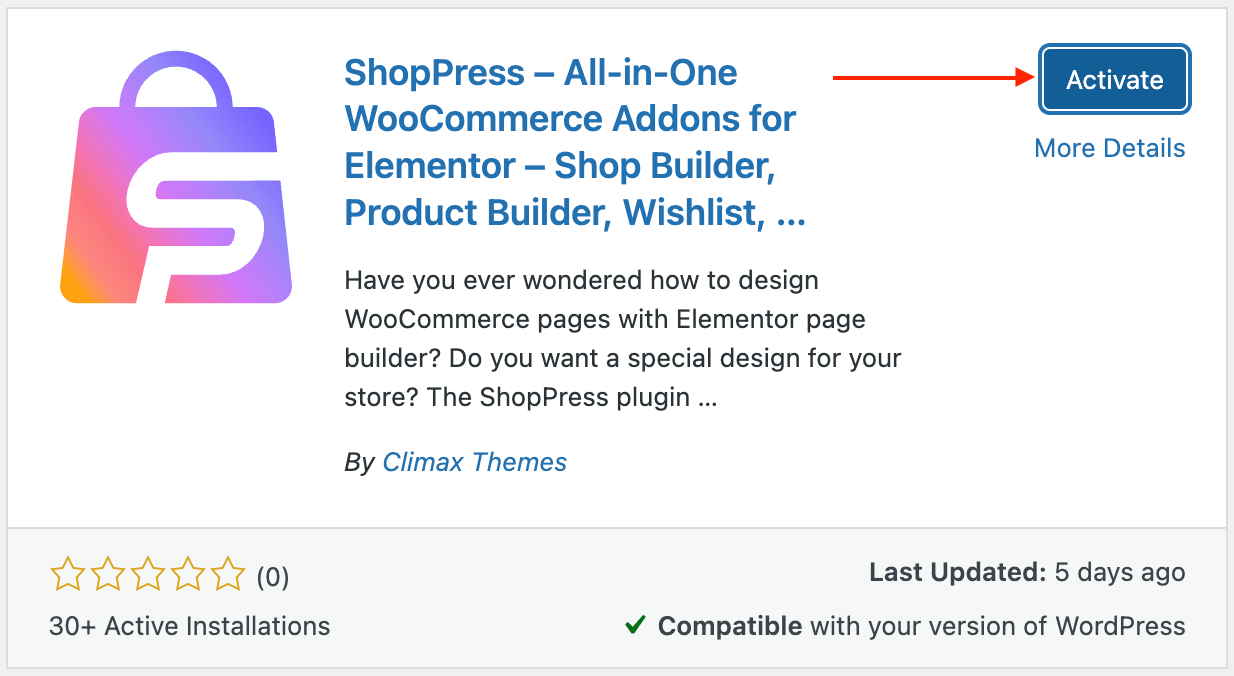
After the Installation completes, click on the Activate button.
Note: As ShopPress is a Woocommerce-based plugin, It is required to install Woocommerce in order to use ShopPress.
Installing ShopPress Pro
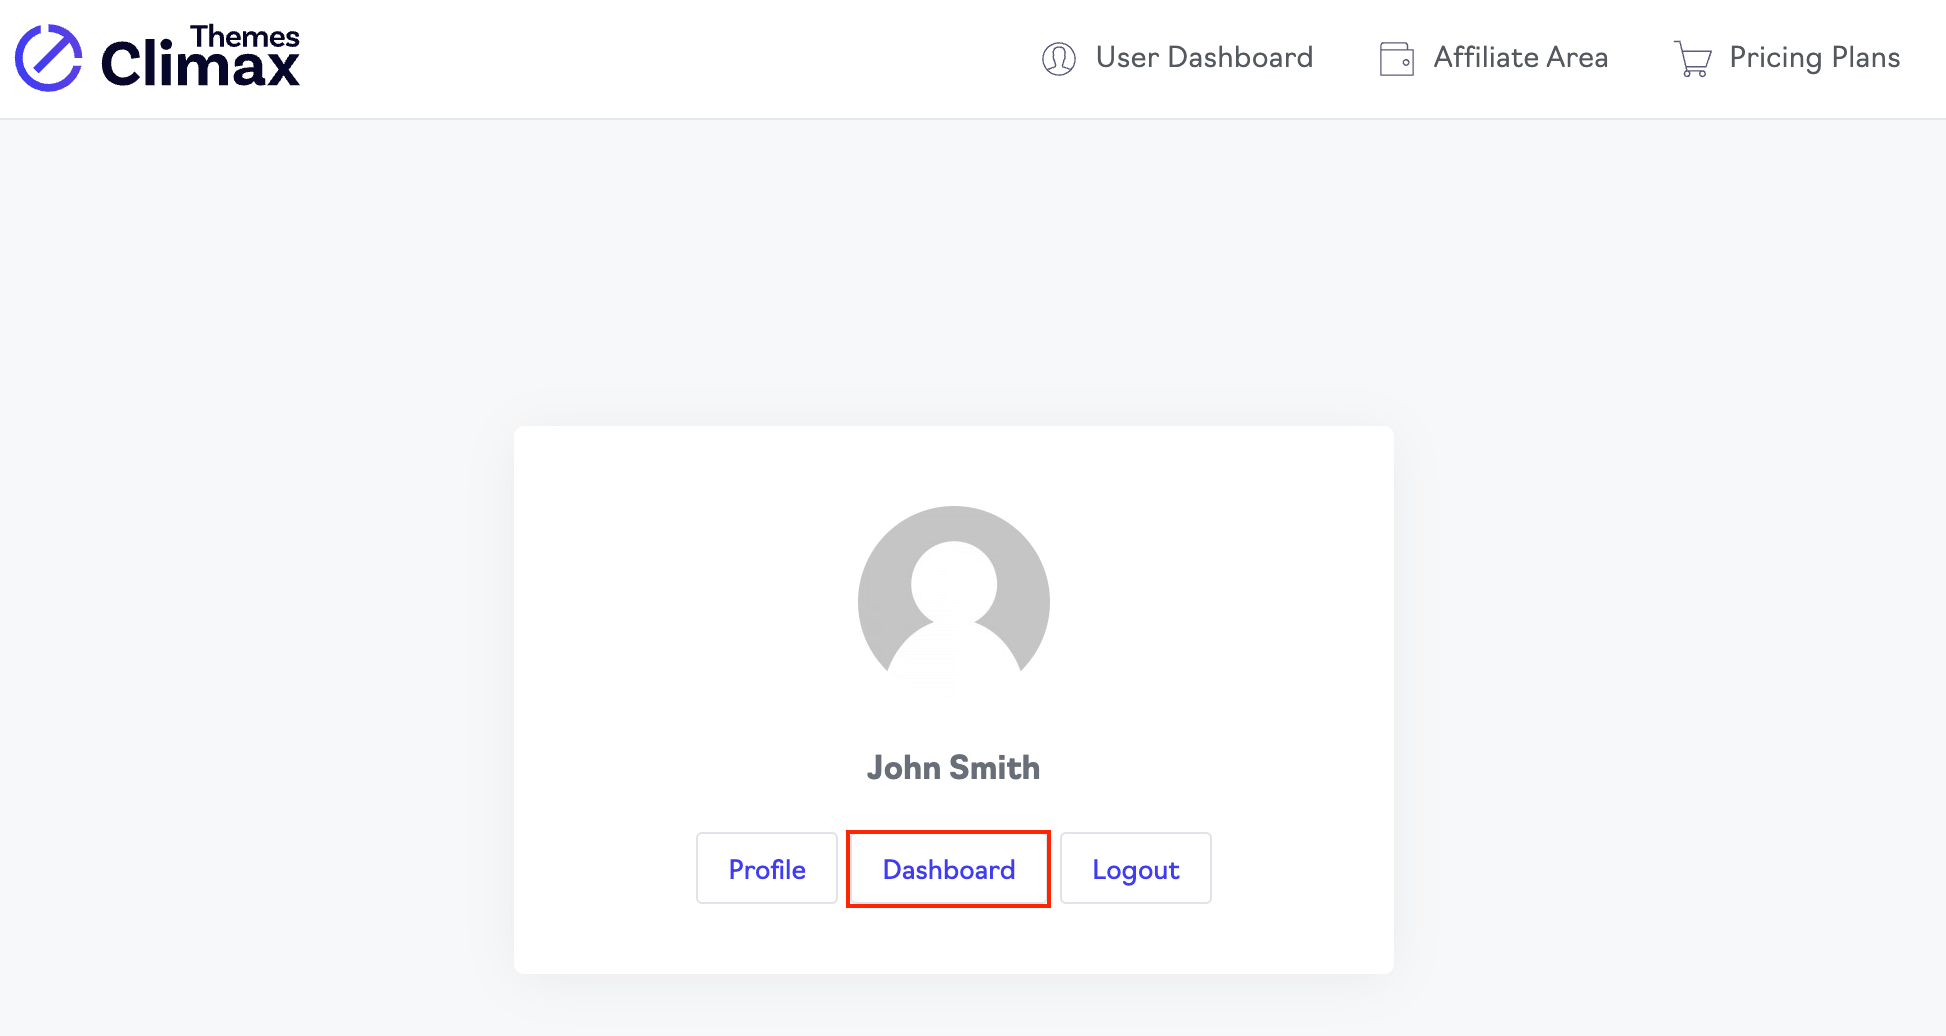
ShopPress Pro provides a wide range of new features to your online store. To install ShopPress Pro, please navigate to your Climax Dashboard and login to your account. Now, hit the dashboard to see the list of your purchases.
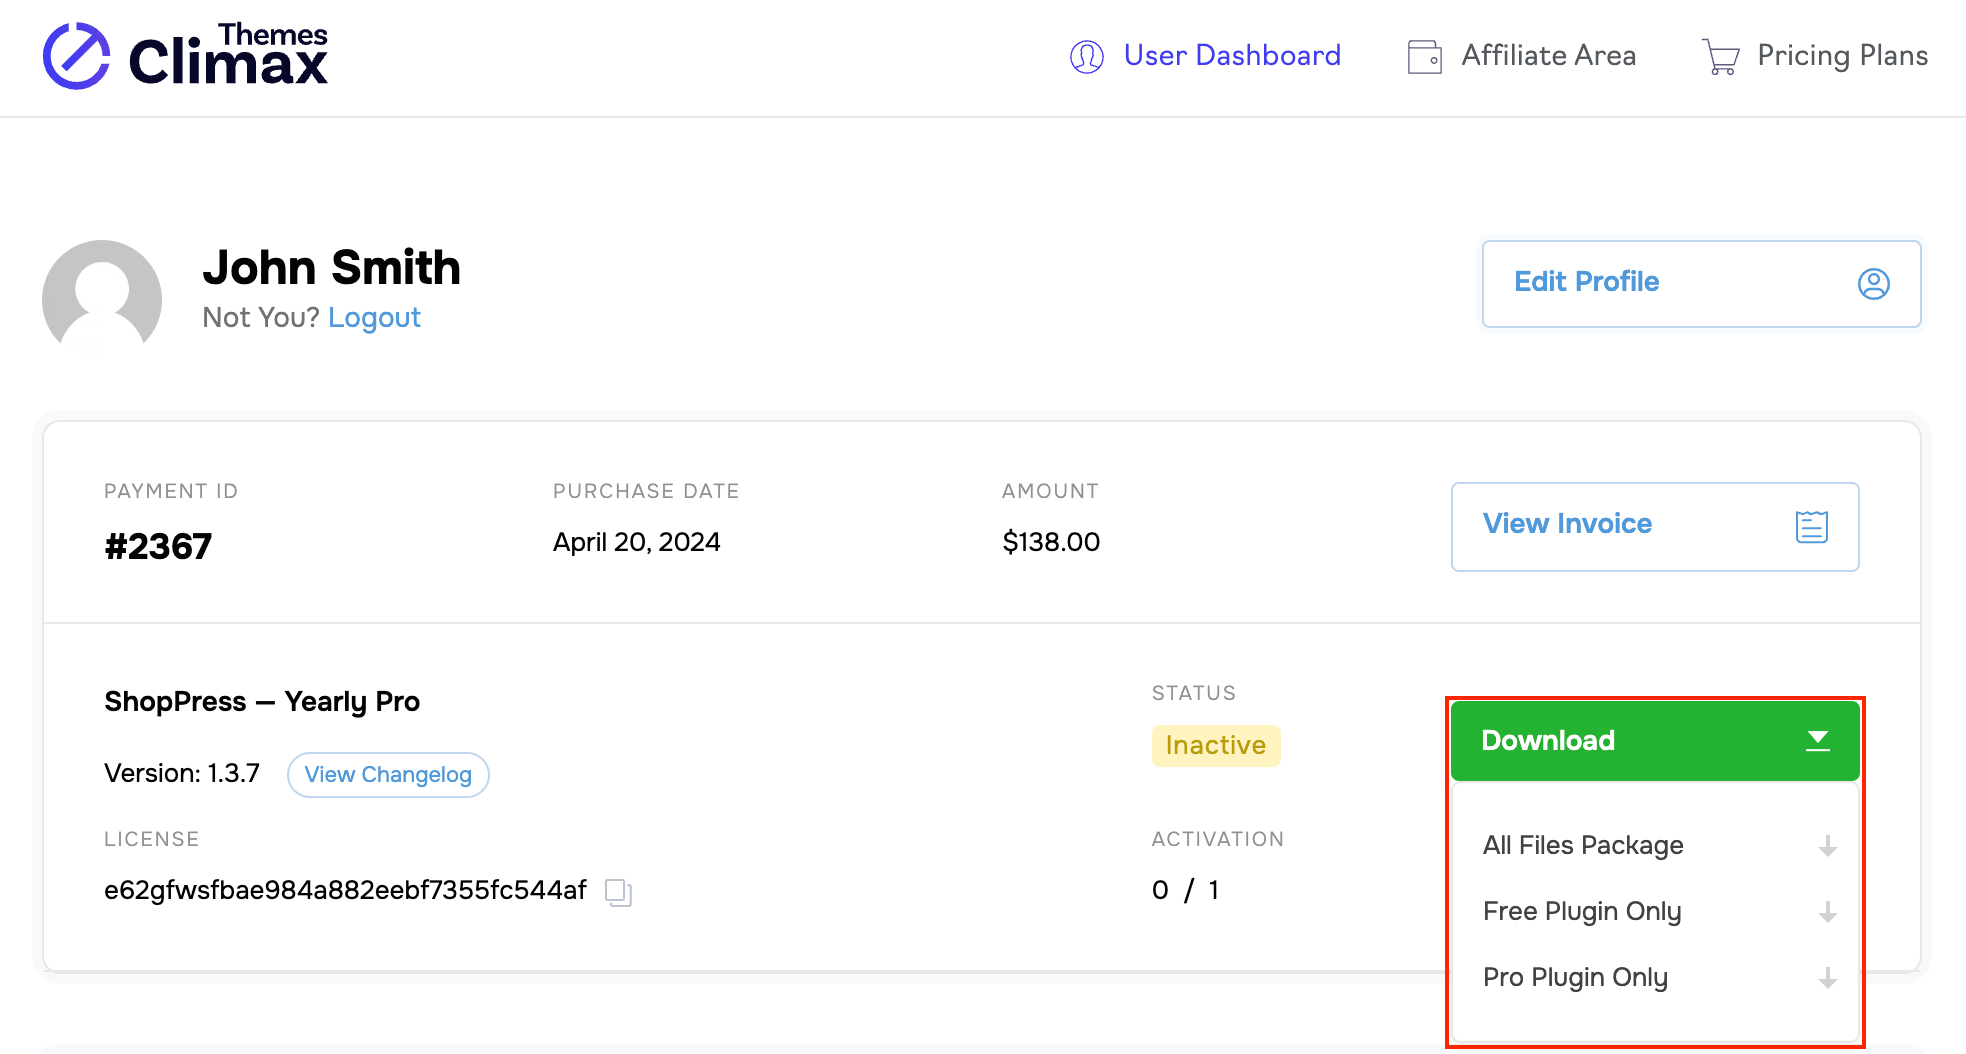
To download ShopPress, simply hover over the download button and you’ll see options to download the entire plugin package, as well as the Free version and the Pro version separately. It’s easy to get started and choose the version that fits your needs.
After the download completes, return to your WordPress dashboard > Plugins > Add New Plugin > Upload Plugin, drag the downloaded version of ShopPress Pro into the upload box, and hit the Install Now button.
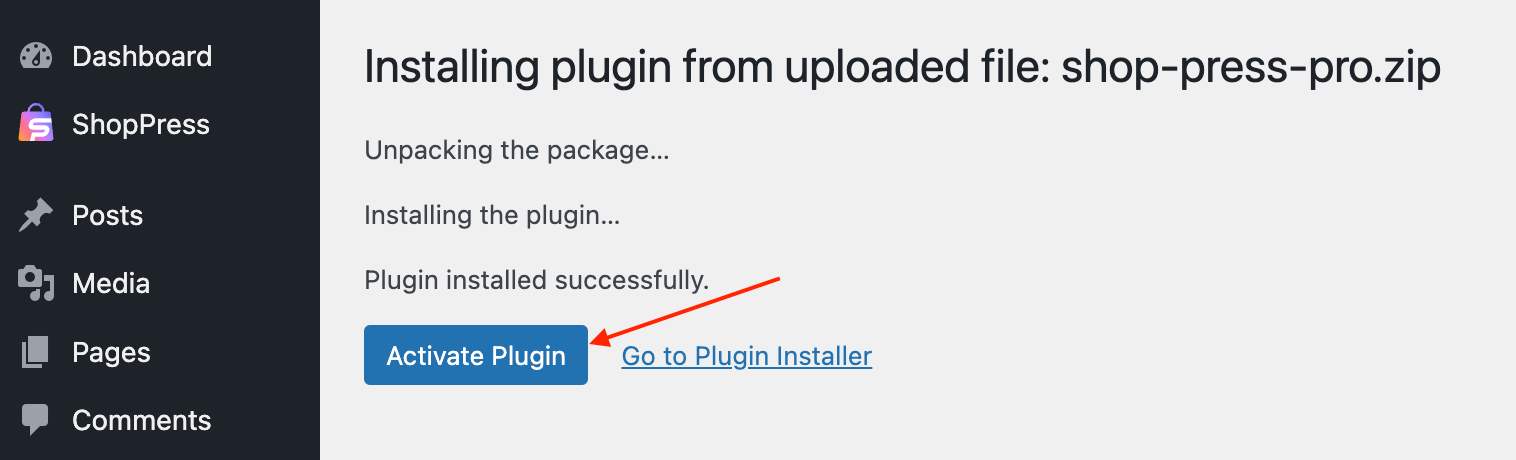
Finally, click on the Activate Plugin button and the ShopPress Pro will be installed on your website.
Note: To activate the ShopPress license please follow the instructions below.
Also, You can read the article below for more information about changing the ShopPress license domain.
