In this article, you will learn How to use WooCommerce Checkout Manager.
The WooCommerce checkout page has a predefined structure that displays detailed product information. Many users are unsatisfied with the default WooCommerce checkout page and prefer to design their template. The shoppress plugin allows you to easily customize your website’s checkout page with existing widgets just by dragging and dropping widgets on the Elementor editing page.
How to Use WooCommerce Checkout Manager with Elementor
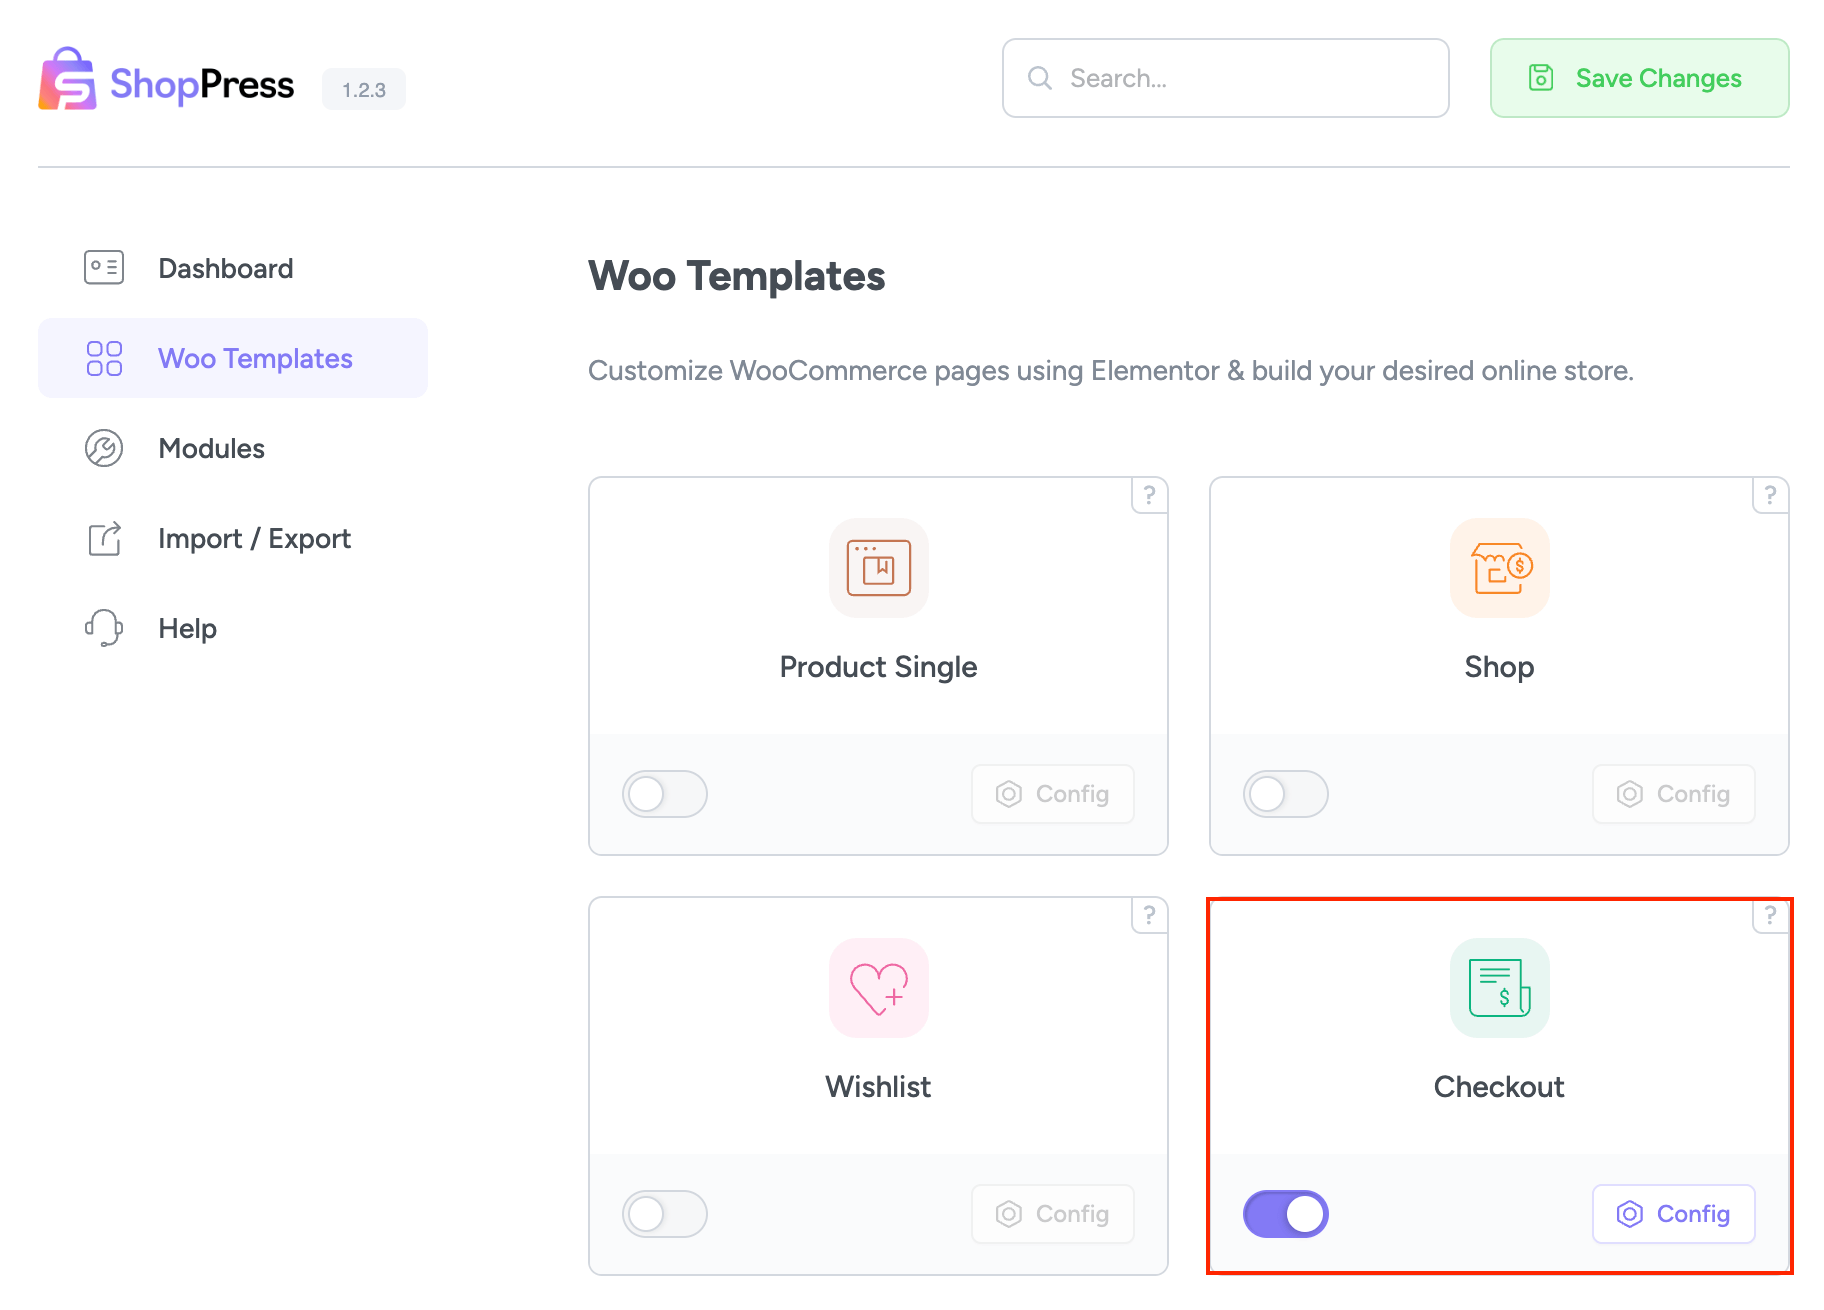
To enable the checkout edit page, follow these steps: First, go to the WordPress dashboard menu and select ShopPress > Components. Then, enable the Checkout component. Once you do that, you’ll see the config button is activated, which you can click on to enter the Product Single component settings. With these settings, you can customize your single product page according to your preferences.
Custom Checkout page
You can design a custom look for your checkout page using this option. ShopPress offers a list of valuable tools that you can use to give your checkout page a new look and feel.
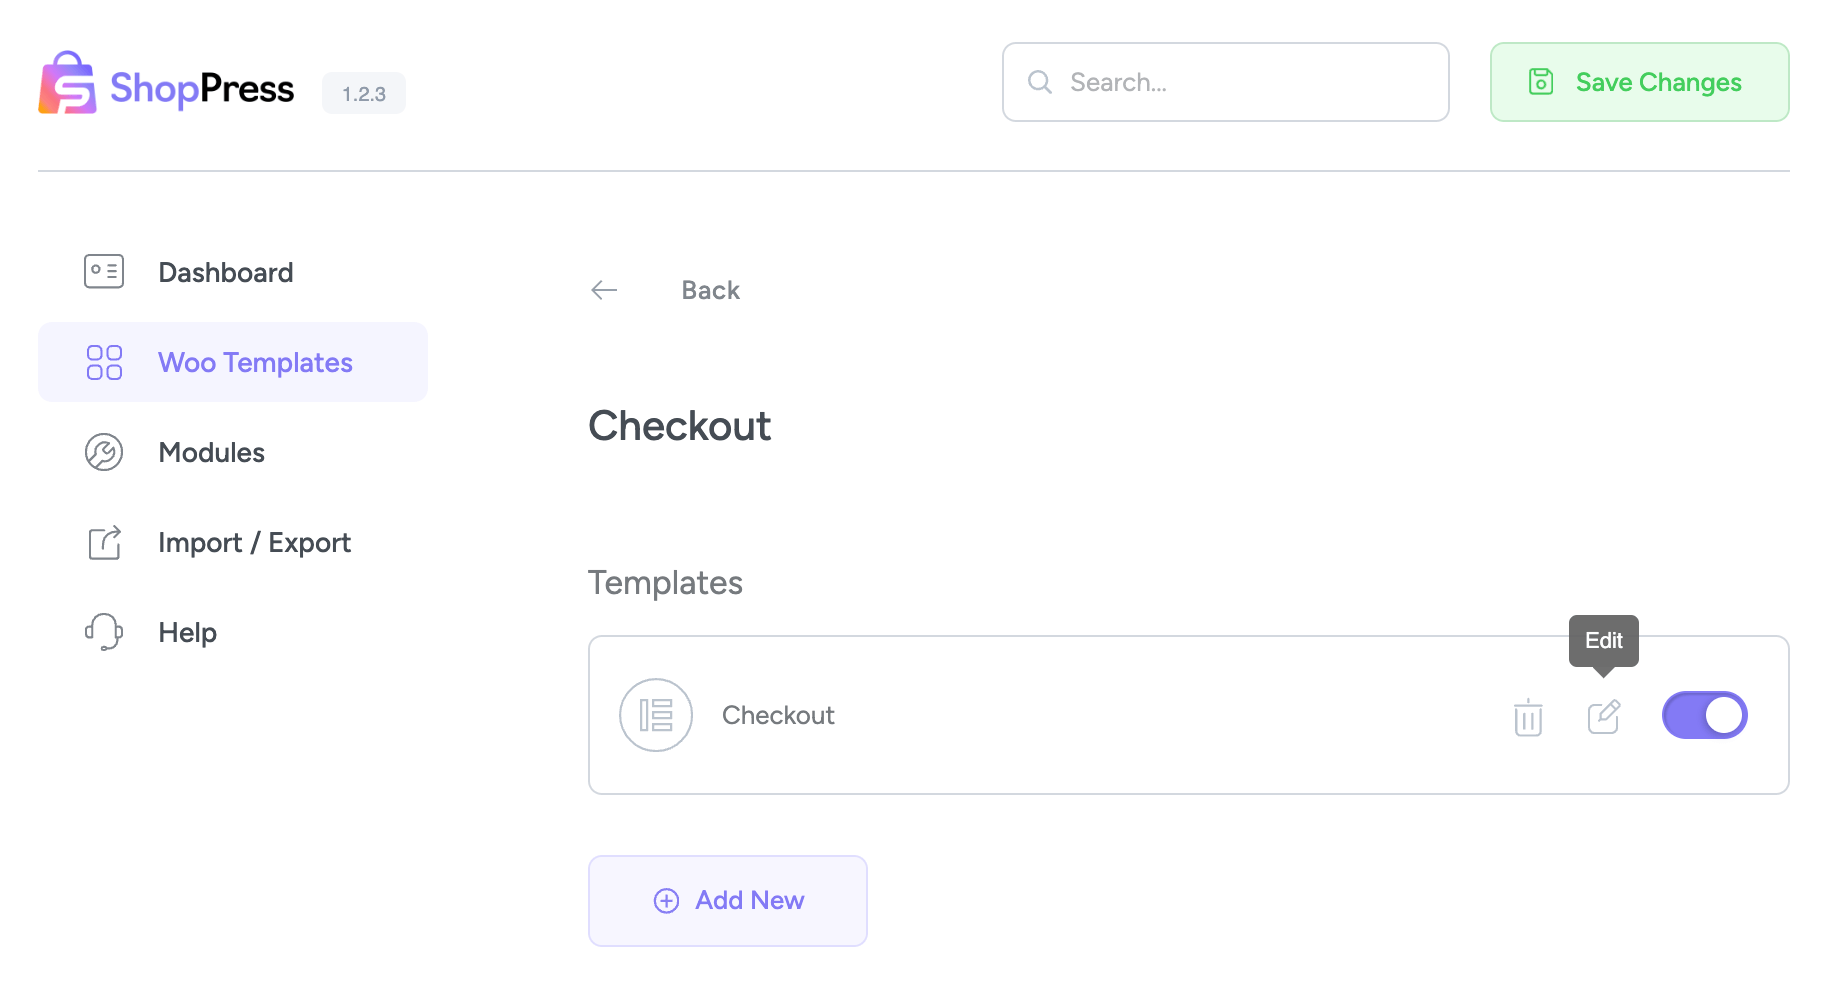
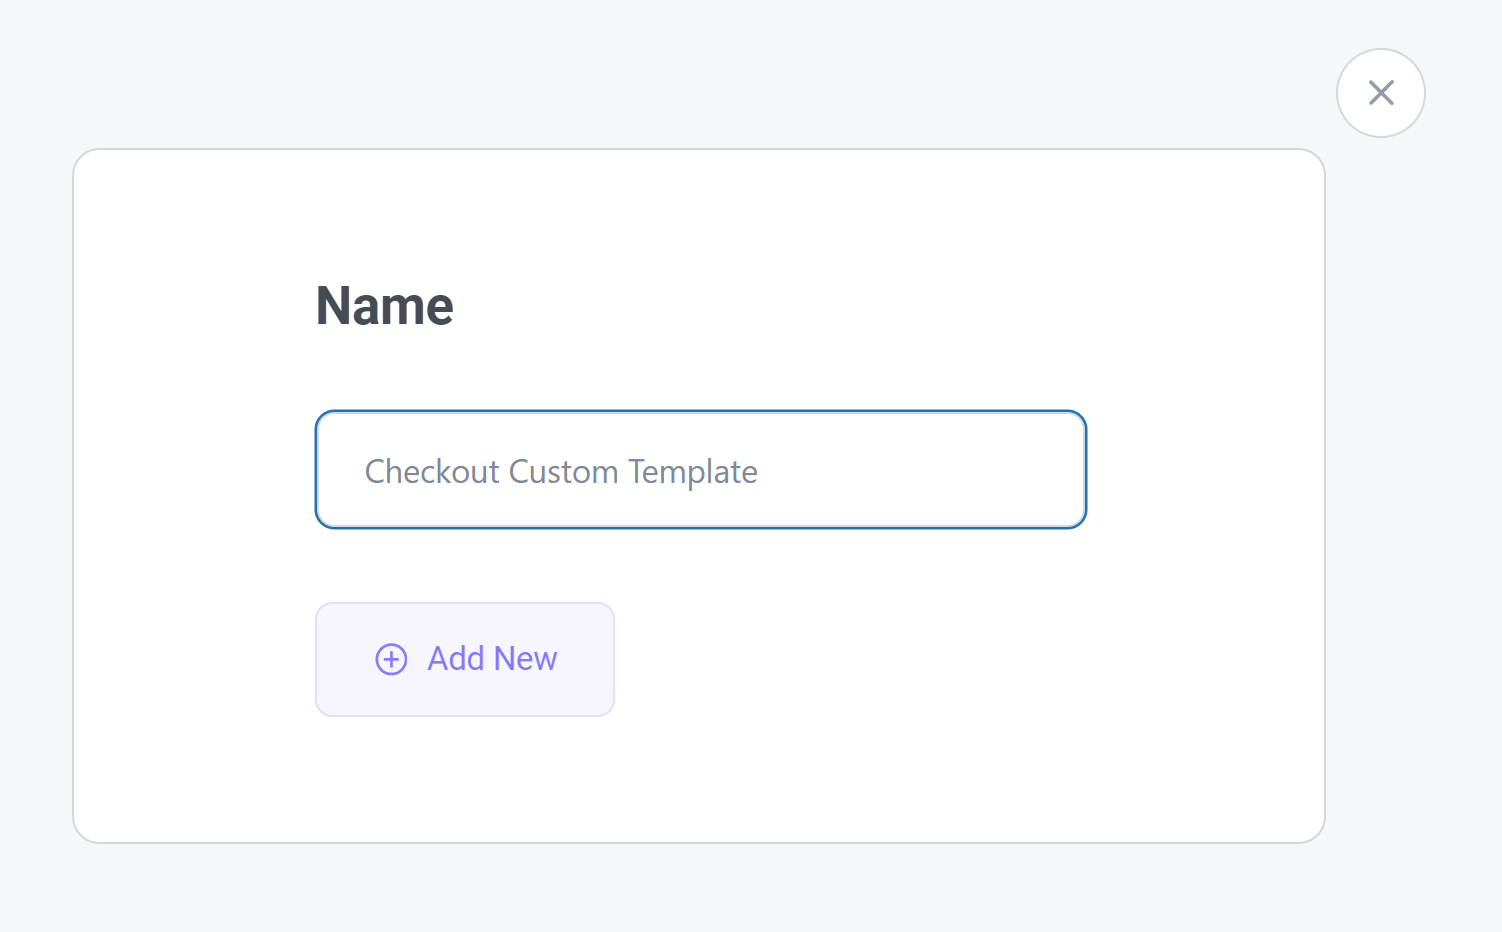
To do this, click the “Add New” button, enter the name of the desired template in the field that appears, and then simply click the “Add New” button.
After adding the template, click on the toggle to make the template ready for editing. Save the page once to save the settings, and then click the “Edit” button to be redirected to the Elementor page builder, and the process of customizing your checkout page begins.
Checkout Template Widgets
Now, let’s explain the tools available to customize the Checkout page. You can easily create your Checkout page with just a few clicks.
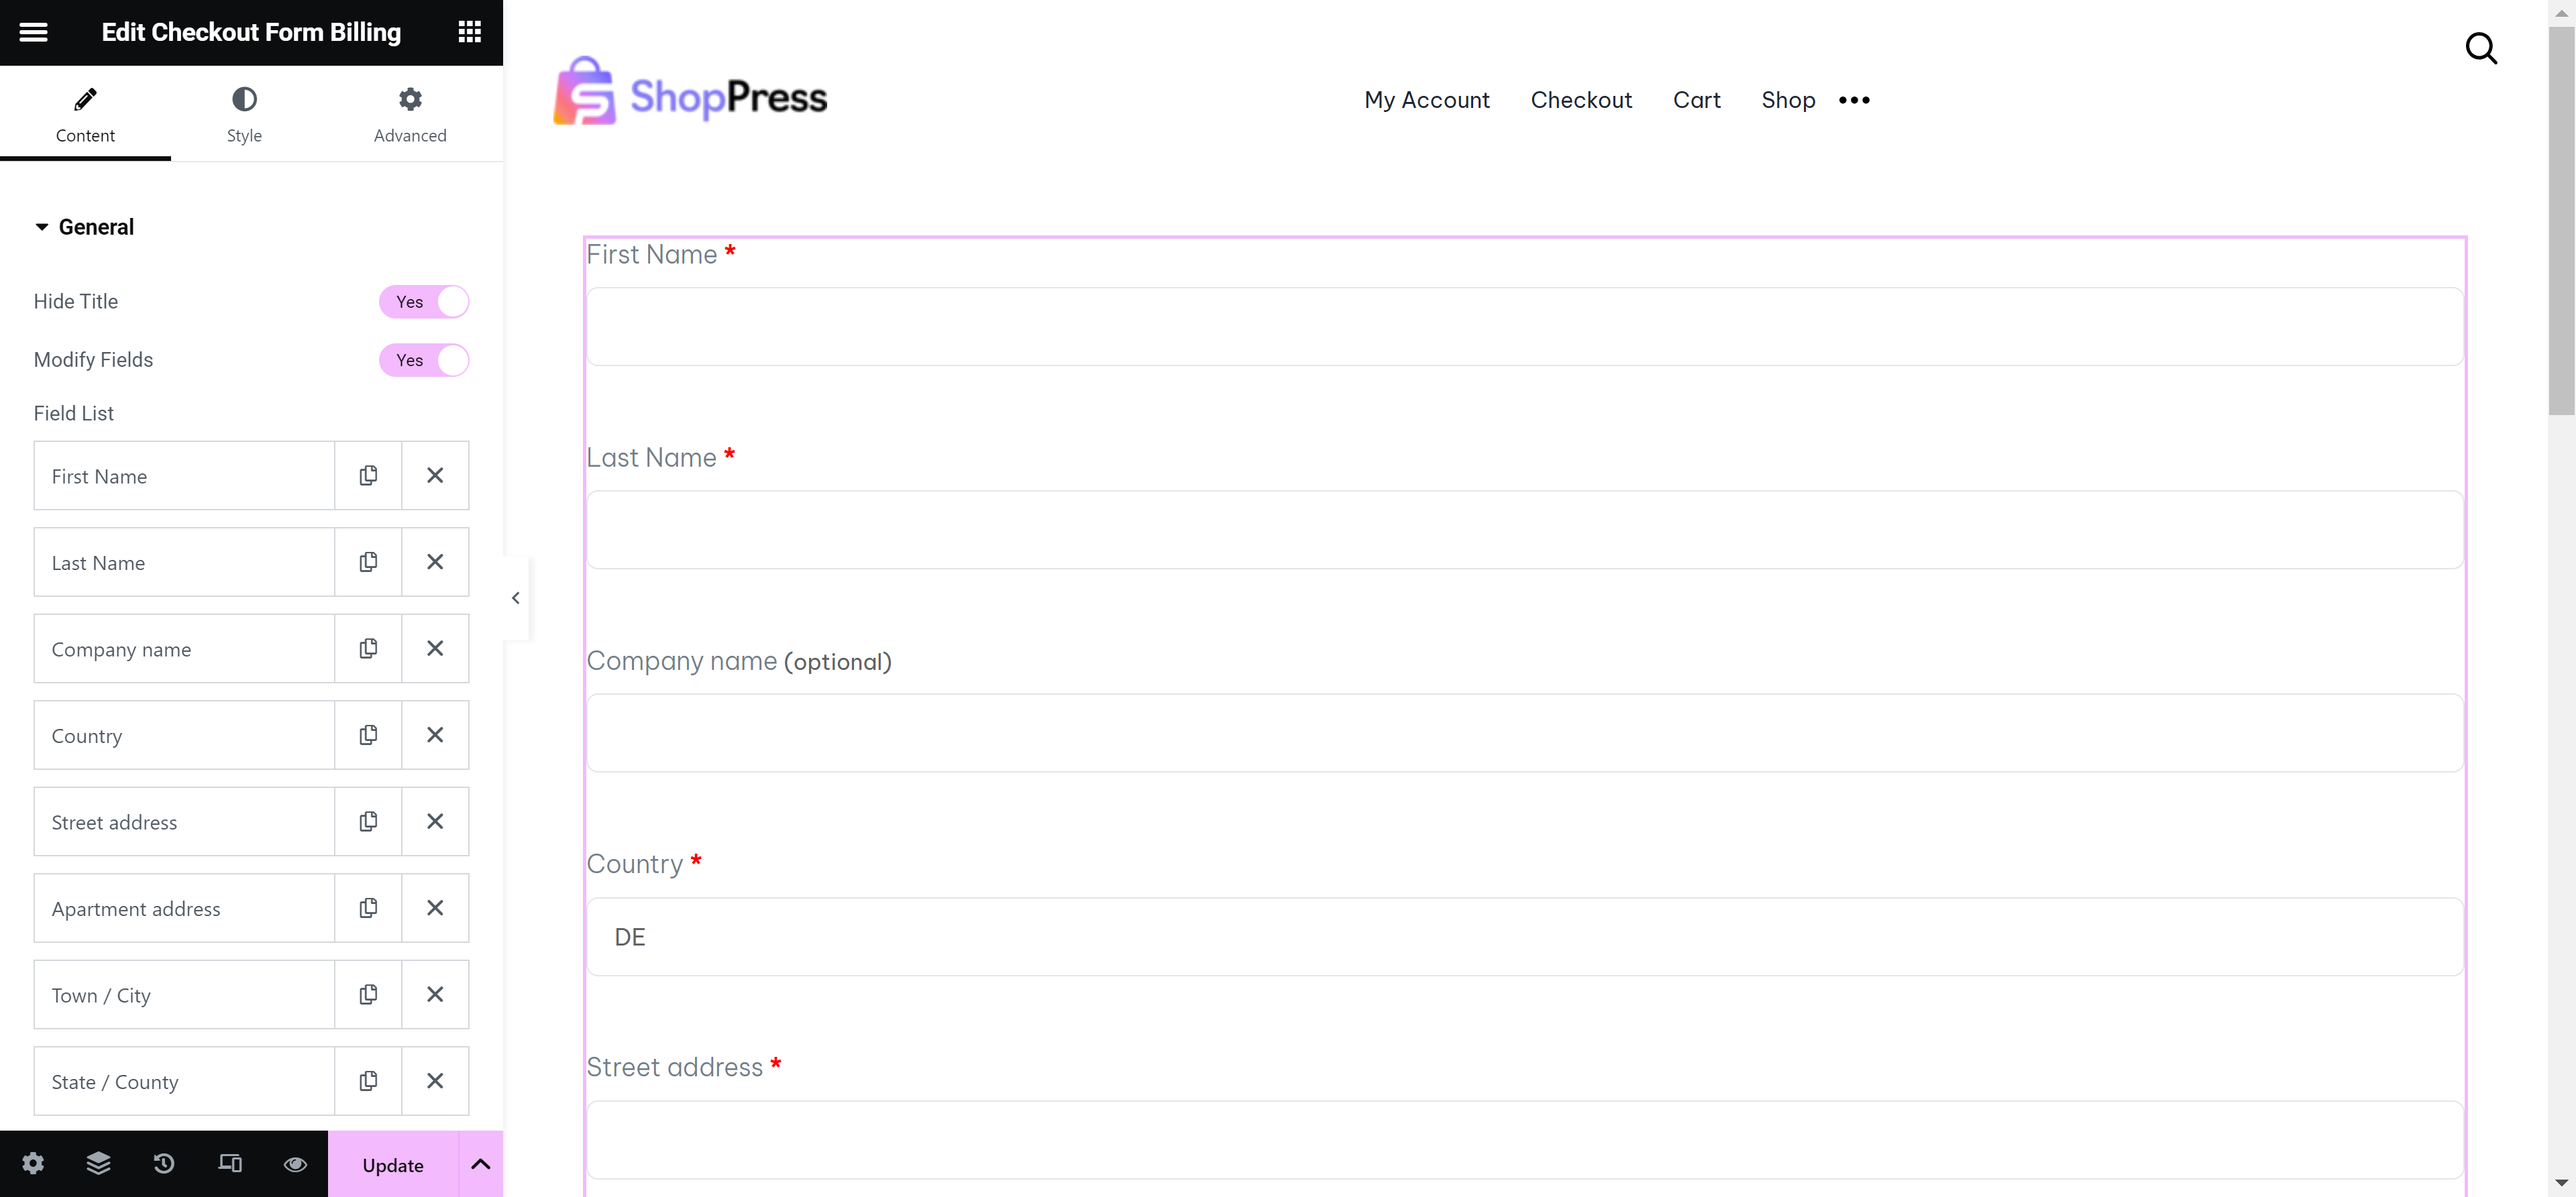
Checkout Form Billing
Here, you can edit all the fields of the checkout form billing by clicking on your preferred field.
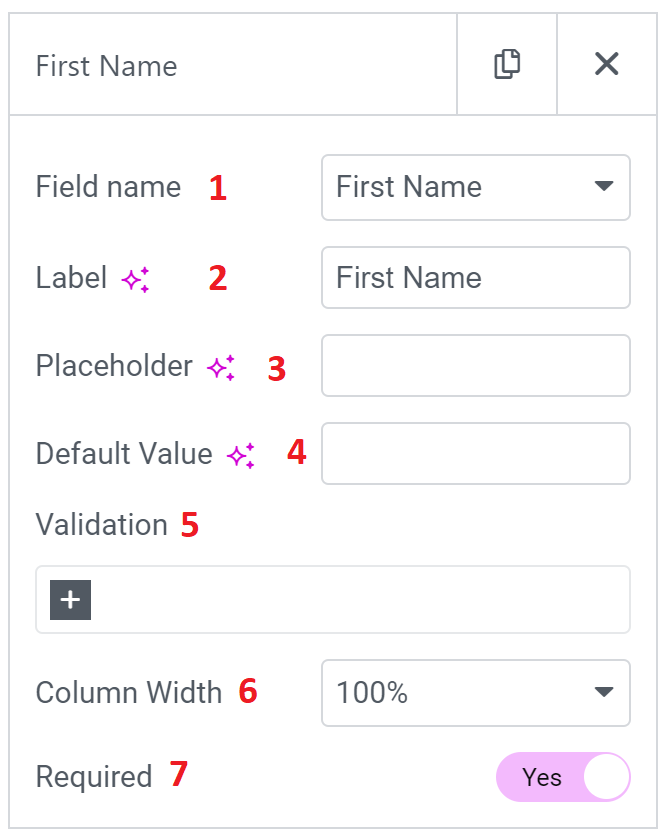
1- The field name that you want to edit.
2- The Label of the field that will be displayed in the form.
3- Placeholder of the field.
4- The default value is shown when the field is empty.
5- Validation will define the field type.
6- You can also choose the class that you want to add to the field.
7- It must be checked if the field is required.
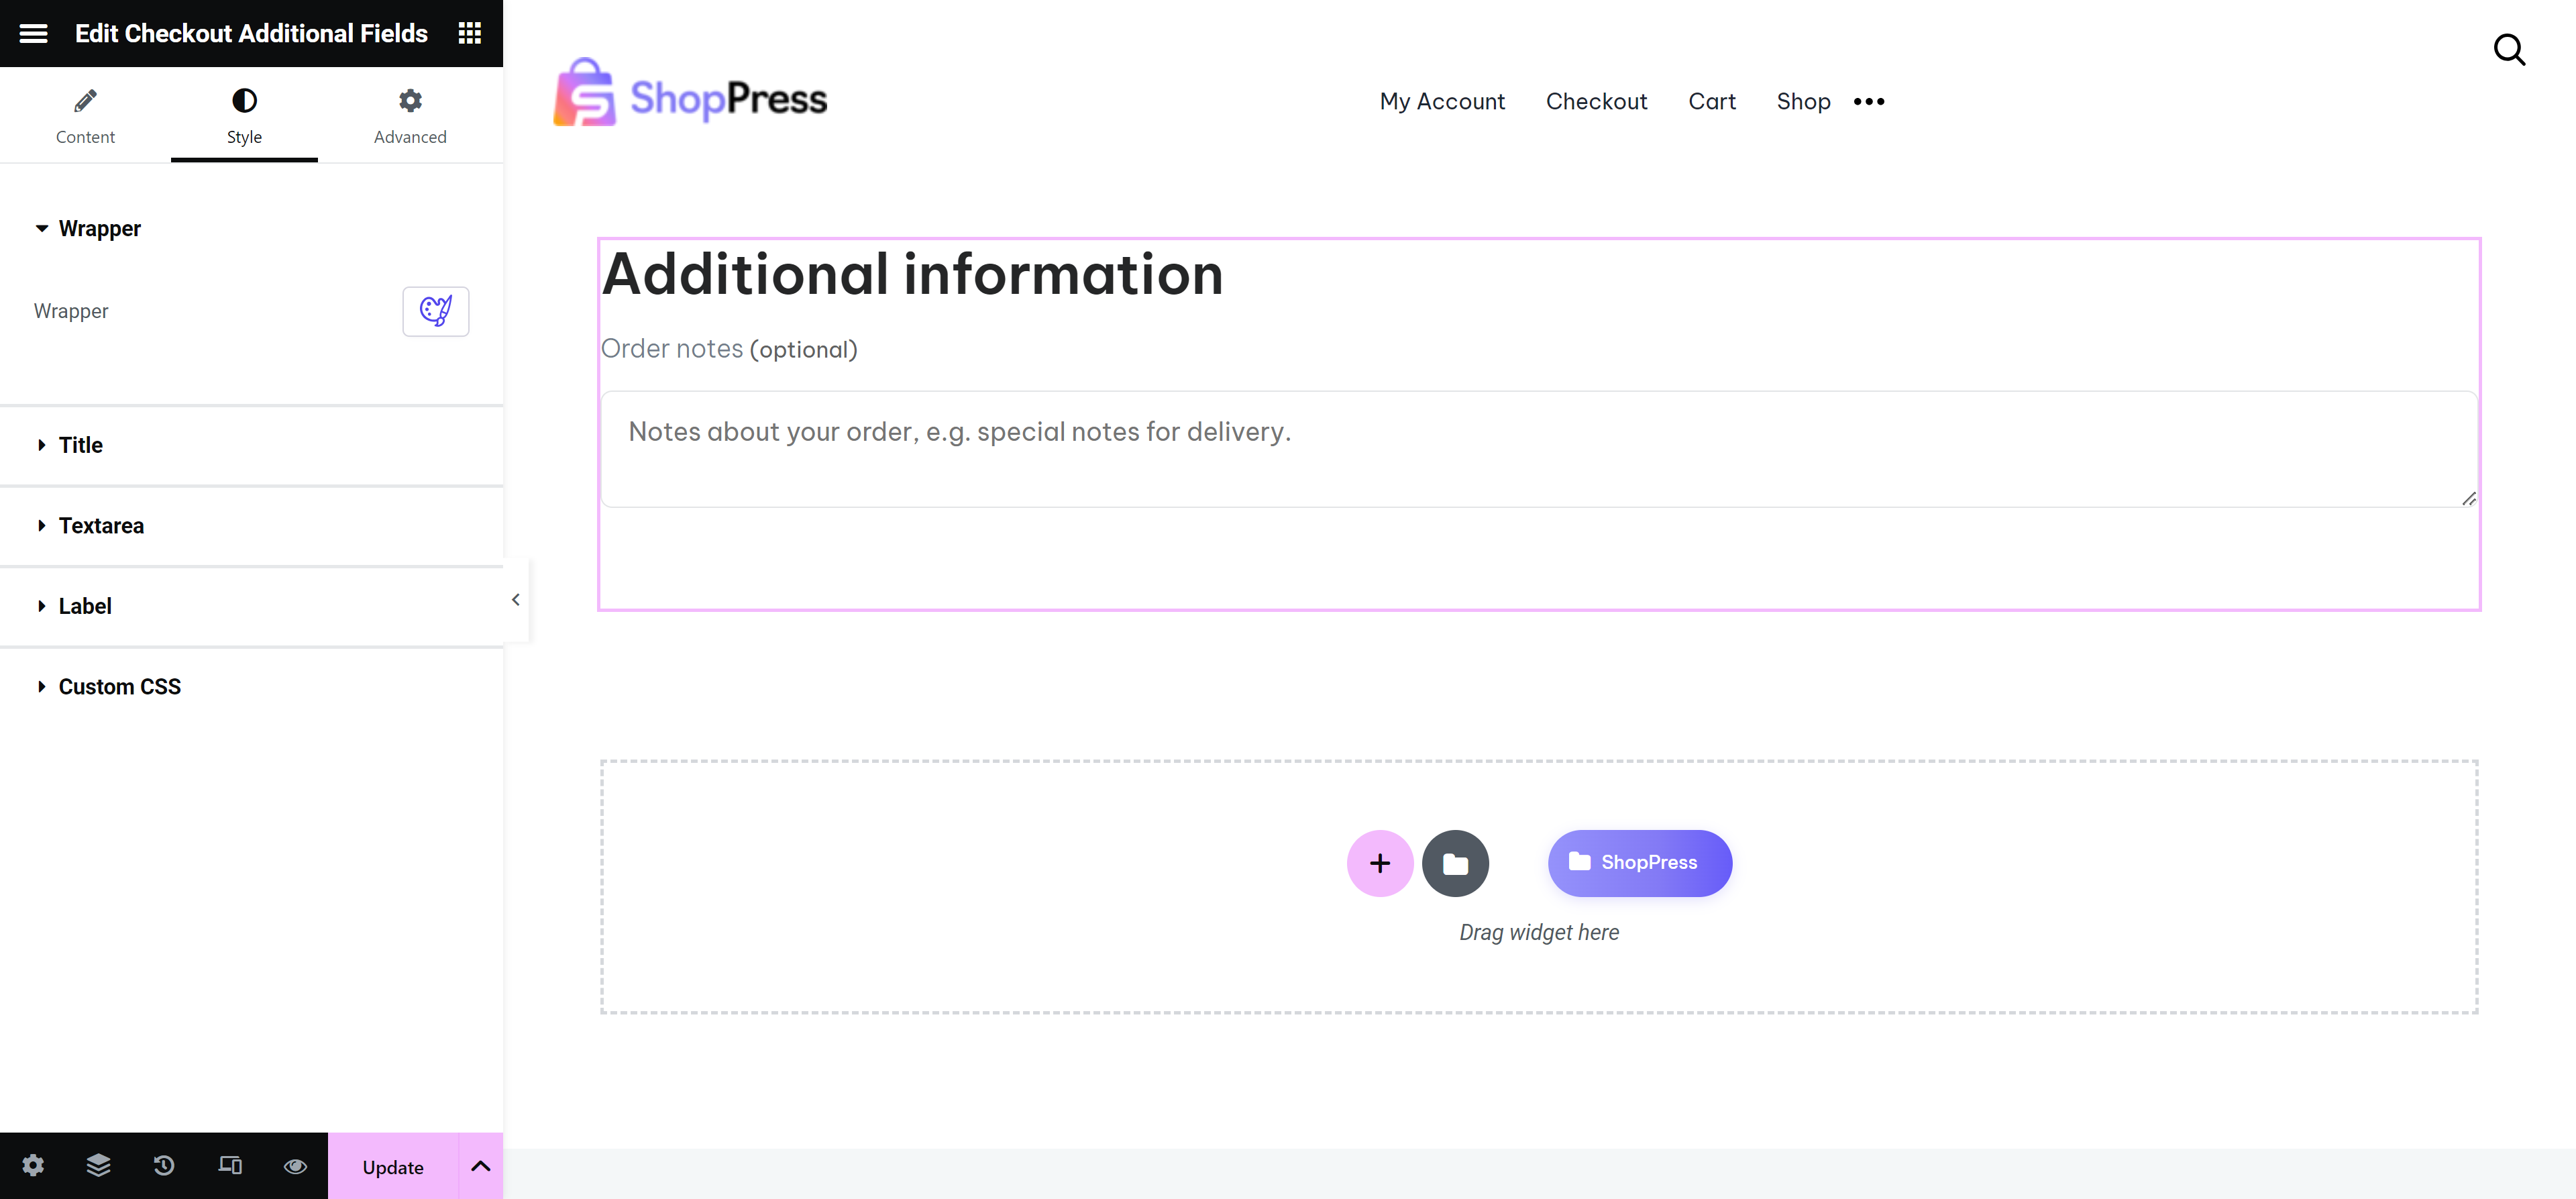
Checkout Additional Field
With this widget, you can edit the Additional Information field.
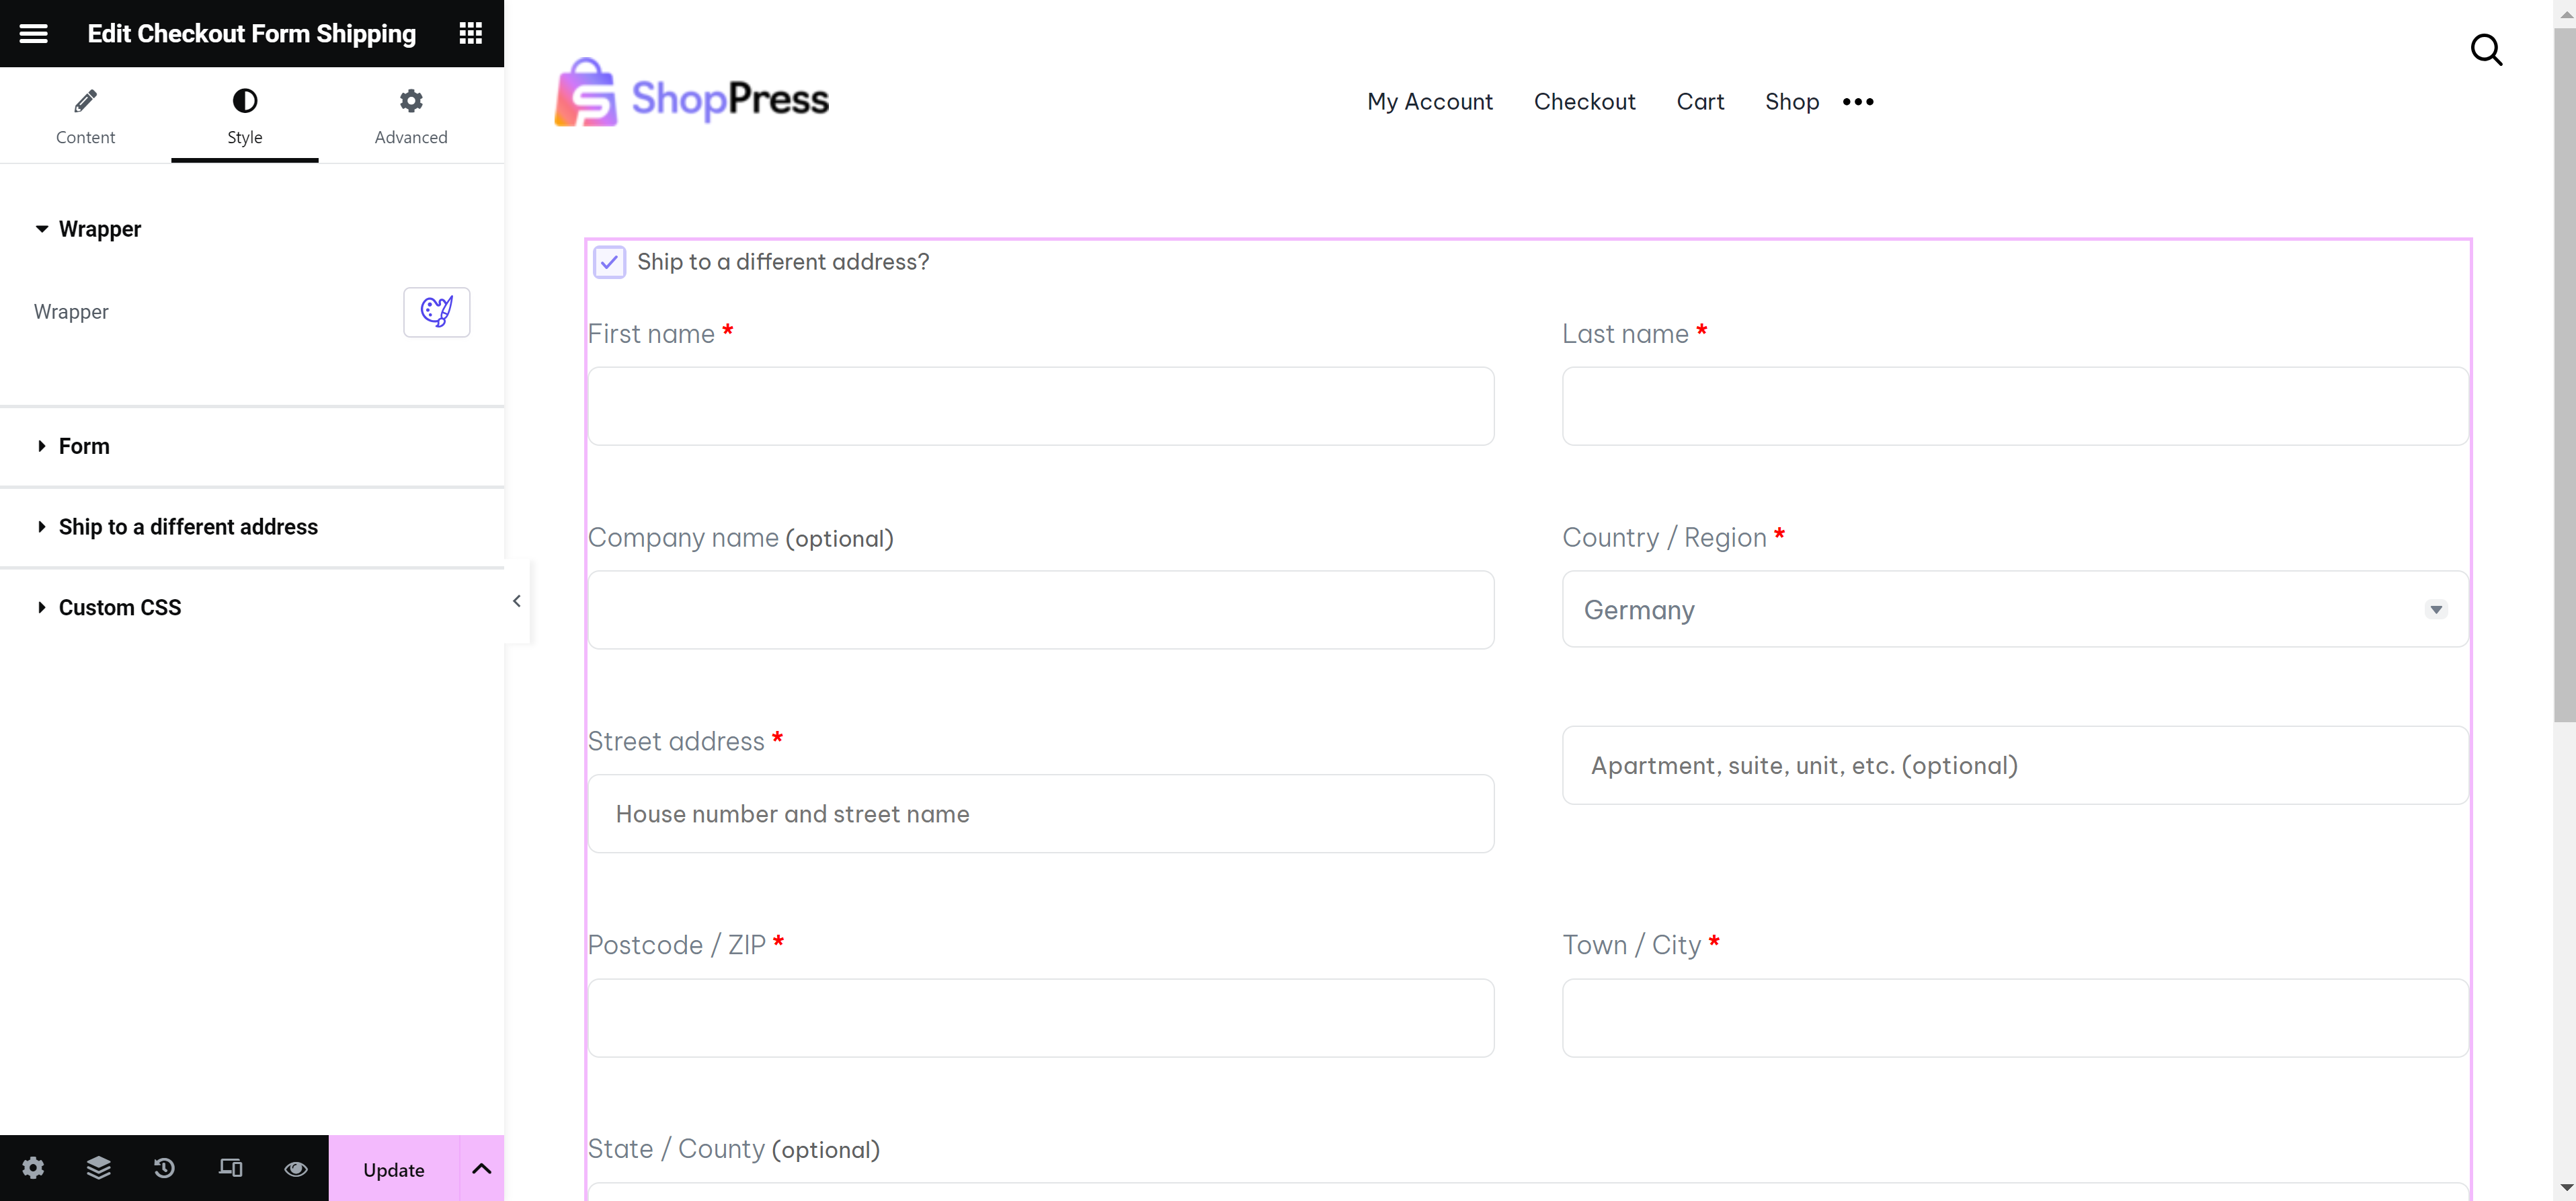
Checkout Form Shipping
With this widget, just like the Checkout Form Billing widget, you can edit all the fields of the shipping form.
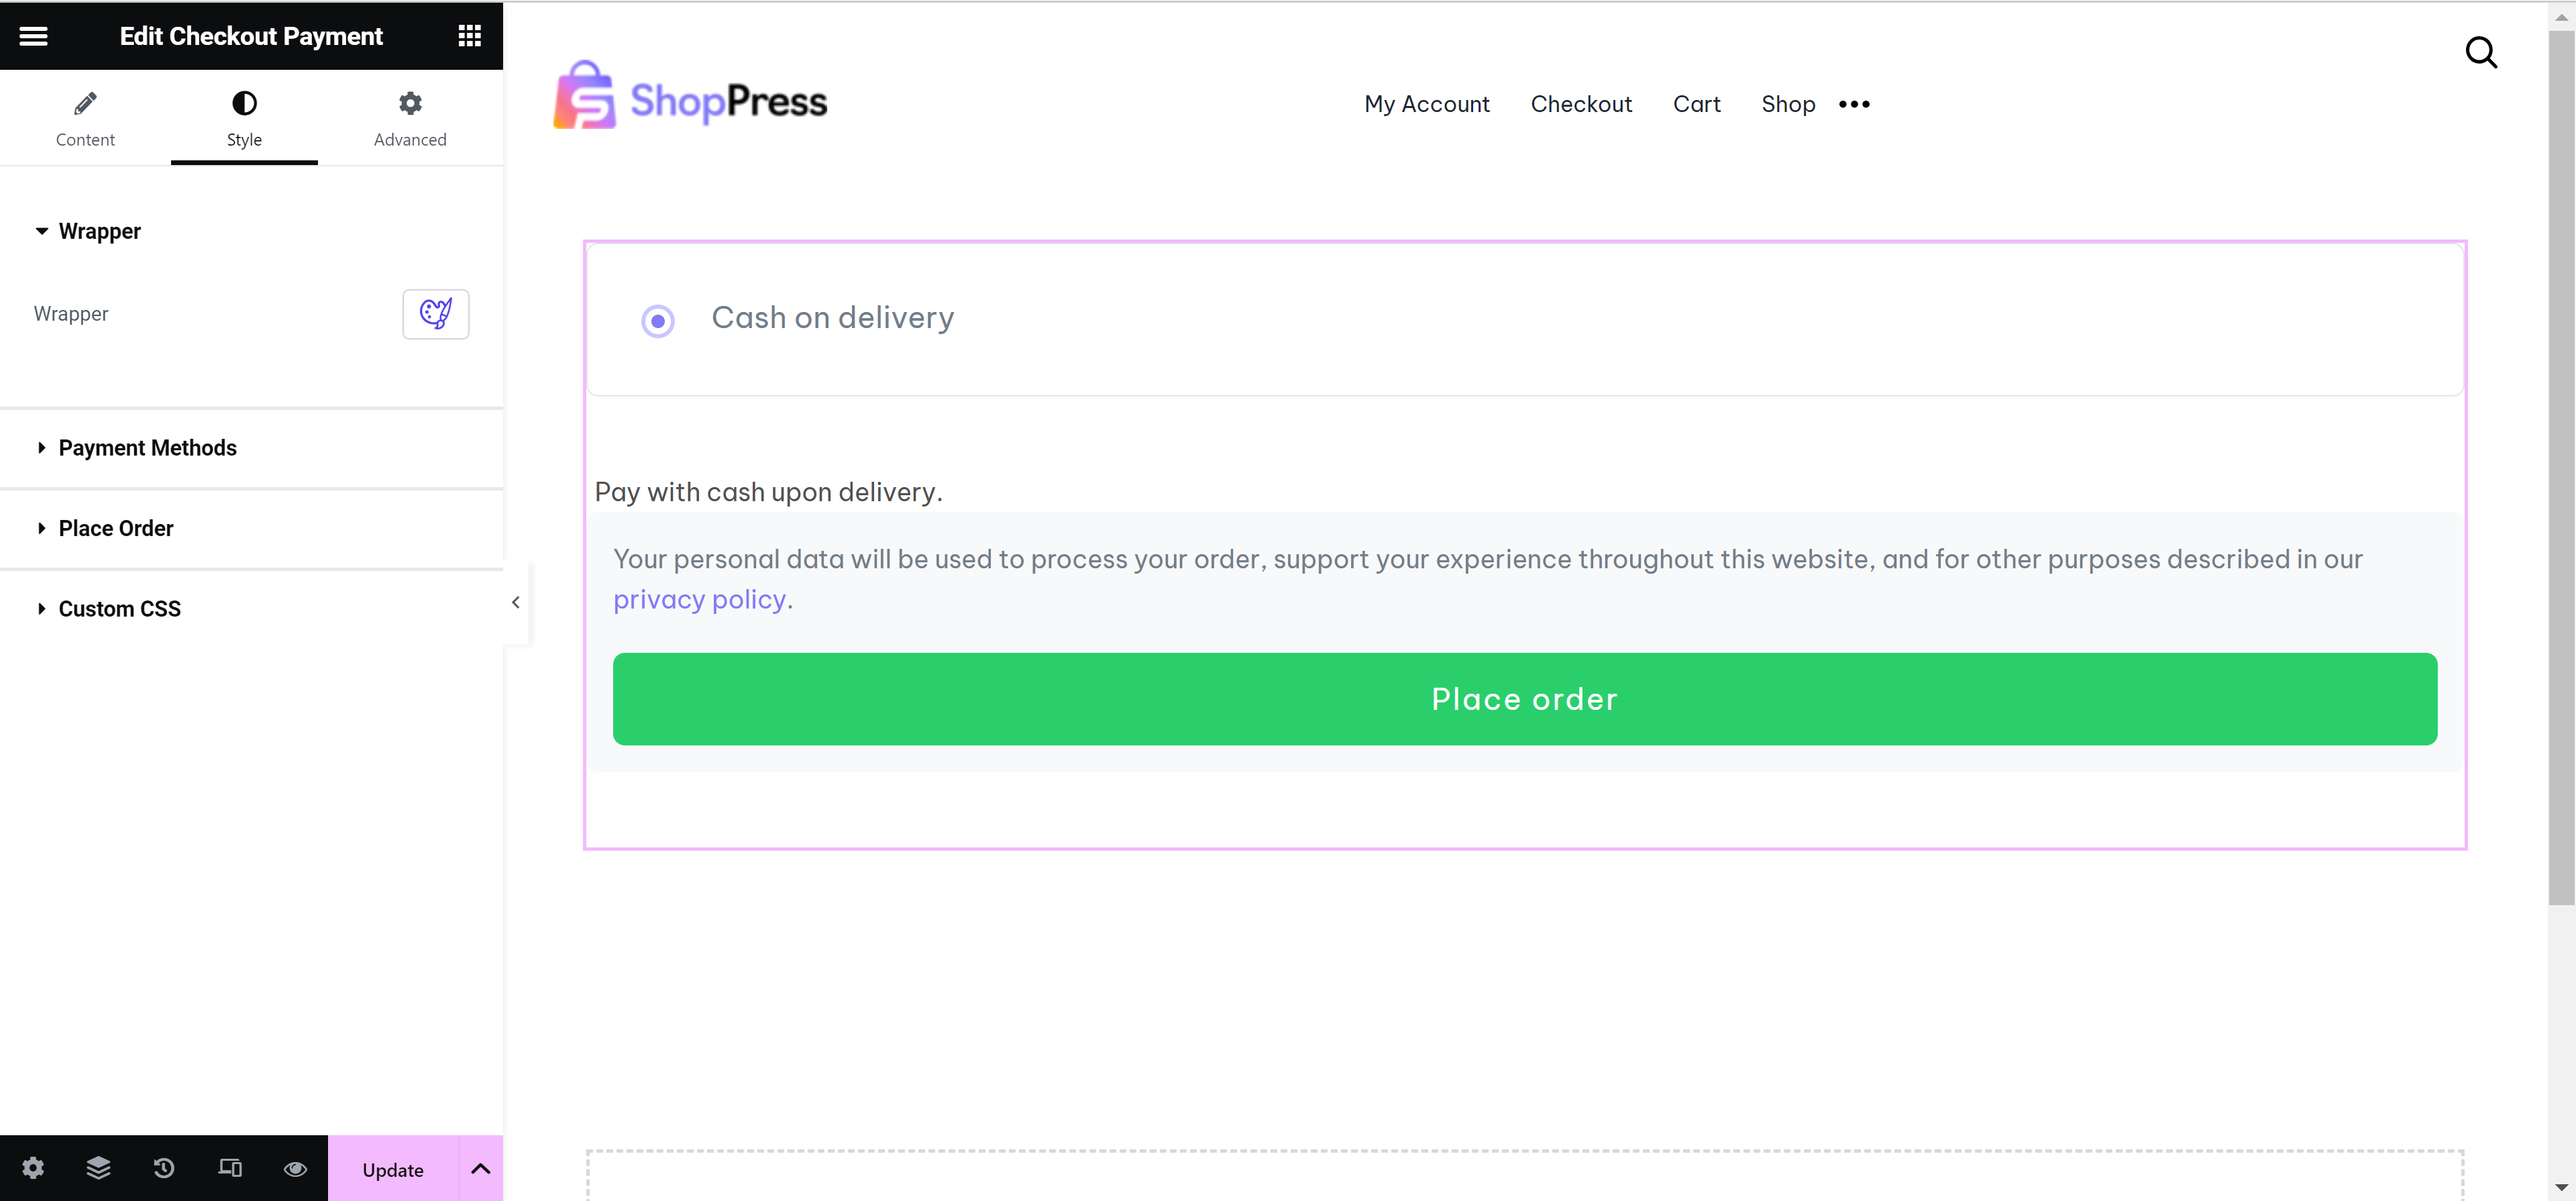
Checkout Payment
The Checkout Payment widget allows users to choose their payment method and see their payment information. So, this widget will help you fully customize the Checkout Payment with Elementor. Also, you can show or hide the payment method description and the policy description.
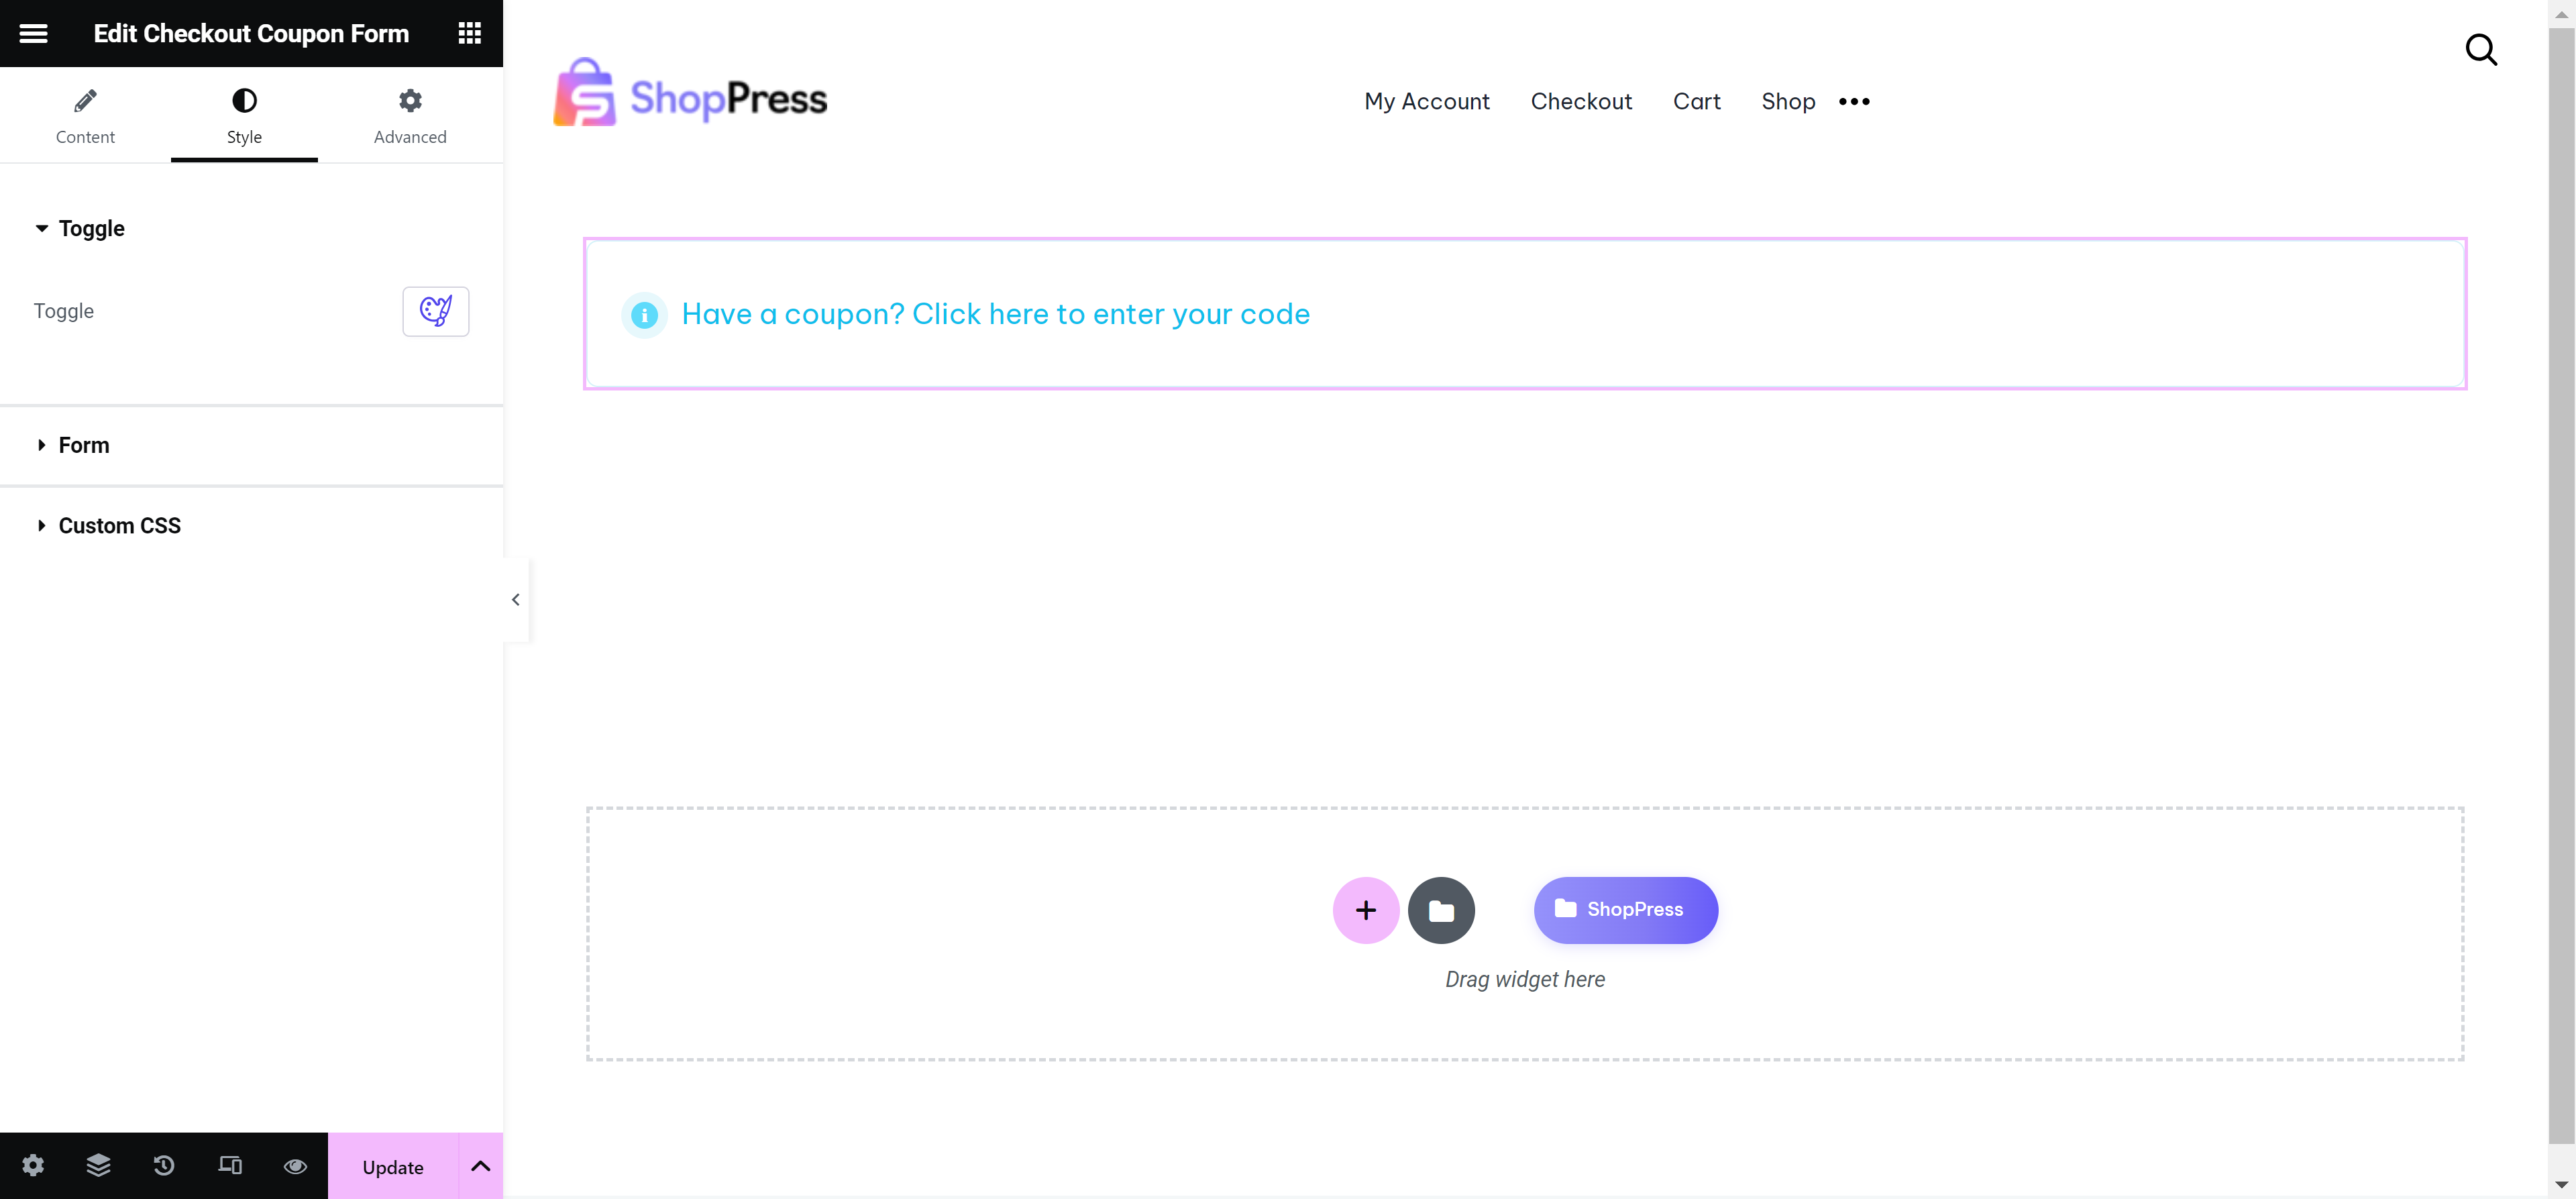
Checkout Coupon Form
This widget helps you edit and customize the coupon form that appears on the checkout page.
Checkout Login Form
If you want to show the Login form on the checkout page, this is the best option for you because you can fully edit and customize the login form that is on the checkout page.
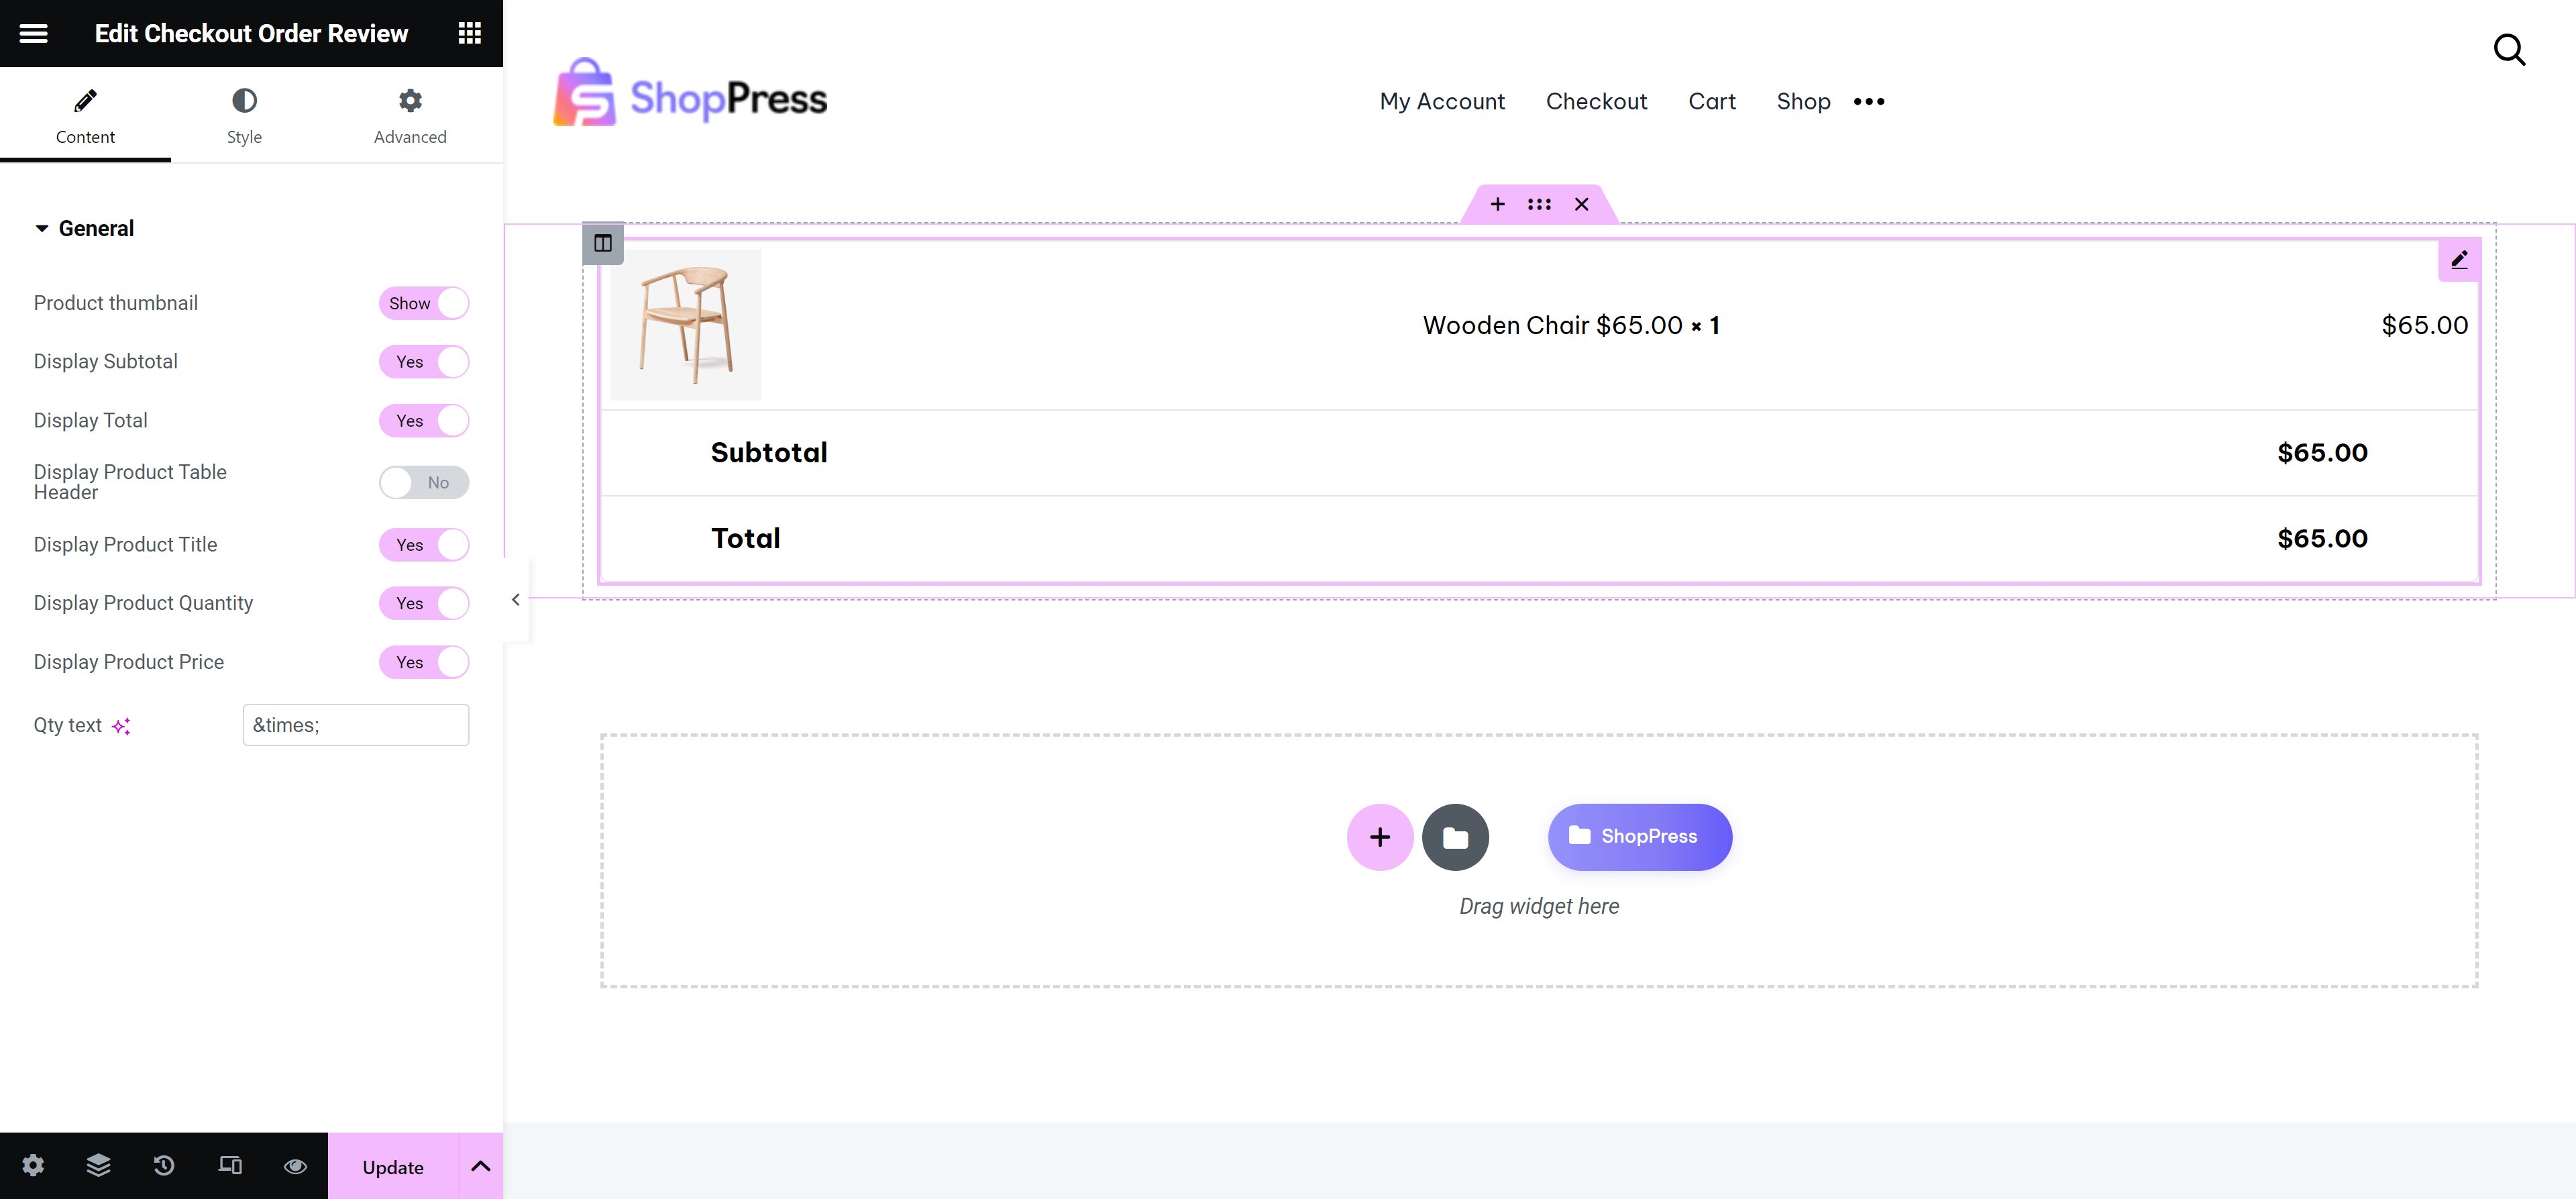
Checkout Order Review
In the online store, users usually want to review their order in the final step before payment, to make sure of their purchase details. With this widget, you can build an eye-catching order review table and edit it however you want, and display it on the checkout page.